Installing a smart light switch is surprisingly simple and can be done in just a few steps. First, turn off the power at your breaker and remove the existing switch. Then, connect the new switch by attaching the hot, load, neutral, and ground wires as instructed. Secure it in the box, restore power, and connect it to your Wi-Fi using the app. With this quick process, you’ll be enjoying smart lighting in no time—keep going to see exactly how to do it.
Key Takeaways
- Turn off power at the main panel and verify no voltage before starting installation.
- Connect the smart switch’s line, load, neutral, and ground wires following the manufacturer’s instructions.
- Secure the switch properly in the electrical box and restore power once connections are confirmed.
- Use the manufacturer app to connect the switch to Wi-Fi and complete setup easily.
- Test the switch via app or voice commands to ensure proper operation and enjoy smart lighting control.
Top picks for "believe easy install"
Open Amazon search results for this keyword.
As an affiliate, we earn on qualifying purchases.
Gathering the Necessary Tools and Materials

Before you begin installing a smart light switch, it is vital to gather all the tools and materials you’ll need. First, make sure you have a compatible smart switch designed for your wiring setup. You’ll also need a screwdriver—both flathead and Phillips—plus a voltage tester to check your wiring. A wire stripper is essential for preparing the wires, and electrical tape helps secure connections. Having a pair of needle-nose pliers can be handy for manipulating wires. Don’t forget to grab a ladder if your switch is high up. Keep a smartphone or camera nearby to take photos of your wiring before disconnecting anything. Collecting these items beforehand saves you time and keeps your project organized, making the installation smoother and safer.
Turning Off Power and Preparing Your Switch Box
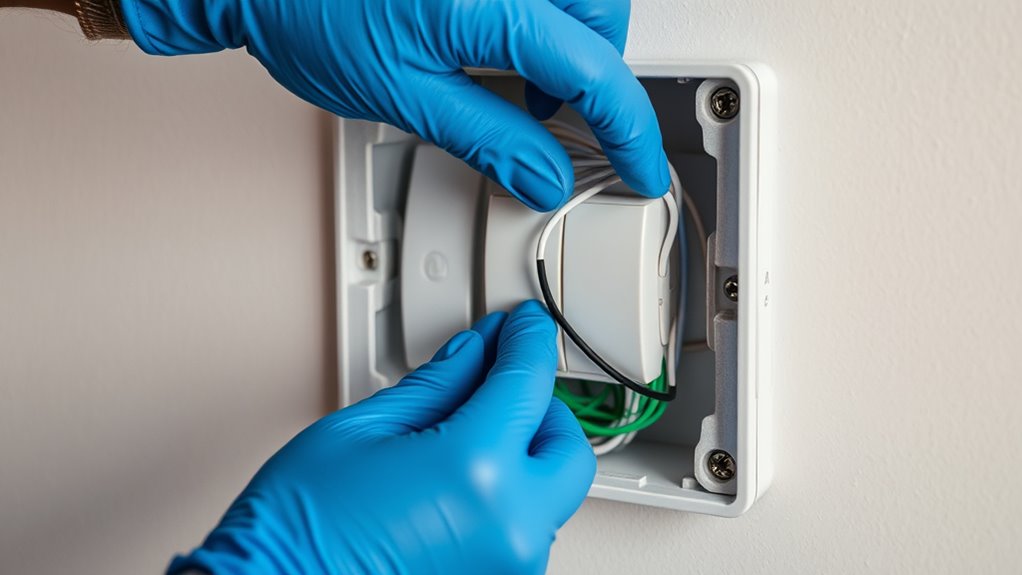
To guarantee safety during installation, you must turn off the power to the switch circuit at your main electrical panel. Locate the correct breaker, usually labeled for the room or switch, and switch it off. Confirm the power is off by testing the switch with a voltage tester or a non-contact tester. Once confirmed, remove the switch cover plate using a screwdriver. Carefully unscrew the existing switch from the electrical box. Gently pull the switch out, but don’t disconnect any wires yet. Take a moment to examine the wiring and ensure no power is running through the wires. This step prepares your switch box for safe removal and installation of the smart switch, minimizing risks of electric shock or short circuits.
Connecting the Wires to the Smart Switch
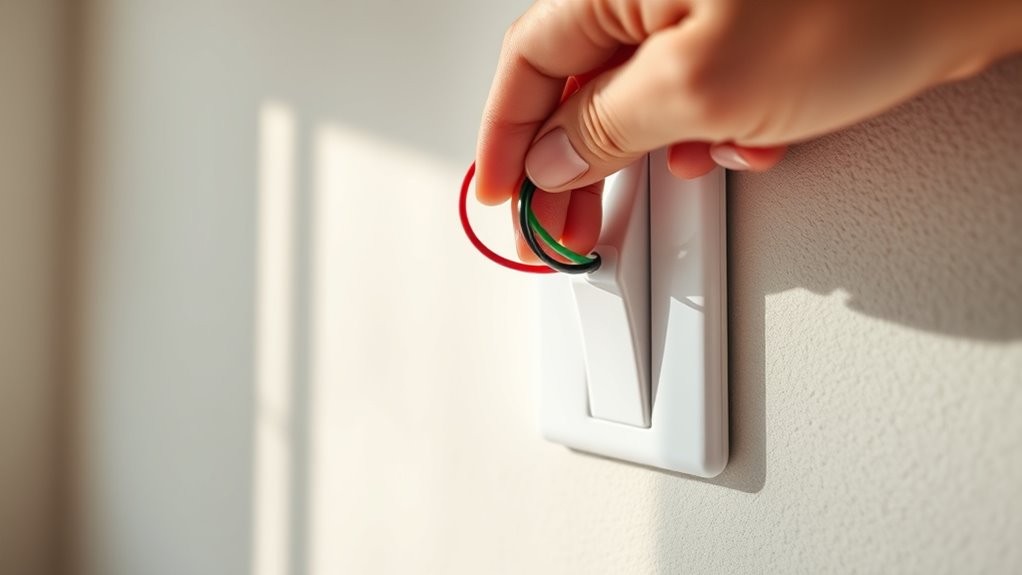
Start by identifying the wires in your switch box. Typically, you’ll see a hot wire (black), a load wire (another black), and a neutral wire (white). If your switch has a grounding wire, it’s usually green or bare copper. Confirm power is off before touching any wires. Connect the black hot wire from the wall to the line terminal on your smart switch. Attach the load wire to the load terminal. If there’s a neutral wire, connect it to the neutral terminal on the switch. Use wire nuts to secure each connection tightly. Make sure no copper is exposed outside the wire nuts. If your switch includes a ground terminal, connect the ground wire there. Double-check all connections are secure before proceeding to the next step.
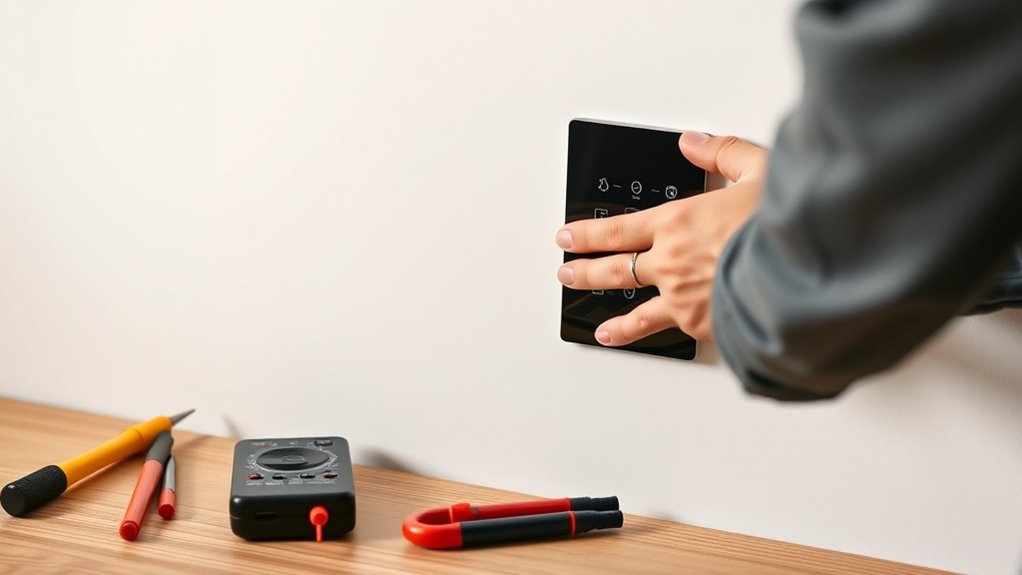
Mounting the Switch and Restoring Power

Once your wiring connections are secure, you can proceed to mount the smart switch into the electrical box. Carefully align the switch with the mounting holes and gently push it into place. Use the screws provided to secure the switch firmly to the box, ensuring it’s flush and stable. Before restoring power, double-check that all wires are tucked neatly and no loose strands are exposed. Once everything is in position, turn the circuit breaker back on. You should see the switch’s indicator light activate or hear a click, confirming power restoration. Take a moment to ensure the switch is securely mounted and stable. If everything looks good, you’re ready to move on to the next step—setting up and testing your new smart switch.
Setting Up and Testing Your New Smart Switch
After you’ve securely mounted the smart switch, it’s time to set it up and make sure it functions correctly. First, connect your switch to your home Wi-Fi network through the app provided by the manufacturer. Follow the app instructions to add the device and ensure it’s recognized. Once connected, test the switch’s operation by turning the lights on and off via the app or voice commands. Finally, customize settings like schedules or automation rules to fit your routine.
Secure your smart switch by connecting it to Wi-Fi, testing its function, and customizing your automation settings.
Here’s a quick checklist:
- Connect the switch to Wi-Fi using the app.
- Test the switch’s responsiveness through the app or voice control.
- Adjust settings for scheduling or automation as needed.
Frequently Asked Questions
Can I Install a Smart Switch Without Electrical Experience?
Yes, you can install a smart switch without electrical experience, but it requires caution. Turn off the power at the breaker first, then carefully follow the switch’s instructions. If you’re uncomfortable working with wiring or unsure about the process, consider hiring an electrician. Many smart switches come with clear, step-by-step guides, making the installation manageable for beginners who pay close attention to safety and instructions.
What Should I Do if Wires Are Damaged or Frayed?
If your wires are damaged or frayed, don’t try to fix them yourself—you’re risking a firestorm or electric shock! Instead, turn off the power at the breaker, then call a licensed electrician ASAP. They’ll safely replace or repair the wires, ensuring your smart switch installation is safe and reliable. Remember, no DIY shortcut is worth risking your safety; let the pros handle the dangerous stuff!
How Compatible Are Smart Switches With Existing Dimmer Switches?
Smart switches can be compatible with existing dimmer switches, but it depends on the model. Some smart switches work seamlessly with dimmers, while others require you to replace the dimmer with a standard switch. Check your switch’s specifications before purchasing. If your current dimmer isn’t compatible, consider upgrading to a smart dimmer switch designed for dimming functions. This way, you guarantee smooth operation and avoid flickering or compatibility issues.
Is a Neutral Wire Always Required for Installation?
Imagine a clear, calm stream guiding your installation—yes, a neutral wire is often required. It provides a return path for current, essential for most smart switches to function properly. Without it, you might face flickering or non-operation. However, some models are designed to work without a neutral wire, using advanced technology. Check your wiring and choose a switch compatible with your setup to guarantee smooth, hassle-free installation.
What Should I Do if the Smart Switch Doesn’T Connect to Wi-Fi?
If your smart switch doesn’t connect to Wi-Fi, start by checking your router’s settings and ensuring the switch is within range. Restart both your router and the switch, then attempt to reconnect. Make sure your Wi-Fi network is on a compatible frequency (2.4 GHz or 5 GHz, depending on the switch). If problems persist, reset the switch to factory settings and try the setup process again.
Conclusion
Now, with your smart switch installed, you can effortlessly control your lights from anywhere—like having a personal lighting assistant. It’s simple, quick, and transforms your space from a dark, outdated room into a modern, connected haven. Imagine flipping a switch and your lights turn on instantly, just like a magic trick. It’s the perfect blend of technology and convenience, making your home smarter and your life easier, all in just a few simple steps.