
To set up smart lighting in your home, start by choosing a system compatible with your setup and needs. Prepare the space by clearing areas, turning off power, and ensuring a strong Wi-Fi signal. Install the fixtures safely according to manufacturer instructions, then connect them to your app or hub. Customize your lighting scenes and integrate with other smart devices for convenience. Want to learn detailed steps? Keep exploring to make your smart lighting truly shine.
Key Takeaways
- Choose a compatible smart lighting system based on your needs, budget, and desired features, ensuring integration with existing devices.
- Prepare your home by clearing installation areas, verifying power sources, and ensuring strong Wi-Fi connectivity in zones where lights will be installed.
- Install smart light fixtures following manufacturer instructions, wiring safely, and securely mounting fixtures before restoring power and testing.
- Connect your smart lights to a hub or app, then assign them to rooms or zones, ensuring stable Wi-Fi for seamless setup.
- Customize lighting scenes and routines via the app, and integrate with other smart devices for automation and enhanced control.
Choosing the Right Smart Lighting System

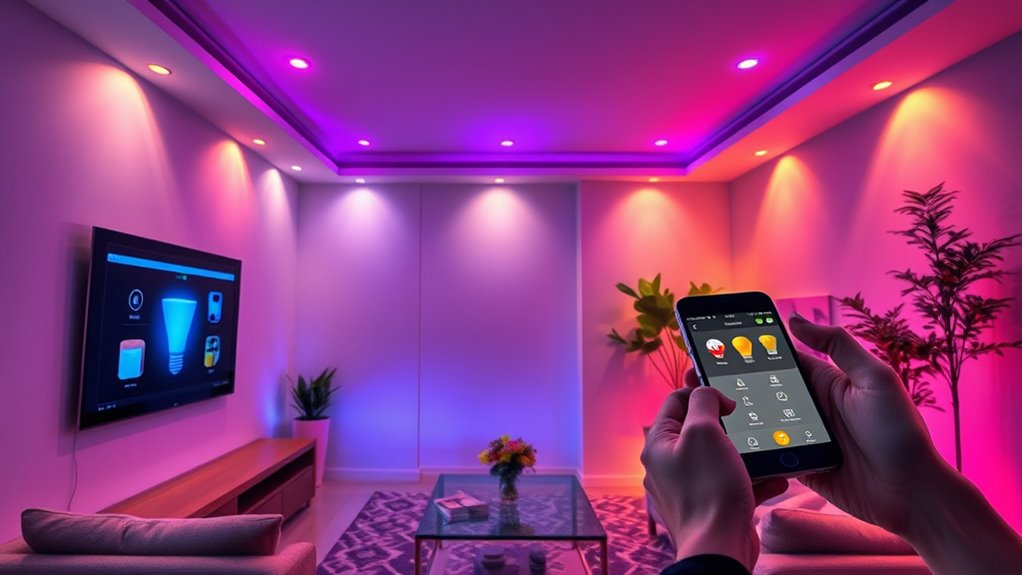
When selecting a smart lighting system, you need to contemplate your specific needs and home setup. Think about which rooms you want to light intelligently and how you prefer to control them. Do you want voice commands, a smartphone app, or physical switches? Consider compatibility with your existing smart home devices and whether you need features like dimming, color-changing lights, or scheduling. Choose a system that fits your technical comfort level, whether it’s easy plug-and-play or more advanced setups. Evaluate the brands and products based on reviews, reliability, and customer support. Also, keep your budget in mind, balancing cost with features. Making the right choice now guarantees your smart lighting system will be convenient, functional, and adaptable to your lifestyle. Additionally, consider local automation options that can enhance energy efficiency and integrate seamlessly with other smart home devices.
Preparing Your Home for Installation
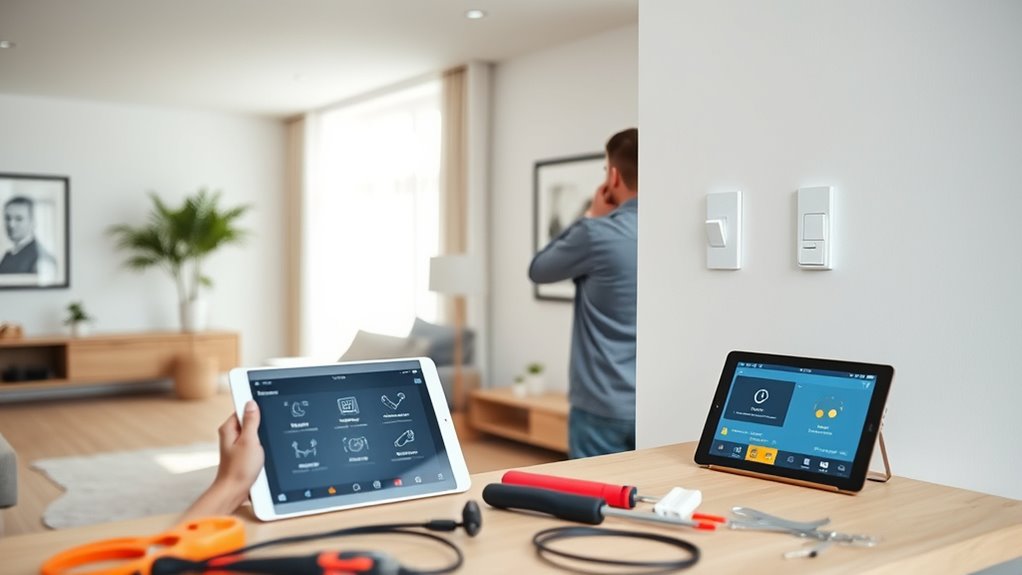
Before installing your smart lighting system, it’s important to prepare your home to guarantee a smooth setup process. Start by clearing the areas where you’ll install or replace existing fixtures. Verify power sources are accessible and turned off before working on wiring. Check that your Wi-Fi network is strong and stable in the installation zones; consider relocating your router if needed. Remove any obstructions or outdated wiring that could interfere with new fixtures. Gather all necessary tools and equipment, including screwdrivers, ladders, and mounting hardware. Label existing switches and wires to avoid confusion later. Finally, read your smart lighting system’s instructions thoroughly so you understand the installation requirements and safety precautions. Proper preparation minimizes delays and helps ensure your setup goes smoothly. Performing a Wi-Fi strength test can help identify potential connectivity issues before installation.
Installing Your Smart Light Fixtures
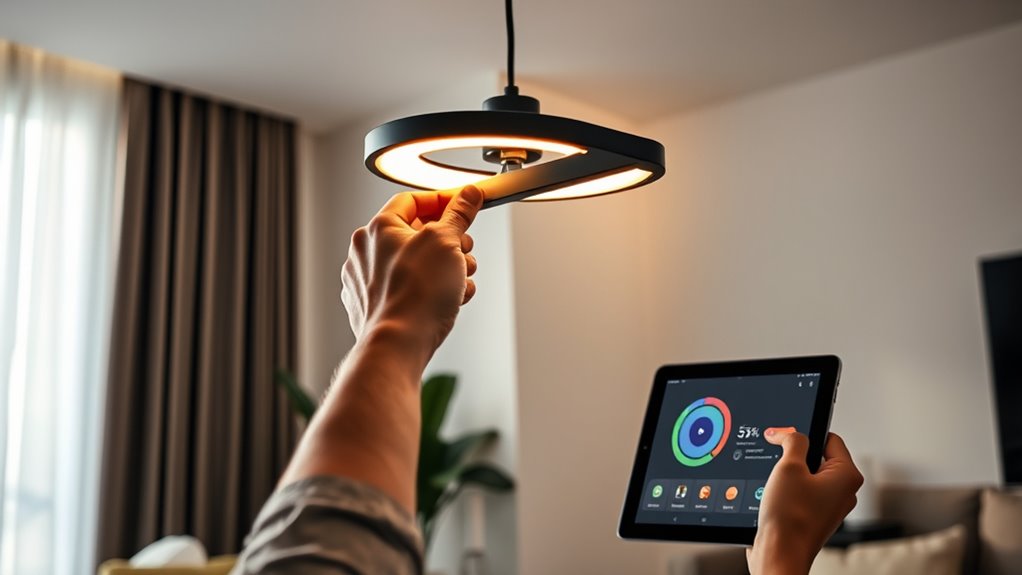
When installing your smart light fixtures, make sure they are compatible with your existing smart home system to avoid any connectivity issues. Use proper wiring techniques to guarantee safety and reliable operation, following the manufacturer’s instructions carefully. Taking these steps will help you achieve a smooth and effective installation process. Embracing compact living principles can also guide you in choosing space-efficient fixtures that enhance your home’s style and function.
Choosing Compatible Fixtures
How do you guarantee your smart lighting system works seamlessly? The key is choosing compatible fixtures. Start by checking your smart hub or app’s supported devices list. Not all fixtures work with every system, so confirm compatibility before buying. Look for fixtures labeled as “smart-enabled” or “works with [brand]” to ensure smooth integration. Consider the fixture type, such as bulbs, sconces, or recessed lighting, and verify they support the necessary smart features. Compatibility also extends to power specifications and socket types, so match fixtures to your existing wiring. Avoid mixing incompatible brands or outdated fixtures, as this can cause connectivity issues. Selecting the right, compatible fixtures sets a solid foundation for a smart lighting setup that’s reliable and easy to control. Additionally, choosing fixtures with standardized smart protocols can enhance future expandability and compatibility.
Proper Wiring Techniques
Proper wiring is the foundation of a reliable smart lighting system. Before installing your fixtures, turn off the power at the circuit breaker to guarantee safety. Use a voltage tester to confirm the circuit is dead. When wiring, connect the hot (live) wire to the fixture’s input terminal, typically marked as “L” or colored black or red. Connect the neutral wire, usually white, to the corresponding terminal. If your fixture requires a ground connection, attach the ground wire (green or bare copper) securely. Avoid over-tightening connections, as this can damage wires or fixtures. Double-check all connections for security and correct placement. Once everything is properly wired, carefully mount the fixture, restore power, and test the setup to ensure your smart light functions correctly. Incorporate proper wiring techniques to ensure safety and long-term performance.
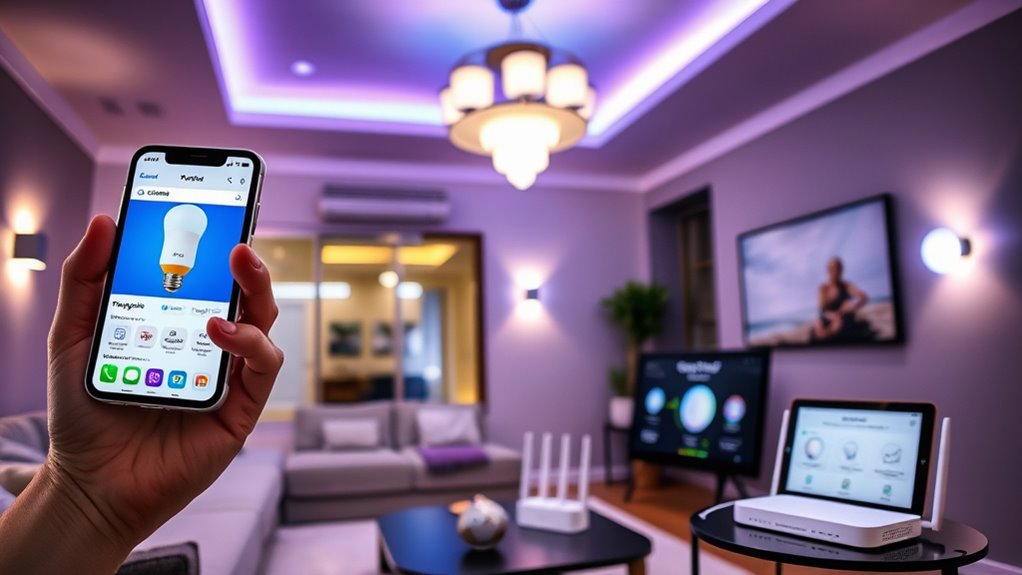
Connecting Your Lights to a Central Hub or App
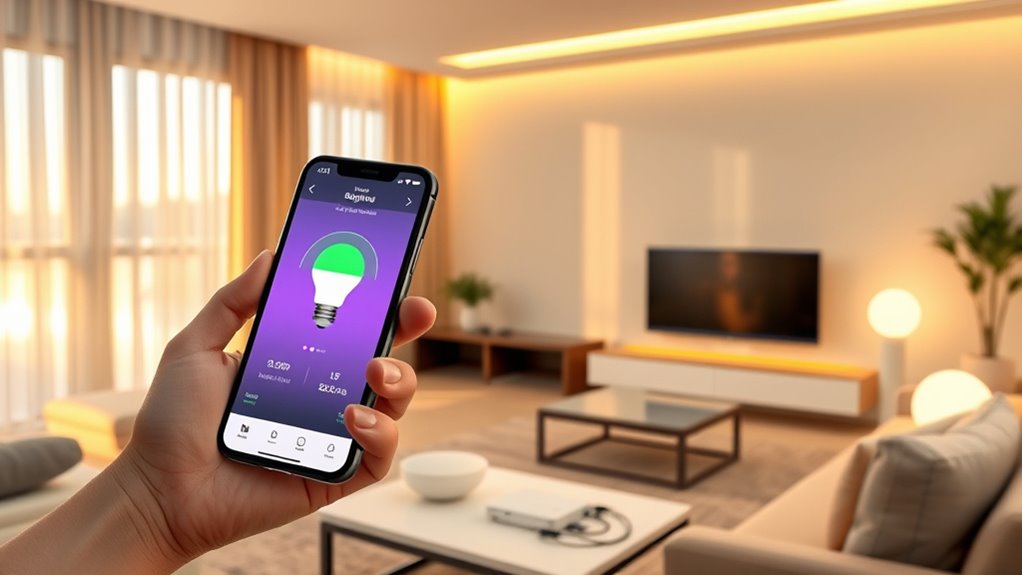
Connecting your smart lights to a central hub or app is a straightforward process that guarantees seamless control over your lighting system. First, verify your lights are compatible with your chosen hub or app. Download and install the app on your smartphone or tablet. Turn on your smart lights and follow the manufacturer’s instructions to put them into pairing mode. Open the app and add new devices, selecting your lights from the list. The app will guide you through connecting each light to your Wi-Fi network or hub. Once connected, you can assign lights to rooms or zones. Make sure your phone stays connected to your Wi-Fi during setup. Compatibility is essential for a smooth setup process. After completing these steps, your smart lights are ready for remote control and automation through the app.
Customizing Settings and Creating Lighting Scenes
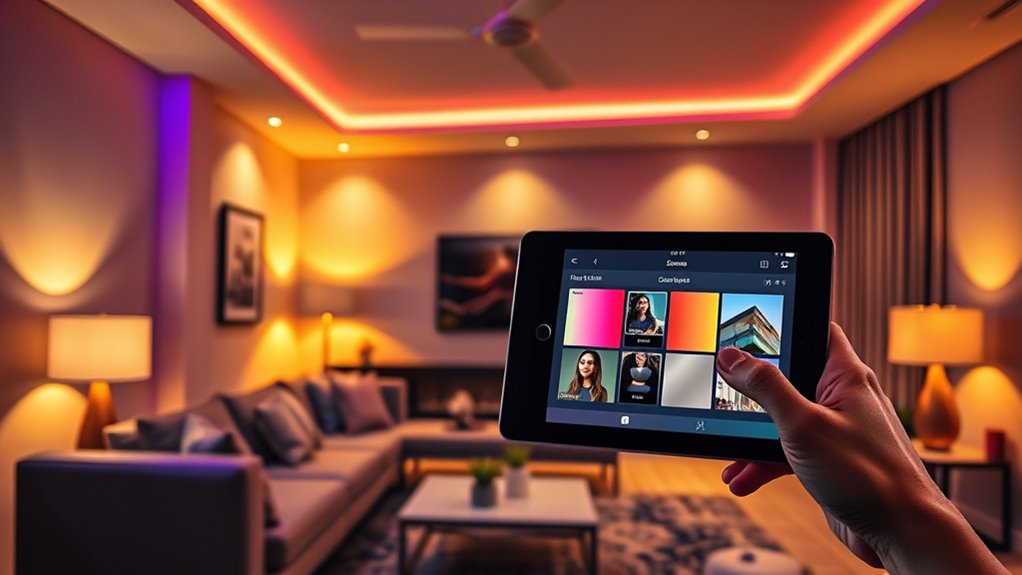
You can personalize your lighting by adjusting brightness and color to match your mood or activity. Once you find the perfect settings, save them as a scene for quick access later. Activating these scenes makes it easy to switch between different lighting atmospheres instantly. Utilizing automation features can further enhance your experience by enabling your lighting to adjust automatically based on time or activity.
Adjust Brightness & Color
To create the perfect ambiance, adjusting brightness and color is essential. You can tailor your lighting to match your mood, activity, or time of day. Use your smart app to slide brightness levels from dim to bright, perfect for relaxing or working. Changing the color allows you to set a cozy, vibrant, or calming atmosphere. Imagine these options:
| Brightness Level | Color Setting | Ideal For |
|---|---|---|
| Dim | Warm White | Evening relaxation |
| Medium | Cool White | Reading or working |
| Bright | RGB (Color) | Parties or celebrations |
Adjusting these settings helps you create the perfect environment, whether you want a soft glow or energetic hues. Fine-tune your lighting to match your daily needs effortlessly. Enhancing your setup with smart lighting controls can further simplify customization and improve your overall experience.
Save & Activate Scenes
Have you ever wished to quickly set your lighting to a specific mood or activity? Saving and activating scenes makes this easy. Once you’ve adjusted your lights to your desired brightness and color, simply save the settings as a scene. Most smart lighting apps let you name these scenes, like “Movie Night” or “Dinner Time,” so you can easily find them later. To save a scene, tap the “Save” button after customizing, then assign a name. When you want to activate a scene, just select it from your list, and your lights will automatically adjust to your saved preferences. This feature helps you switch moods instantly without fiddling with individual bulbs. It’s a quick way to personalize your space for any occasion. Additionally, organizing your scenes can improve your workflow and make lighting adjustments more intuitive.
Integrating Smart Lighting With Other Devices

Integrating smart lighting with other devices enhances the overall automation and convenience of your smart home. When you connect your lights to other smart gadgets, you create seamless routines that simplify daily tasks. Here are four ways to deepen this integration:
Enhance your smart home by seamlessly connecting lighting with sensors, thermostats, voice control, and security for smarter living.
- Link lights with motion sensors to automatically turn on or off as you enter or leave rooms.
- Sync lighting with your smart thermostat to adjust brightness based on temperature settings.
- Connect your lights with voice assistants for hands-free control and scheduling.
- Integrate lighting with security cameras to activate or change lighting when motion is detected.
- Incorporate reliable wiring to ensure your smart lighting system remains stable and responsive over time.
These connections make your home more intuitive, responsive, and energy-efficient, elevating your smart living experience.
Troubleshooting Common Setup Issues
Setting up smart lighting can sometimes present unexpected challenges, but most issues are quickly resolved with some troubleshooting. If your bulbs won’t connect, verify they are powered on and within range of your Wi-Fi or hub. Restart your router and reset the bulbs according to the manufacturer’s instructions. Check that your app and firmware are up to date. If your lights aren’t responding to commands, confirm your device’s Bluetooth or Wi-Fi connection. Sometimes, interference from other devices causes problems, so move your router or smart bulbs to a different location. If issues persist, remove and re-add the bulbs to your app. Patience is key; most setup hiccups are temporary and easily fixed with a few simple steps.
Frequently Asked Questions
Can I Install Smart Lighting Without Professional Help?
Yes, you can install smart lighting without professional help. Most smart bulbs and fixtures are designed for easy DIY installation. You simply screw in the bulbs or connect the fixtures, download the app, and follow the setup instructions. Make sure your Wi-Fi is stable, and you might need to reset your bulbs or fixtures during setup. With patience and basic tools, you’ll have smart lighting up and running quickly.
Are Smart Lights Energy-Efficient Compared to Traditional Bulbs?
Yes, smart lights are generally more energy-efficient than traditional bulbs. They often use LED technology, which consumes less power and lasts longer. Plus, you can control them remotely, dim them, or set schedules to save energy further. By adjusting brightness and turning lights off when not needed, you reduce waste. Overall, smart lighting helps you cut down on electricity bills while being eco-friendly and convenient.
How Secure Is My Smart Lighting System From Cyber Threats?
Imagine your smart lights as guardians, glowing softly but alert to threats. Your system’s security depends on strong passwords, regular firmware updates, and encrypted connections. You should enable two-factor authentication and avoid public Wi-Fi when controlling your lights. While no system is invulnerable, these steps create a fortress around your smart lighting, making cyber threats considerably less likely and keeping your home safe and bright.
Will Smart Lighting Work During Power Outages?
Smart lighting typically won’t work during power outages unless you have a backup power source like a generator or uninterruptible power supply (UPS). If your home uses mains power, the lights will turn off when the power goes out. To keep your smart lighting functioning during outages, consider installing a UPS or battery backup system. This *guarantees* your lights stay on and controlled even when the grid fails.
Can I Control Smart Lights Without an Internet Connection?
You can control smart lights without an internet connection if they support local control options. Many smart bulbs and switches have Bluetooth or Zigbee/Z-Wave capabilities, allowing you to manage them via a smartphone app or dedicated hub without Wi-Fi. You’ll need to verify your devices are compatible with local control features beforehand. Keep in mind, without internet, remote access and app updates won’t work, but basic control remains possible locally.
Conclusion
Now that you’ve got your smart lighting system set up, you’re well on your way to transforming your home into a tech-savvy haven. Remember, the key is to stay patient and follow each step carefully—think of it as assembling a puzzle; once all pieces fit, your space will shine brighter than ever. With your new lighting, you can effortlessly set the mood and save energy, making your home smarter and more comfortable every day.