
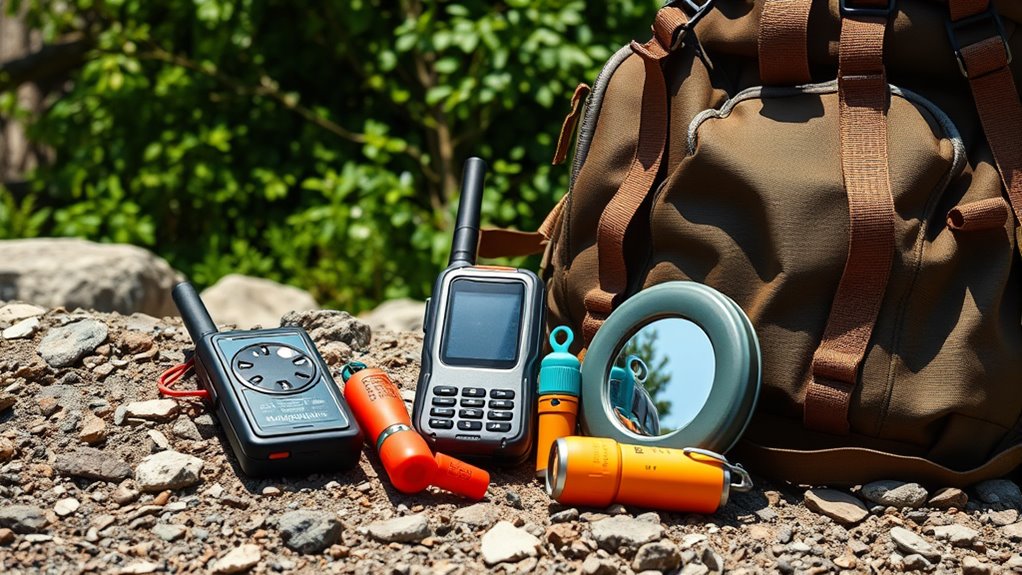
Carrying all ten hiking essentials equips you to handle emergencies, weather changes, and navigation challenges, especially in remote areas. Items like maps, GPS, sun protection, extra clothing, illumination, first aid, repair tools, food, shelter, and signaling gear guarantee you’re prepared for unexpected situations. While you might not use everything on every trip, having these essentials boosts your confidence and safety. Want to discover how to customize your kit effectively? Keep exploring to stay ahead.
Key Takeaways
- Not all essentials are necessary for every trip; tailor your gear based on hike length, terrain, and weather conditions.
- Prioritize versatile, multi-use items to minimize weight while maintaining safety and preparedness.
- Understanding your specific environment helps determine which essentials—like signaling tools or shelter—are truly needed.
- Carrying all 10 essentials offers maximum safety, but some can be optional if risk is low or backup options are available.
- Regularly review and adjust your gear list to ensure you have the right essentials without unnecessary bulk.
Top picks for "essential really need"
Open Amazon search results for this keyword.
As an affiliate, we earn on qualifying purchases.
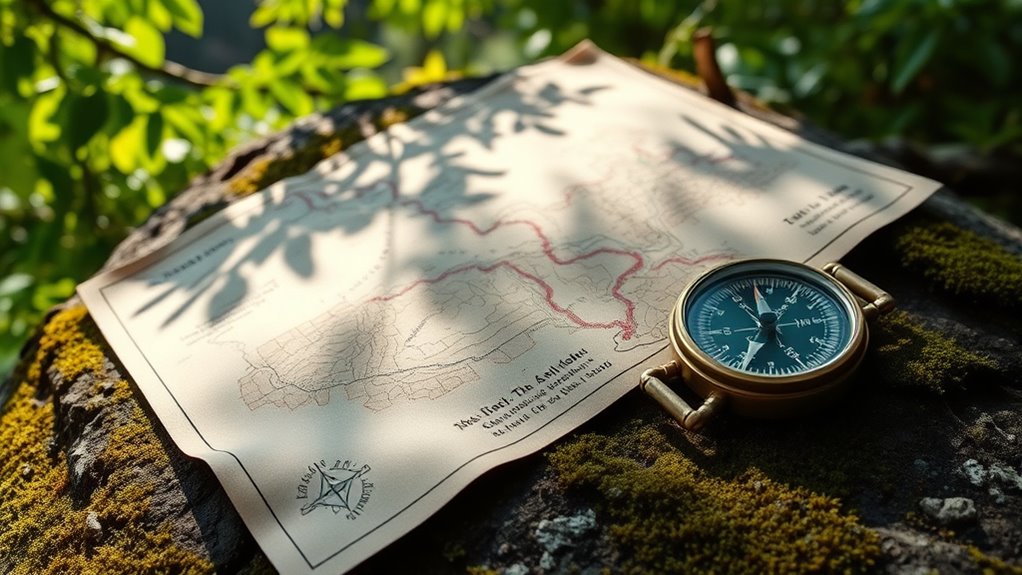
Navigation tools are essential for staying on track and ensuring your safety during a hike. Whether you prefer a paper map, a compass, or a GPS device, having reliable navigation options helps you avoid getting lost. A map provides a visual overview of the terrain, while a compass helps you orient yourself and find direction even without signal. GPS devices offer real-time location data, making navigation easier, especially in unfamiliar areas. However, don’t rely solely on electronic devices; batteries can die, and signals can be lost. Combining these tools gives you backup options, so you’re prepared for any situation. Practice using each one before your trip to build confidence and make sure you can navigate confidently when needed.
Sun Protection: Sunscreen, Sunglasses, and Hat
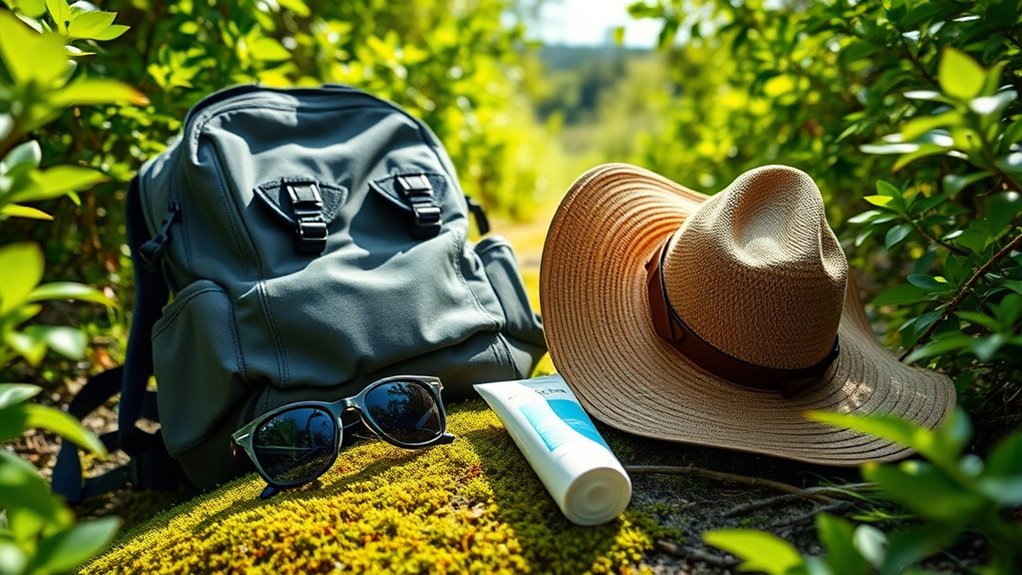
To protect your skin and eyes from the sun’s rays, choose a broad-spectrum sunscreen that shields against UVA and UVB. Make sure to wear UV-protection sunglasses to guard your eyes and reduce glare. A wide-brim hat offers essential shade and helps keep you cool during your hike.
Choose Broad-Spectrum Sunscreen
Choosing the right sunscreen is crucial for effective sun protection while hiking. Opt for a broad-spectrum formula that guards against both UVA and UVB rays. Look for labels with an SPF of at least 30, providing sufficient coverage for extended outdoor activity. Apply sunscreen generously to all exposed skin at least 15 minutes before heading out. Reapply every two hours, or more often if you’re sweating or swimming. Don’t forget areas like your ears, neck, and the back of your legs. While sunscreen is essential, it’s not a substitute for protective clothing or seeking shade when possible. Using a broad-spectrum sunscreen ensures you’re better protected from sun damage, helping you enjoy your hike without worry.
Wear UV-Protection Sunglasses
Wearing UV-protection sunglasses is a simple yet effective way to shield your eyes from harmful rays during a hike. UV rays can cause long-term eye damage, including cataracts and macular degeneration. When choosing sunglasses, look for those labeled with 100% UV protection or UV400. Wraparound styles offer better coverage, blocking rays from all angles. Don’t forget to keep them secure to prevent loss on uneven terrain. Good sunglasses reduce glare, improve visibility, and reduce eye strain, especially in bright environments. They’re especially important at higher altitudes, where UV exposure increases. Even on cloudy days, UV rays penetrate through clouds, so sunglasses are a must. Protecting your eyes is a small step that makes a big difference in maintaining your vision and comfort during your hike.
Opt for Wide-Brim Hat
A wide-brim hat provides essential sun protection by shielding your face, neck, and ears from harmful rays. It helps prevent sunburns and reduces the risk of skin damage during long hikes. When choosing one, consider these factors:
- Brim width – Make sure it’s wide enough to cover your face and neck comfortably.
- Material – Opt for lightweight, breathable fabrics like nylon or polyester.
- UPF rating – Look for hats with UPF protection for added sun-blocking benefits.
- Ventilation – Choose hats with mesh panels or vents to keep your head cool on hot days.
Wearing a wide-brim hat is a simple yet effective way to stay protected, keep cool, and enjoy your hike without worrying about sun exposure.
Insulation: Extra Clothing and Layering Options
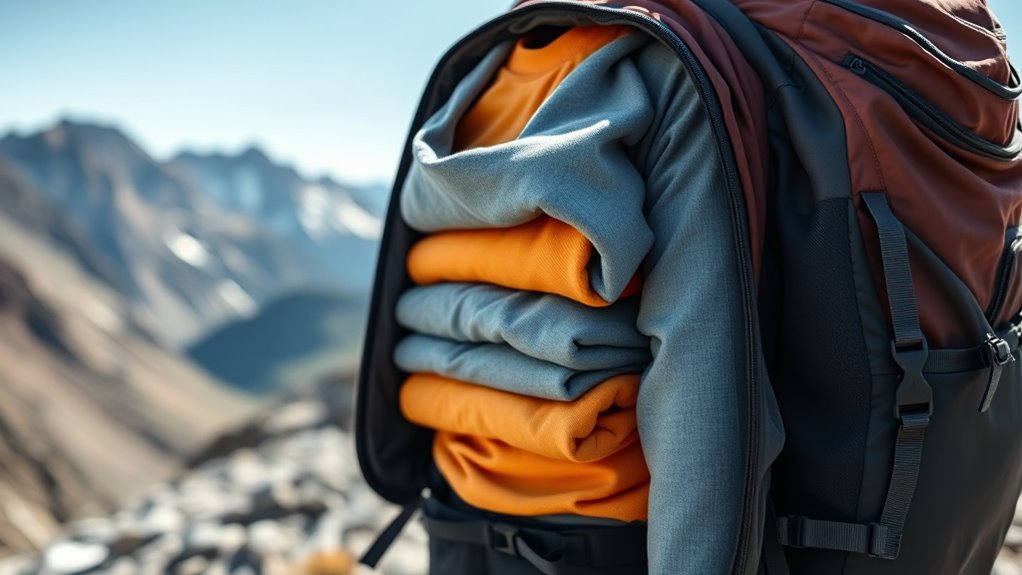
When the weather turns colder or wind picks up, having extra clothing and layered options becomes essential for staying warm and comfortable. You should pack moisture-wicking base layers to keep sweat away from your skin, insulating mid-layers like fleece or down jackets for warmth, and a waterproof shell to protect against rain and wind. Layering lets you adjust your clothing as conditions change, preventing overheating or chills. Consider packing an extra pair of socks and gloves for added insulation during breaks or in colder spots. Always choose lightweight, packable layers that won’t weigh you down. Proper insulation guarantees you stay warm without unnecessary bulk, helping you maintain energy and comfort throughout your hike.
Illumination: Headlamps and Flashlights
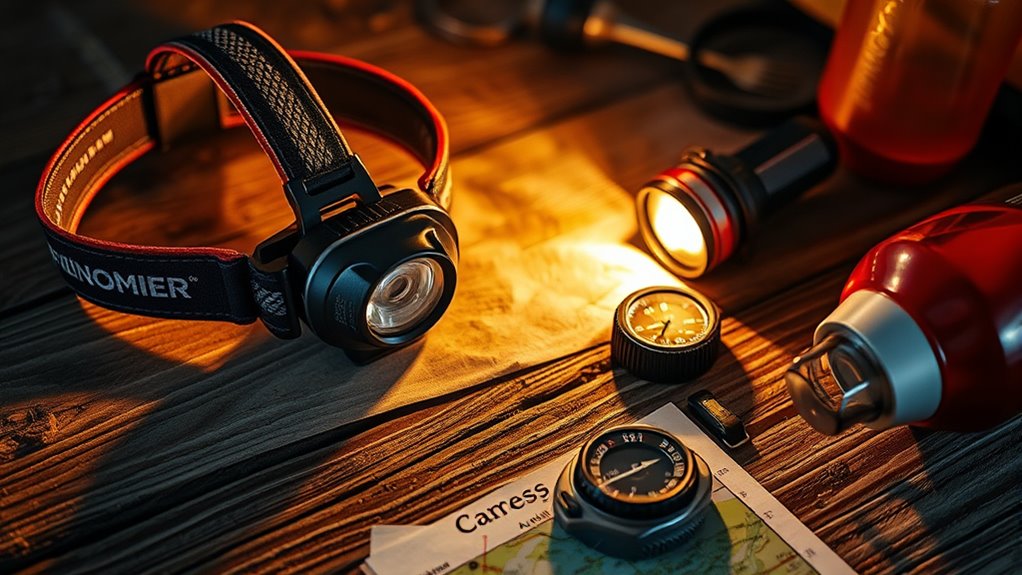
Having reliable illumination is essential for safe and efficient hiking, especially when daylight fades or conditions grow darker. Proper lighting helps you see obstacles, trail markers, and potential hazards. When choosing headlamps or flashlights, consider these key factors:
- Brightness: Look for a light with adjustable lumen levels to suit different situations.
- Battery Life: Ensure it offers sufficient runtime for your hike’s length.
- Durability: Opt for waterproof and shock-resistant models to withstand weather and rough handling.
- Ease of Use: Select lights with simple controls and comfortable straps for quick access and comfort.
First-Aid Supplies
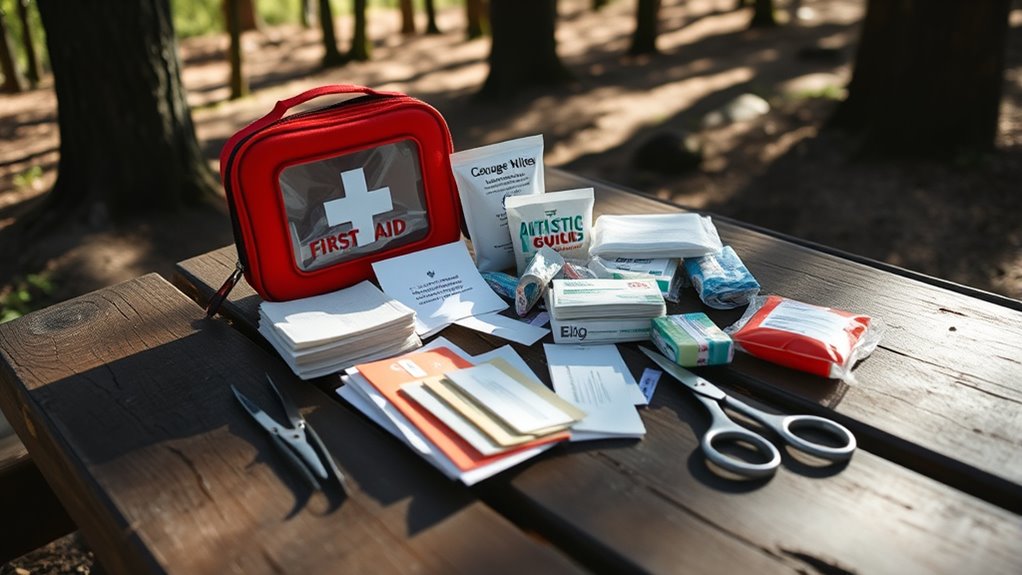
Carrying a well-stocked first-aid kit is essential for addressing injuries promptly and preventing minor issues from worsening during your hike. Accidents happen unexpectedly, and having the right supplies can make all the difference. A basic kit should include bandages, antiseptic wipes, pain relievers, and tweezers. Knowing how to use these items quickly can prevent infections and ease discomfort. To help you prepare, here’s a quick overview:
| Item | Purpose | Quantity |
|---|---|---|
| Bandages | Cover cuts and scrapes | Several |
| Antiseptic wipes | Clean wounds | Packets |
| Pain relievers | Reduce pain and inflammation | Small bottles |
| Tweezers | Remove splinters | One |
| Gauze pads | Control bleeding | A few |
Stay prepared to keep your hike safe and enjoyable.
Fire-Starting Gear
When choosing fire-starting gear, you need reliable tools like waterproof matches, lighters, or fire starters. Knowing effective ignition techniques guarantees you can light a fire quickly and safely when needed. Always follow safety precautions to prevent accidents and protect both yourself and the environment.
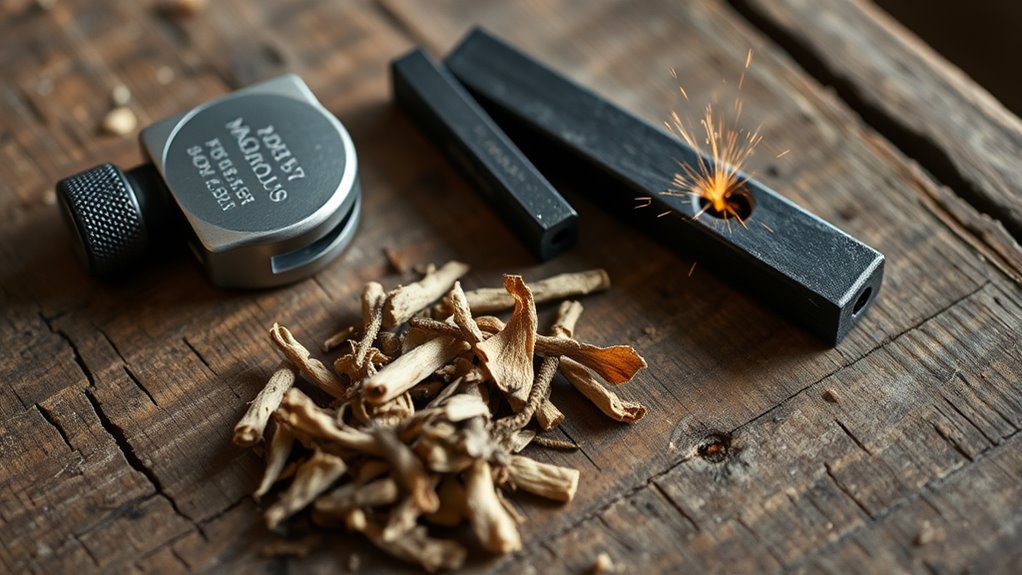
Suitable Fire-Starting Tools
Choosing the right fire-starting tools can make all the difference when you need a quick, reliable spark in the wilderness. You want gear that’s lightweight, effective, and dependable. A versatile fire starter will help you ignite tinder easily and handle different weather conditions. Consider these essential tools:
- Waterproof matches or a windproof lighter for quick ignition.
- Fire steel or ferrocerium rod, which work even when wet.
- Tinder materials like cotton balls, dryer lint, or commercial fire starters.
- Compact fire starter kits that combine multiple tools for convenience.
Having a combination of these ensures you’re prepared for various situations, increasing your chances of successfully starting a fire regardless of weather or terrain. Choose quality gear to avoid frustration and stay safe in the wild.
Effective Ignition Techniques
Mastering effective ignition techniques is essential for reliably starting a fire in the wilderness. Your success depends on choosing the right method and practicing it regularly. Using a ferrocerium rod, for example, creates sparks that ignite tinder quickly, especially when dry. Techniques like creating a small pile of tinder and gently blowing to foster combustion improve your chances. Here’s a quick comparison:
| Method | Best For | Key Tip |
|---|---|---|
| Ferrocerium rod | Quick ignition | Use sharp strikes |
| Waterproof matches | Wet conditions | Keep dry and protected |
| Lighter | Ease of use | Keep fuel topped up |
| Firesteel & striker | Multiple uses | Practice your strikes |
| Spark-based fire | Emergency situations | Use dry tinder |
Master these techniques, and you’ll boost your confidence to start a fire whenever needed.
Safety Precautions Needed
Ensuring safety while handling fire-starting gear is essential to prevent accidents and injuries in the wilderness. Always keep your fire-starting tools away from flammable materials and never leave a fire unattended. Before igniting, check your surroundings for dry grass, leaves, or other combustible debris. Use waterproof containers for matches or lighters to prevent accidental ignition. Additionally, always have a plan to extinguish the fire completely before leaving the site.
Here are four safety precautions to follow:
- Keep fire-starting gear in a secure, accessible location.
- Avoid using fire in windy conditions to prevent spreading.
- Never attempt to start a fire in restricted or unsafe areas.
- Ensure you have enough water or dirt nearby to extinguish flames promptly.
Repair Kit and Tools

Having a well-stocked repair kit and the right tools can be a lifesaver when your gear breaks or malfunctions on the trail. You might encounter a torn tent, a broken zipper, or a snapped pole, and quick repairs can save your trip. Pack essentials like duct tape, a multi-tool or Swiss Army knife, extra cord, and safety pins. Include a small sewing kit for fabric tears, super glue for quick fixes, and spare batteries or chargers for electronic devices. These tools enable you to handle minor repairs on the spot, preventing small issues from turning into major setbacks. Regularly check your kit to ensure everything is functional and up-to-date. Being prepared with repair tools keeps you confident and self-sufficient, so you can focus on enjoying your hike.
Food and Hydration
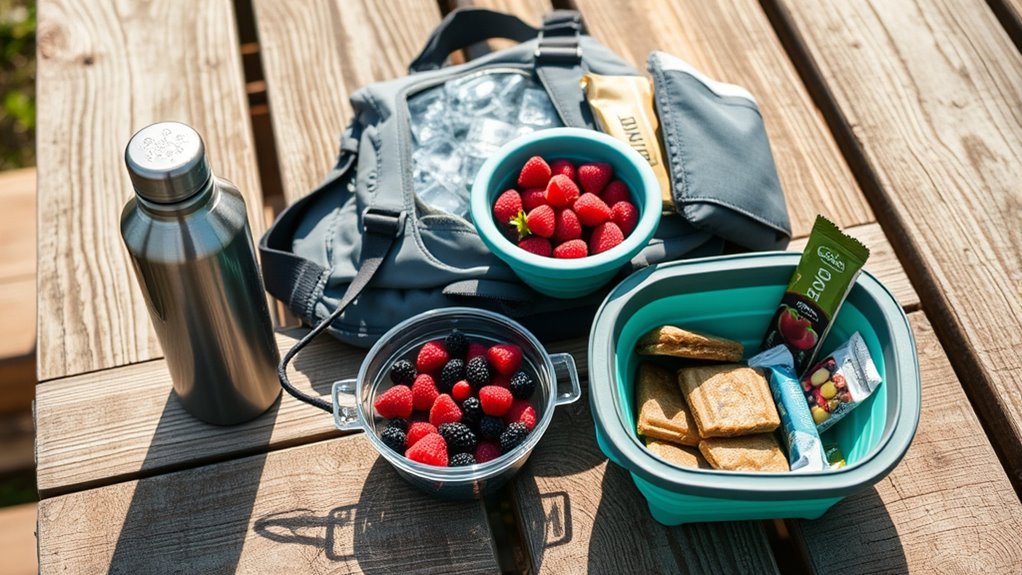
Did you bring enough food and water for your hike? Proper hydration and nutrition keep you energized and prevent fatigue or dehydration. Before heading out, check your supplies to verify you have what you need. Consider these essentials:
- Water bottles or hydration packs – enough to last your entire trip, plus extra.
- Electrolyte drinks or tablets – to replenish lost salts and minerals.
- High-energy snacks – nuts, trail mix, energy bars, or dried fruit for quick fuel.
- Light, compact meals – if you’re out longer, like trail-ready sandwiches or jerky.
Balancing water intake and snacks is vital, especially in hot weather or on challenging terrain. Staying hydrated and nourished keeps your body functioning at its best throughout your hike.
Emergency Shelter or Extra Tent
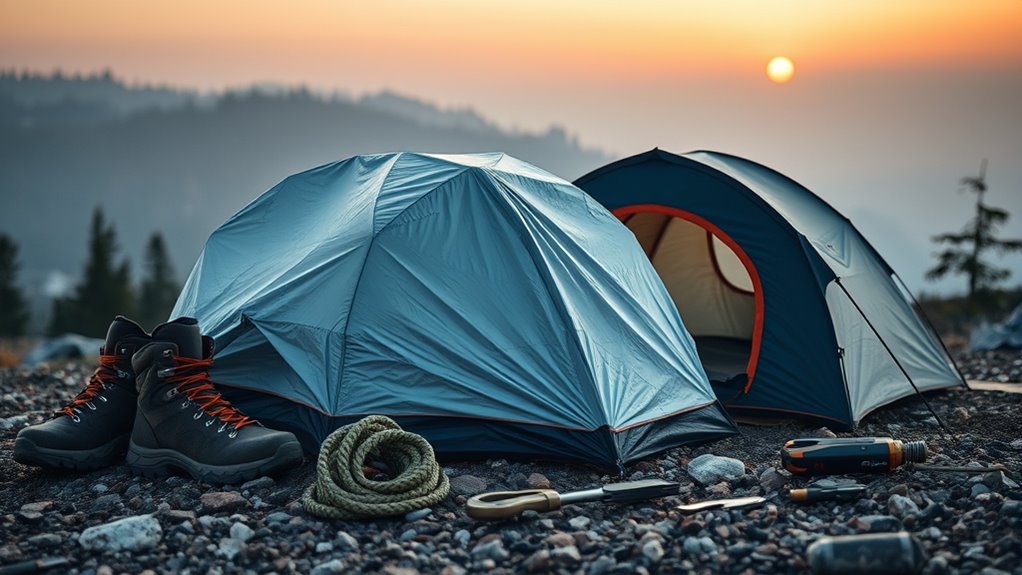
While staying nourished and hydrated keeps you energized during your hike, it’s equally important to prepare for unexpected situations. Carrying an emergency shelter or extra tent can be a lifesaver if weather turns harsh or you get lost. A lightweight, compact tarp or bivvy bag provides protection from rain, wind, and cold, helping you stay warm and dry. An extra tent or shelter can also serve as a safe space for rest or as a signal point for rescue teams. Even if you don’t expect severe weather, unforeseen circumstances like gear failure or injury make having a backup shelter worthwhile. It’s a simple addition that can considerably improve your safety and comfort, giving you peace of mind on the trail.
Communication Devices and Signaling Equipment
Having reliable communication devices and signaling equipment can be lifesavers if you get lost or injured. You need to understand the best emergency signaling tools to carry and be aware of their range limits to avoid false security. Don’t forget to check your batteries regularly, so your devices stay functional when you need them most.
Emergency Signaling Tools
When you’re out on the trail, having reliable emergency signaling tools can make all the difference if you find yourself in distress. These tools help you attract attention and get rescued quickly. First, a whistle is compact and effective; three short blasts are a universal distress signal. Second, mirror signals can reflect sunlight to catch a rescuer’s eye from a distance. Third, personal locator beacons (PLBs) transmit your location via satellite, ideal for remote areas. Fourth, flare or signal fires can be seen from afar but require caution to prevent wildfires. Carrying these items guarantees you have multiple ways to alert others in emergencies. Always familiarize yourself with their proper use before heading out to maximize their effectiveness when it matters most.
Communication Range Limits
Ever wonder how far your communication devices can truly reach in the wilderness? Most handheld radios and cell phones have limited ranges, often between a few hundred yards to several miles, depending on terrain and obstructions. Dense forests, mountains, and valleys can considerably reduce signal strength, making it tough to stay connected. If you’re relying solely on a cell phone, remember that coverage isn’t guaranteed in remote areas. Two-way radios may offer more reliable short-range communication but still have their limits. It’s essential to understand these boundaries before heading out. Don’t assume your devices will work perfectly everywhere. Planning for these range limitations helps you set realistic expectations, ensuring you’re prepared with alternative signaling methods or more advanced communication tools if needed.
Battery Life Concerns
Your communication devices and signaling equipment are only as reliable as their battery life, which can quickly become a problem in remote areas. Without enough power, you risk losing contact or failing to signal for help when needed. To avoid this, consider these key points:
- Carry extra batteries or portable power banks to extend device use.
- Use power-saving modes on your devices to conserve battery life.
- Limit device use to essential communication and signaling only.
- Regularly monitor battery levels, especially before critical points in your hike.
Frequently Asked Questions
How Do I Choose the Right Navigation Tool for Different Terrains?
You should choose your navigation tool based on the terrain you’re exploring. For well-marked trails, a simple map or smartphone GPS works well. In remote or rugged areas, carry a compass and topographic map for reliability. If you’re in dense forests or mountains, consider a GPS device with altimeter and compass features. Always combine tools for redundancy—this guarantees you stay on track no matter the terrain.
What Are the Best Sun Protection Items for Cloudy Days?
On cloudy days, your best sun protection items are a broad-spectrum sunscreen with at least SPF 30, sunglasses to shield your eyes from UV rays, and a wide-brim hat to protect your face and neck. You should also consider lightweight, long-sleeved clothing for extra coverage. Even when it’s overcast, UV rays can harm your skin, so don’t skip these protective measures to stay safe during your hike.
When Should I Layer up Versus Pack Extra Clothing?
You should layer up when the weather is unpredictable or when temperatures fluctuate during your hike. If you’re facing cold mornings or evenings, pack extra clothing to stay warm. When the forecast calls for variable conditions, layering allows you to adjust easily—add a fleece or jacket as needed, then remove layers during warmer parts of your hike. Always consider the forecast and your activity level to decide when to layer or pack extras.
Which Lighting Device Is Safest for Nighttime Hiking?
You should choose a headlamp with a red light option for nighttime hiking because it’s safer and less disruptive to your night vision. Look for models with adjustable brightness and a secure fit. LED headlamps are durable and energy-efficient, making them ideal. Always carry extra batteries, and test your device before heading out. This way, you stay visible without compromising safety or comfort during your hike.
How Much First-Aid Supplies Do I Really Need for a Day Hike?
For a day hike, pack a small first-aid kit with essentials like adhesive bandages, antiseptic wipes, pain relievers, and blister treatment. Studies show most injuries happen within the first few hours, so quick access matters. You don’t need a full medical kit; just enough to handle minor cuts, scrapes, or blisters. Keep it lightweight and organized, ensuring you’re prepared without carrying unnecessary bulk.
Conclusion
Remember, while it’s tempting to carry everything, only take what you truly need to avoid overpacking. Each item on the list serves a purpose, but you can often find a balance that keeps you safe and light on your feet. Trust your judgment, prepare thoughtfully, and don’t bite off more than you can chew. When you’re well-equipped, you’ll be able to handle whatever comes your way — it’s better to be safe than sorry.