
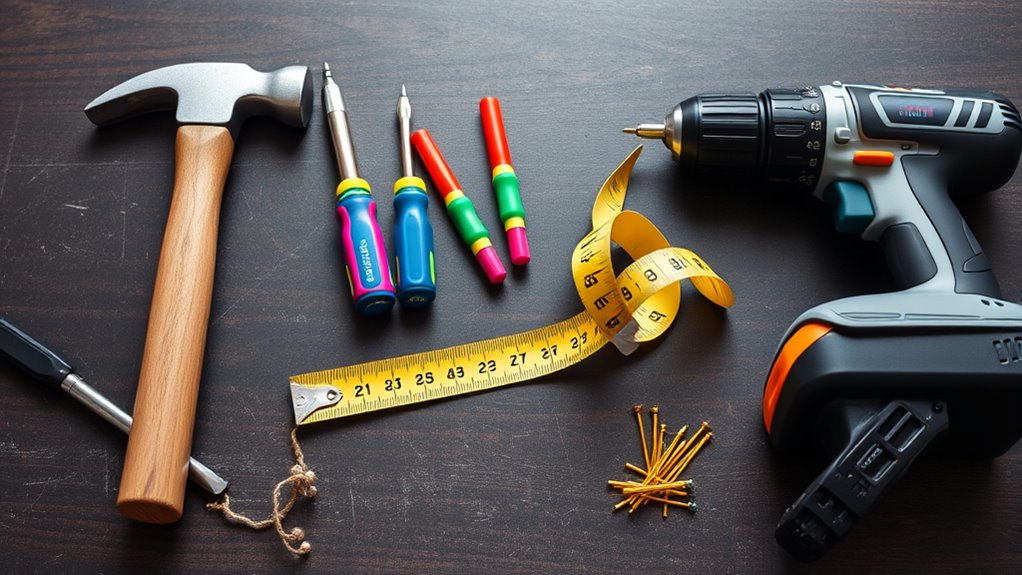
To tackle DIY projects, you need essential tools like a hammer for driving nails, a screwdriver set for screws, and a tape measure for accurate sizing. A power drill makes tasks easier, while a level ensures surfaces stay straight. A utility knife helps with precise cuts, and an adjustable wrench fits various bolts. A stud finder locates hidden wall supports. Don’t forget safety gear like glasses and gloves to stay protected. Keep these tools organized, and you’ll master your projects with confidence.
Key Takeaways
- Essential hand tools like a hammer, screwdrivers, and pliers are crucial for various DIY tasks; learn proper handling and safety.
- Power tools such as a drill and level speed up projects; ensure correct usage and maintenance for safety and efficiency.
- Measurement devices like tape measures and stud finders help achieve accuracy and prevent wall damage during installations.
- Organize and store tools properly in toolboxes or wall racks to ensure longevity, safety, and quick access.
- Always wear safety gear including glasses, gloves, and masks to protect yourself during cutting, drilling, and sanding activities.
Top picks for "tool every diyer"
Open Amazon search results for this keyword.
As an affiliate, we earn on qualifying purchases.
Hammer
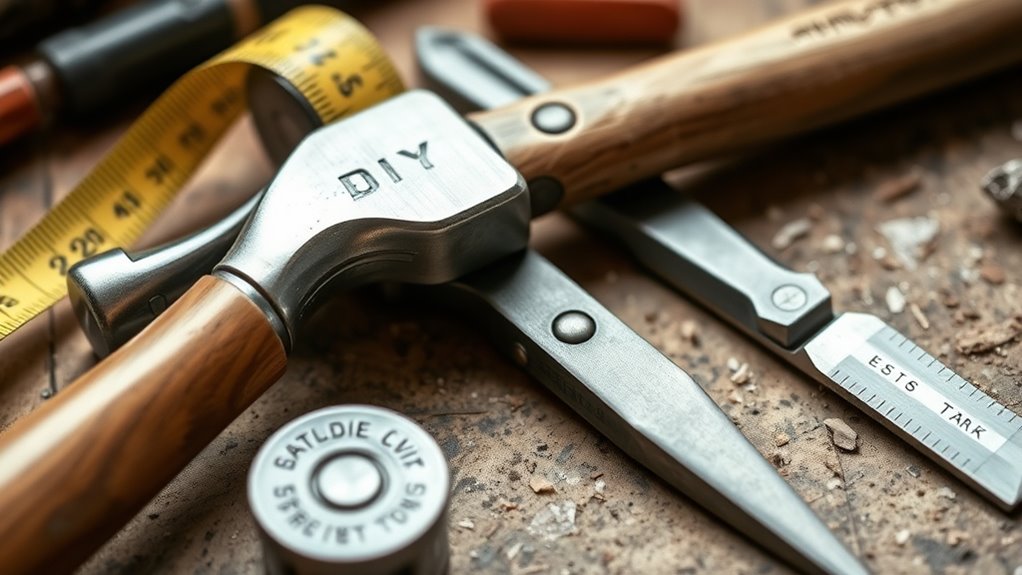
A hammer is one of the most essential tools in any DIY toolkit, perfect for driving nails, fitting parts, or breaking objects. When you use it, choose the right type for your task—claw hammers are versatile for general use, while framing hammers are heavier for heavy-duty jobs. Grip the handle firmly, and swing with controlled force to avoid accidents. Confirm the nail is positioned correctly before hitting to prevent bending or slipping. Keep the hammer’s head clean and free of rust for safety and efficiency. Use a soft surface or protective gloves if you’re working with delicate materials. Regularly inspect your hammer for damage, such as cracks or loose heads, and replace it if necessary. A good hammer makes your projects safer and more effective.
Screwdriver Set
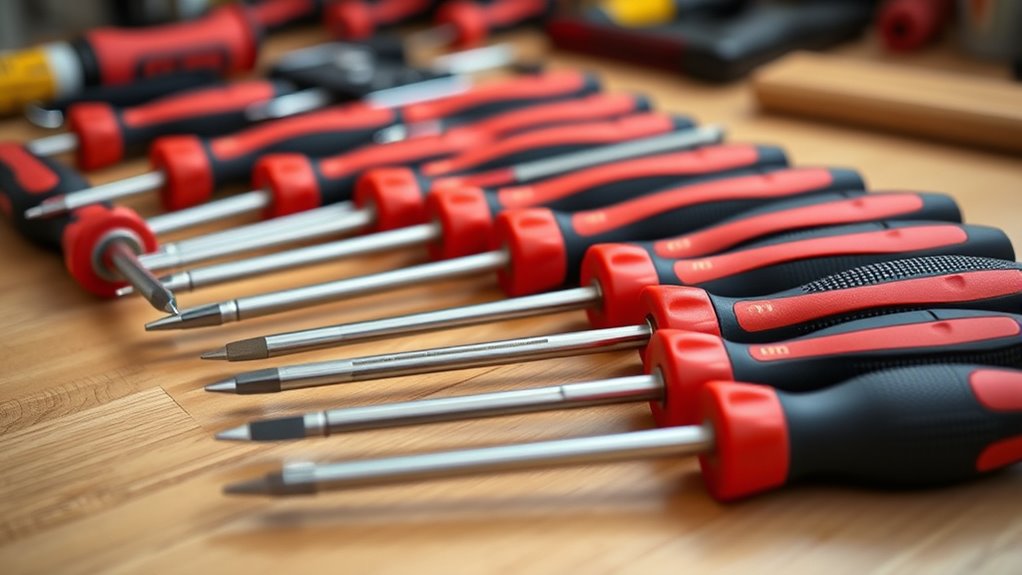
A good screwdriver set includes various types and sizes to handle different tasks easily. You’ll want to learn proper grip techniques to work efficiently and avoid fatigue. Keeping your tools well-maintained and stored correctly guarantees they stay in top shape for all your projects.
Types and Sizes
Choosing the right screwdriver set involves understanding the various types and sizes available. Different screwdrivers are designed for specific tasks, so knowing which to use prevents time and avoids damage. Flathead screwdrivers have a simple, flat blade, perfect for slotted screws. Phillips screwdrivers feature a cross-shaped tip, ideal for Phillips-head screws. Torx screwdrivers have a star-shaped tip, suited for security screws. Sizes also matter; small screwdrivers work on tiny electronics, while larger ones handle heavy-duty tasks. Having a range of sizes ensures you can tackle diverse projects confidently. Always select a screwdriver that fits snugly into the screw head to avoid stripping. Investing in a versatile set with multiple types and sizes keeps your toolbox ready for any job.
Proper Grip Techniques
Ever wonder how your grip affects your control and safety when using a screwdriver set? The way you hold your screwdriver can make a big difference in how effectively and safely you work. Grip the handle firmly but comfortably, avoiding excessive pressure that can cause hand fatigue. Use your dominant hand to grasp the handle, keeping your wrist straight to prevent strain. Position your hand close to the tip of the screwdriver for better torque and control. Keep your fingers wrapped around the handle, applying steady pressure as you turn. For Phillips or flathead screws, align the tip properly to prevent slipping. Remember, a secure grip helps prevent accidents, strips screws, and ensures precision in your work. Proper grip techniques make your DIY projects safer and more efficient.
Maintenance and Storage
To keep your screwdriver set in ideal condition, regular maintenance and proper storage are essential. Clean the blades after use to prevent rust and debris buildup. Keep the handles dry to avoid deterioration. Store your screwdrivers in a toolbox or wall rack, ensuring they don’t get jumbled or damaged. Proper storage prevents warping and keeps your tools organized for quick access. Consider using a magnetic strip or dedicated drawer to keep screwdrivers upright and visible.
| Tip | Benefit |
|---|---|
| Clean blades | Prevents rust and corrosion |
| Store in a toolbox | Keeps tools organized and protected |
| Dry handles | Extends tool lifespan |
| Use a magnetic strip | Easy access and visibility |
Tape Measure
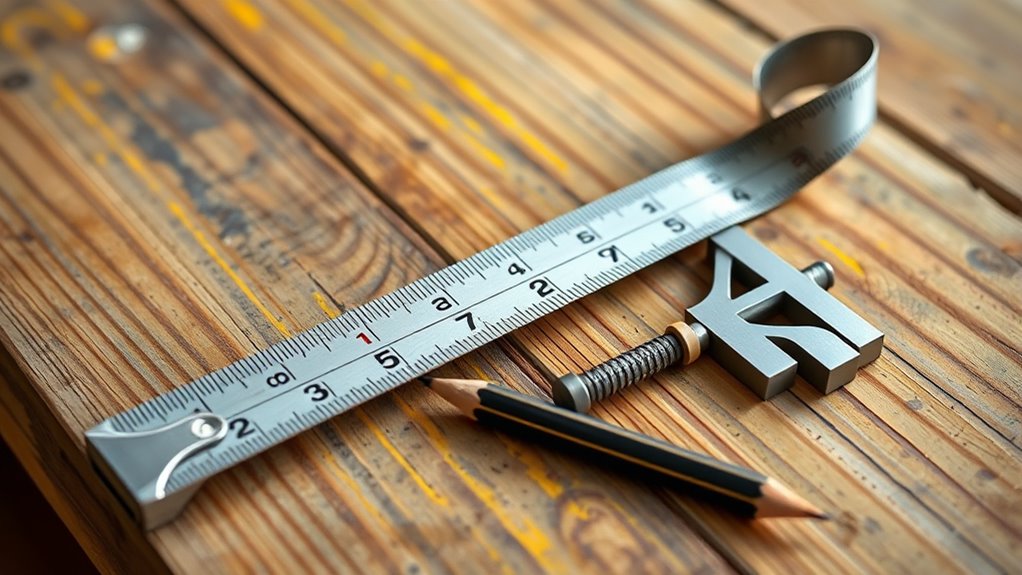
A tape measure is an essential tool for any DIY project, providing quick and accurate measurements with minimal effort. It helps you determine lengths, widths, and depths, ensuring your projects are precise. When using a tape measure, extend the blade smoothly without jerking to avoid inaccuracies. Lock the tape in place with the lock button for steady readings, and always note the measurement from the start of the tape’s zero mark. Retract the tape slowly to prevent it from snapping back too quickly, which could cause injury or damage. Keep the tape clean and free of debris to maintain accuracy. Storing it properly—retracted and in a dry place—extends its lifespan. A reliable tape measure makes every measurement straightforward, boosting your confidence and project quality.
Power Drill

Choosing the right power drill guarantees you get the job done efficiently and safely. You’ll want to take into account the drill’s power, size, and features before making your selection. Mastering essential drilling techniques will help you achieve clean, precise results every time.
Choosing the Right Drill
Finding the right power drill starts with understanding what tasks you’ll use it for. If you’re drilling into wood, a lightweight drill with adjustable speed works well. For tougher materials like concrete, you’ll need a hammer drill with higher power. Consider whether you’ll need versatility—if so, a drill with multiple speed settings and interchangeable bits is ideal.
Look for these features:
- Voltage: Higher voltage means more power, suitable for heavy-duty tasks.
- Chuck size: Larger chucks hold bigger bits, important for bigger projects.
- Battery life: For cordless drills, ensure the battery lasts long enough for your projects.
Matching your needs to these features guarantees you choose a drill that’s reliable and efficient for your DIY projects.
Essential Drilling Techniques
Mastering essential drilling techniques guarantees you use your power drill safely and effectively. First, always choose the right drill bit for the material you’re working with. Secure your workpiece with clamps to prevent slipping. Before drilling, mark the spot precisely and start with a small pilot hole to guide your larger bit. Keep the drill perpendicular to the surface to ensure straight holes. Apply steady pressure—don’t force it—and let the drill do the work. Use the appropriate speed; slower for tougher materials, faster for softer ones. When finished, release the trigger before removing the bit to avoid damage. Regularly check your drill bits for wear and replace them when dull. Proper technique saves time, prevents accidents, and results in cleaner, more accurate holes.
Level
Have you ever struggled to get a level surface when hanging shelves or installing tiles? A good level is essential for accurate work. It helps ensure your projects are straight and professional-looking. To use a level effectively, place it on the surface or object you want to align. Adjust until the bubble is centered between the marked lines.
Here are some tips to keep in mind:
- Check both horizontal and vertical alignment regularly.
- Use a bubble level for quick, visual confirmation.
- For longer surfaces, consider a longer level for better accuracy.
A reliable level saves you time and prevents mistakes, making your DIY projects look polished and precise. Keep one handy, and you’ll always be able to achieve perfect results.
Pliers

Pliers come in various types, each designed for specific tasks like gripping, cutting, or bending. Knowing how to choose the right plier and handle it properly can make your DIY projects safer and more efficient. Let’s explore the different types and proper handling techniques for these essential tools.
Types and Uses
Ever wondered how different types of pliers can make your DIY projects easier? Each type is designed for specific tasks, so choosing the right one guarantees you time and effort. For example, slip-joint pliers are versatile for gripping and turning objects of various sizes. Needle-nose pliers help you reach tight spots and bend wires precisely. Diagonal cutting pliers are perfect for snipping wires and small metal pieces.
Here’s a quick overview:
- Slip-joint pliers: general gripping and turning
- Needle-nose pliers: precision work in tight spaces
- Diagonal cutting pliers: cutting wires and small metal parts
Knowing their uses assures you pick the right tool for each job, making your DIY projects smoother and more efficient.
Proper Handling Techniques
To handle pliers effectively, you need to grasp them properly and use the right technique for each task. Always grip the handles firmly but comfortably to maintain control without overexerting your hand. Use your fingers to operate the tool, avoiding unnecessary pressure on the joints. When gripping objects, position the jaws around the item firmly, ensuring a secure hold before applying force. For cutting tasks, use the cutting edges cleanly and avoid twisting or bending the tool, which can damage it. Keep your hand steady and apply smooth, controlled pressure instead of jerky movements. Regularly check the alignment of the jaws for proper grip. Proper handling not only makes your work more efficient but also prolongs the lifespan of your pliers.
Utility Knife
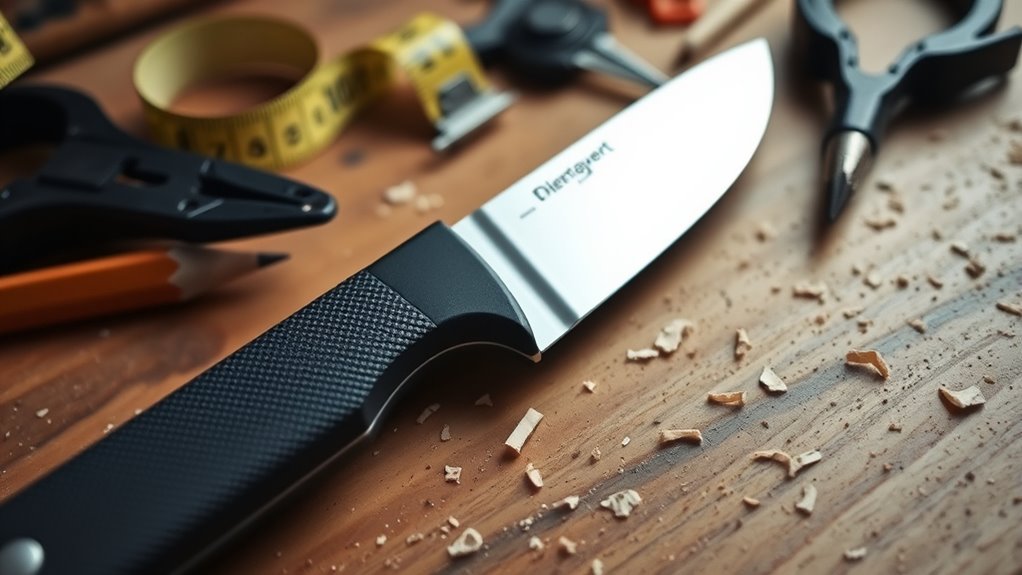
Have you ever struggled to cut through tough materials cleanly? A utility knife is your best friend for these jobs. Its sharp blade helps make precise, controlled cuts on materials like cardboard, drywall, or plastic. To get the most out of your utility knife, keep these tips in mind:
- Always use a sharp blade to avoid jagged edges and reduce effort.
- Extend the blade gradually to maintain control and safety.
- Use a straightedge or guide for accurate cuts.
Remember to handle the utility knife carefully and replace blades when dull. Keep your fingers clear of the blade path, and store it safely when not in use. With these simple practices, you’ll achieve cleaner cuts and safer work sessions.
Adjustable Wrench
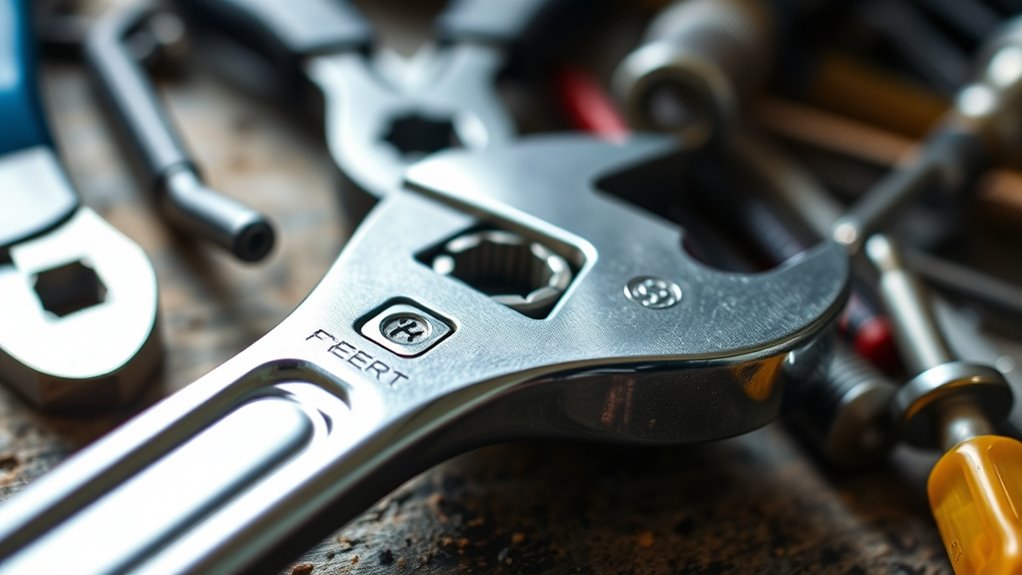
An adjustable wrench is a versatile tool that simplifies gripping and turning nuts and bolts of various sizes. Its adjustable jaw allows you to customize the opening, making it perfect for different fasteners without needing multiple wrenches. To use it effectively, turn the threaded screw to open or close the jaws, then position the wrench around the nut or bolt. Turn the handle clockwise to tighten or counterclockwise to loosen. Keep the wrench snug on the fastener to prevent slipping and damage. This tool is especially handy when working in tight spaces or with fasteners of different sizes, saving you time and effort. Always adjust the jaw tightly before applying force to ensure maximum grip and safety.
Stud Finder
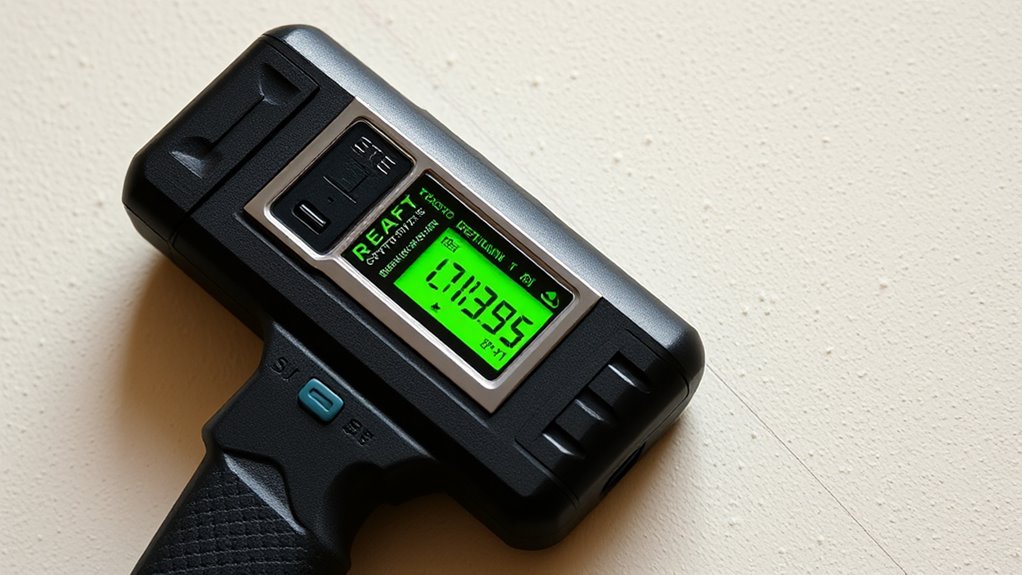
Ever struggled to find wall studs behind drywall? A stud finder makes this task quick and easy. With one, you can locate studs, pipes, or wiring behind walls without guesswork. To get the most out of your tool, keep these tips in mind:
- Calibrate it properly before use for accurate readings
- Move it slowly across the wall to detect edges more precisely
- Mark the stud edges with a pencil for easy reference when hanging items
Choosing the right stud finder depends on your needs—magnetic models work well for metal nails, while electronic ones detect changes in wall density. Using this tool conserves time, prevents unnecessary damage, and ensures your projects are secure and level.
Safety Gear
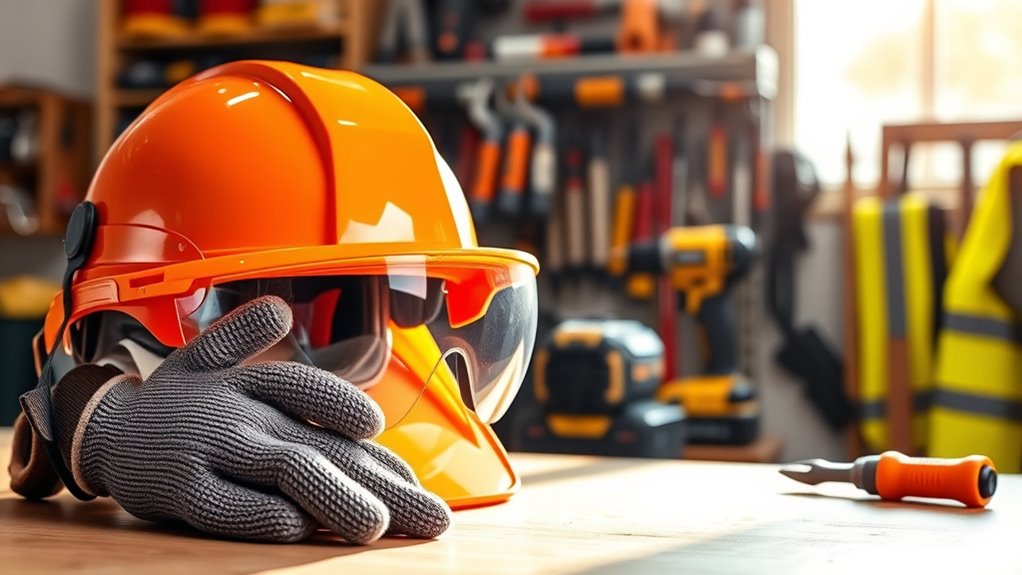
Safety gear is essential to protect yourself from potential hazards while working on DIY projects. Wearing the right equipment minimizes injuries and keeps you safe. The basics include safety glasses, gloves, and a dust mask. Depending on your task, consider ear protection, knee pads, or a hard hat. Here’s a quick overview:
| Gear | Purpose | When to Use |
|---|---|---|
| Safety glasses | Protect eyes from debris | Cutting, sanding, drilling |
| Gloves | Shield hands from cuts, chemicals | Handling sharp or hazardous materials |
| Dust mask | Prevent inhalation of dust | Sanding, grinding |
| Ear protection | Reduce noise exposure | Using loud power tools |
| Knee pads | Protect knees during crawling | Flooring, tiling |
Always prioritize safety gear to keep your DIY experience safe and enjoyable.
Frequently Asked Questions
How Do I Choose the Right Size Screwdriver for Different Screws?
To select the right size screwdriver, first identify the screw’s head type—Phillips, flathead, or others. Then, match the screwdriver’s tip width and depth to the screw’s slot or cross. Using a properly sized screwdriver guarantees a snug fit, prevents stripping, and makes your work easier. Always test fit before applying full pressure. If it’s tight, switch to a slightly larger size; if loose, try a smaller one.
What Safety Precautions Should I Take When Using Power Tools?
When using power tools, you should always wear safety gear like goggles and hearing protection. Keep your work area clean and free of clutter to prevent accidents. Read the instruction manual thoroughly before operating any tool. Confirm the tool is unplugged when changing accessories or making adjustments. Avoid loose clothing or jewelry, and keep your hands away from moving parts. Stay focused and never rush to reduce the risk of injury.
How Do I Calibrate a Level for Accurate Measurements?
To get your level spot on, you need to calibrate it like a pro. First, place the level on a flat, stable surface and check the bubble’s position. If it’s off, adjust the vial or replace it if needed. Then, flip the level and repeat. If the bubble’s in the same spot, you’re good to go. Remember, a little effort now saves headaches later.
What Are the Best Materials for Safety Gear in DIY Projects?
You should choose safety gear made from durable, high-quality materials like impact-resistant polycarbonate for goggles and face shields, heavy-duty rubber or leather for gloves, and breathable, flame-resistant fabrics for clothing. These materials protect you from debris, sparks, and chemicals during your projects. Make sure your safety gear fits well and is comfortable so you’ll wear it consistently, ensuring maximum safety while working on your DIY projects.
How Can I Maintain and Store My Tools Properly?
You stumble upon a rusty hammer in your toolbox and realize proper maintenance keeps tools in top shape. To do this, clean your tools after each use, dry them thoroughly, and oil moving parts to prevent rust. Store them in a dry, organized space, preferably hanging or in a toolbox with compartments. Regularly inspect for damage, and replace worn-out tools promptly to guarantee safety and efficiency on your projects.
Conclusion
Having these 10 essential tools guarantees you’re prepared for almost any DIY project. Did you know that 75% of home repairs can be tackled with just a few basic tools? With the right equipment and some confidence, you’ll save time and money while boosting your skills. Keep your tools organized and maintain them well—your future DIY projects will thank you. Start simple, stay safe, and enjoy transforming your space!