
The secret to perfect caulking lies in preparing your tools, like using a quality caulk gun for even application, and applying steady, deliberate pressure while moving smoothly along the joint. Practice your technique on scrap first, smoothing the bead with a damp finger or tool for a clean finish. Patience is key—rushing leads to messy lines. Keep these tips in mind, and you’ll soon master getting flawless, professional-looking results every time.
Key Takeaways
- Use a quality caulk gun to maintain smooth, even pressure during application.
- Apply caulk slowly and steadily, avoiding quick bursts for cleaner lines.
- Smooth the bead immediately with a damp finger or tool for a professional finish.
- Practice on scrap material to develop steady control and precise technique.
- Be patient and focused, ensuring deliberate movements for neat, mess-free caulking.
Ever wonder what separates a neat, professional-looking caulk line from a messy, uneven one? The secret lies in your ability to master precision control and smoothing techniques. When you focus on these aspects, you’ll find that creating flawless caulking becomes much easier, even if you’re new to it. The key is to take your time and develop a steady hand, which allows you to lay down a clean, consistent bead of caulk that adheres perfectly to the surfaces. Proper preparation of your tools and materials can also significantly impact your results, ensuring a smoother application process.
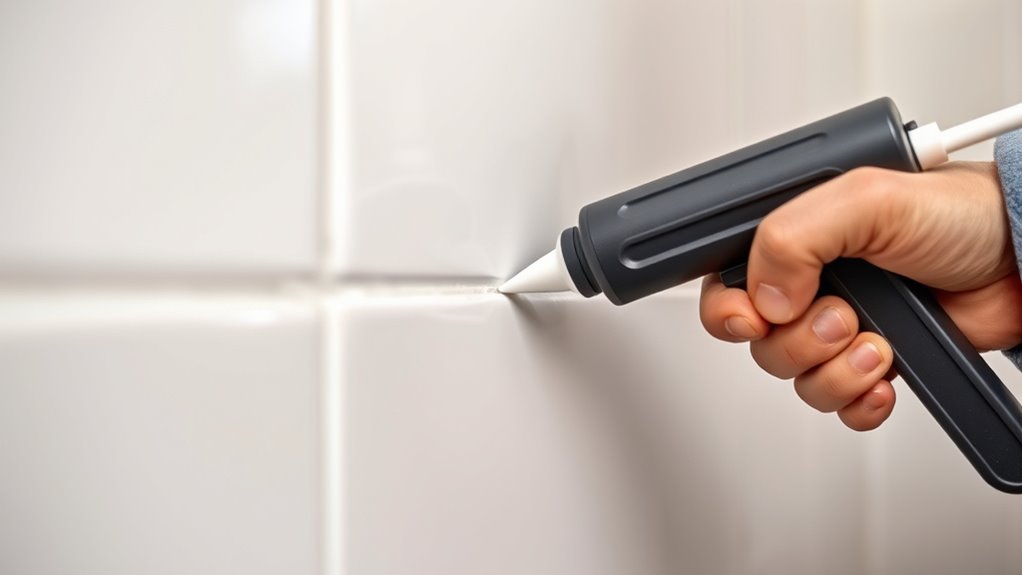
First, guarantee your tools are in top shape. Use a quality caulk gun that provides smooth, even pressure, giving you better control over how much caulk is dispensed. When applying, start with a slow, steady squeeze—rushing leads to uneven lines and excess mess. Maintaining a consistent speed helps you keep control, resulting in a more uniform bead. Remember, precision control is about deliberate movement, not speed. Take your time to move the gun smoothly along the joint, focusing on steady hand movements rather than quick bursts.
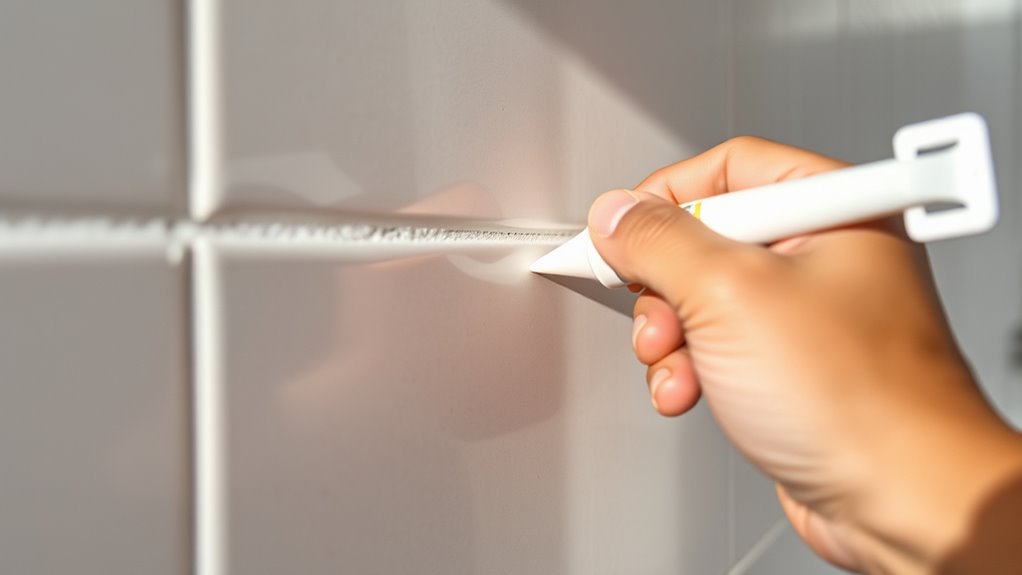
Once you’ve laid down the bead, smoothing techniques become your best friend. Dipping your finger or a caulk smoothing tool in water or a mild soapy solution helps create a sleek finish. Run your finger along the bead with light pressure, applying even force to shape the caulk into a smooth, continuous line. If you’re using a tool, press gently and drag it along the bead, maintaining consistent pressure. This step is vital because it helps you eliminate any gaps, ridges, or air pockets that can compromise the appearance and durability of your caulking.
Practicing your smoothing techniques on scrap material before working on the actual project can boost your confidence and help you develop a steady hand. Keep a steady pace and avoid pressing too hard, which can deform the bead or create unwanted indentations. If you make a mistake, don’t panic—use a damp cloth or a paper towel to wipe away excess caulk and try again. The more you practice, the better your control over the process, leading to crisp, clean lines that look professional.
In the end, mastering precision control and smoothing techniques isn’t about rushing; it’s about patience and focus. With consistent practice, you’ll learn how to apply just the right amount of caulk and shape it flawlessly, transforming a messy, uneven line into a sleek, professional finish that enhances the look and integrity of your project. Developing exfoliation techniques can also help improve the overall surface quality, making your work even more polished.
Top picks for "secret perfect caulk"
Open Amazon search results for this keyword.
As an affiliate, we earn on qualifying purchases.
Frequently Asked Questions
What Type of Caulk Is Best for Outdoor Use?
For outdoor use, you should choose a silicone-based caulk because it offers excellent weather resistance and UV stability, ensuring it withstands sun, rain, and temperature changes. It adheres well to various surfaces and remains flexible over time, preventing cracks. Look for high-quality, exterior-grade silicone caulks to keep your projects durable and looking great, no matter the weather conditions.
How Long Does Caulk Typically Take to Dry?
Did you know that most caulks dry within 24 hours? When you apply caulk, it typically takes about 24 hours for the drying times to complete, but the curing process can extend up to 7 days depending on the type and thickness. During this period, avoid exposing it to water or heavy use to make certain of a proper seal. Patience guarantees your caulk adheres perfectly and lasts longer.
Can I Repaint Over New Caulking?
Yes, you can repaint over new caulking once it’s fully cured. To guarantee a smooth finish, follow cleaning tips like gently removing dust and dirt from the caulk surface. Use a color-matching paint to blend seamlessly with your wall or trim. Lightly sand the caulk if needed, then apply your paint in thin, even coats for the best results. Always wait until the caulk is completely dry before painting.
How Do I Remove Old Caulk Effectively?
To remove old caulk effectively, start by softening it with a caulk remover or heat gun. Use a utility knife or caulk removal tool to carefully cut and scrape away the old caulk, making sure to get into corners and edges. Clean up the area with a damp cloth to remove residue. Proper caulk removal guarantees a smooth surface for new caulking and prevents future messes or adhesion issues.
Is There a Tool That Helps Apply Caulk Evenly?
Imagine you’re sealing a bathroom seam, and you want smooth, even caulk application. A caulk smoothing tool, like a silicone spatula or a specialized caulking tool, helps you achieve perfect results. These tools assist with application techniques, ensuring the caulk is evenly spread and neatly finished. Using one makes your job easier, minimizes mess, and results in a professional-looking seal—no more uneven or messy lines.
Conclusion
Now that you know the secret to perfect caulking, you’ll save time and avoid messy lines every time. Did you know that improperly sealed gaps can cause up to 30% of energy loss in your home? By mastering these simple techniques, you’ll not only achieve a clean, professional look but also improve your home’s efficiency. So go ahead, apply these tips confidently—you’ll be surprised at how easy perfect caulking really is!