To make your own chalk paint and save money, mix equal parts of latex paint and plaster of Paris or calcium carbonate, stirring thoroughly until smooth. For color, add your preferred pigment or chalk paint essence. Apply the mixture on furniture using a quality brush or roller, using multiple thin coats for the best finish. Sand lightly between coats if needed, and finish with sealing wax for durability. Keep exploring for more tips and tricks!
Key Takeaways
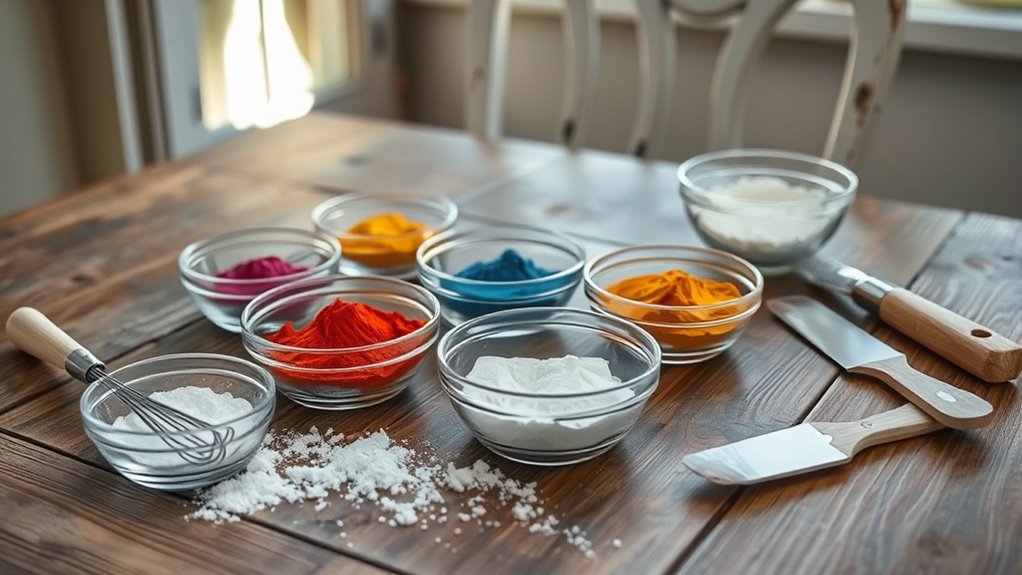
- Mix plaster of Paris or calcium carbonate with latex or acrylic paint for a budget-friendly chalk paint.
- Use common household ingredients like baking soda or unsanded grout to customize your paint.
- Ensure thorough stirring and blending to prevent streaks and achieve a smooth, consistent finish.
- Apply multiple thin coats with a high-quality brush or roller for even coverage and durability.
- Finish with a clear wax or sealant to protect your painted surface and enhance the look.
Are you tired of searching for the perfect chalk paint but hesitant to spend a fortune? Making your own chalk paint is a simple, cost-effective way to achieve that trendy, matte finish without breaking the bank. The key starts with understanding painting techniques and surface prep, both of which are vital to getting professional-looking results. When you begin, focus on surface prep because the success of your project depends on a clean, smooth surface. Start by removing any old paint, dirt, or grease with a gentle cleaner or sandpaper. Lightly sanding your piece helps create a better bond for your homemade paint and prevents chipping or uneven coverage. If the surface is especially glossy or slick, use a primer or a bonding agent to guarantee the paint adheres properly. Proper surface prep is often overlooked but makes all the difference in the durability and appearance of your finished piece.
Once your surface is ready, you can plunge into the actual painting techniques. Making your own chalk paint generally involves mixing a few simple ingredients, but the real skill lies in applying it correctly. Use a high-quality brush or a foam roller to achieve even coverage, working in smooth, overlapping strokes. Don’t rush; applying multiple thin coats results in a more polished finish than one thick layer. Between coats, allow sufficient drying time as indicated by your paint mixture, and lightly sand the surface if you want an ultra-smooth, distressed look. Remember, the way you apply the paint contributes considerably to the final appearance—techniques like dry brushing or feathering can add texture and character if you want a more rustic look.
Achieve a flawless finish with thin, even coats and expert application techniques like dry brushing for rustic charm.
Additionally, pay attention to your environment. Painting in a dust-free, well-ventilated area helps prevent debris from settling into your fresh paint. Always stir your mixture thoroughly to maintain consistency throughout the project, especially if you’re making a large batch. If you notice any streaks or uneven spots, lightly sanding and reapplying a thin coat can make a big difference. Finishing touches like waxing or sealing will enhance the look and protect your work, but always follow your paint’s drying instructions for the best results.
In short, making your own chalk paint saves money and allows you to customize colors and finishes to match your style. The secret to success lies in proper surface prep and mastering painting techniques—taking your time to prepare and apply your paint carefully will reward you with a beautifully finished piece that looks professionally done.
Frequently Asked Questions
How Long Does Homemade Chalk Paint Last?
Homemade chalk paint typically lasts around 6 months to a year, depending on storage conditions. You should check its paint durability before use; if it develops a foul smell, mold, or separates, it’s time to toss it. Keep it in an airtight container and store it in a cool, dry place to extend its shelf life. Proper storage helps guarantee your paint remains effective and safe for your projects.
Can I Add Color to My DIY Chalk Paint?
Yes, you can add color to your DIY chalk paint. Just do some color mixing by adding your chosen pigment or acrylic paint into the base mixture. Make sure to stir thoroughly to achieve an even color and check the paint consistency to ensure it’s smooth and not too thick or thin. Adjust the amount of color until you reach your desired hue, then proceed with your project.
Is Homemade Chalk Paint Suitable for Outdoor Furniture?
Absolutely, homemade chalk paint can be suitable for outdoor furniture if you enhance its outdoor durability. Add a weather-resistant sealant or topcoat to boost weather resistance, protecting your piece from rain, sun, and snow. Proper preparation, like cleaning and sanding, combined with sealing, guarantees your DIY chalk paint withstands outdoor elements. With the right techniques, you can confidently craft colorful, charming outdoor furniture that lasts through the seasons.
What Is the Best Way to Store Leftover Chalk Paint?
To store leftover chalk paint effectively, you should transfer it to an airtight container to guarantee proper paint storage and prevent it from drying out. Seal the lid tightly and label the container with the date. Keep it in a cool, dry place away from direct sunlight. This leftover preservation method helps maintain the paint’s consistency and quality, so you can reuse it for future projects without hassle.
How Many Furniture Pieces Can I Paint With One Batch?
With one batch of homemade chalk paint, you can typically paint 2 to 4 furniture pieces, depending on their size. When planning your furniture projects, consider the paint mixing ratios to guarantee you have enough coverage. Smaller items like chairs or side tables use less paint, while larger pieces need more. Measure your furniture carefully and mix enough paint accordingly to avoid running out mid-project.
Conclusion
Now that you know how to craft your own chalk paint, you’re all set to add a touch of personalized charm to your projects without breaking the bank. With just a few simple ingredients, you can create a beautiful finish that’s uniquely yours. So go ahead, embrace your creative side and enjoy the delightful process of transforming your space—after all, the best things in life often come from a little homemade magic. Happy painting!