
To install a ceiling fan yourself, start by turning off the power and removing the old fixture carefully. Use the proper tools to disconnect the wiring, then securely attach the mounting bracket to the ceiling. Follow the manufacturer’s instructions to connect the wires correctly—usually black or red to black, white to white, and green or copper for ground. Once assembled, turn the power back on and test your fan. Keep going, and you’ll discover more helpful tips to complete your project safely.
Key Takeaways
- Turn off the circuit breaker and verify power is off before starting.
- Remove the existing fixture and install the mounting bracket securely.
- Connect the fan wires to the house wiring following manufacturer instructions.
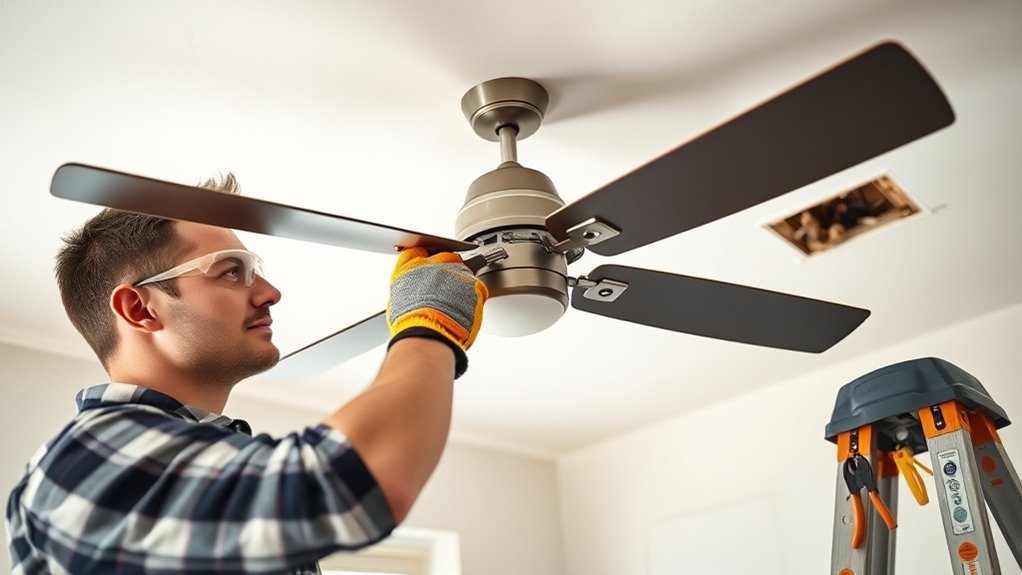
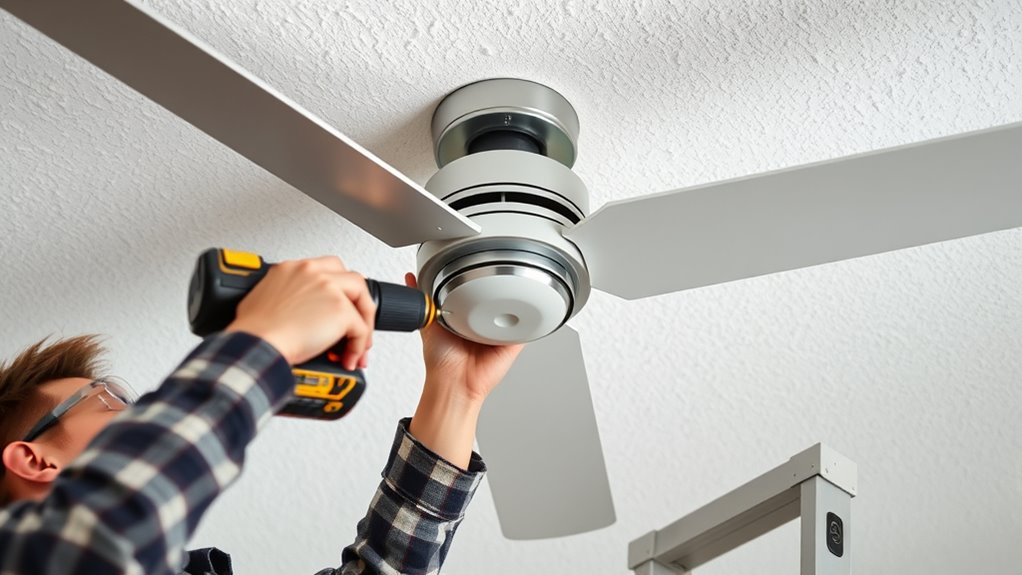
- Attach the ceiling fan to the mounting bracket and secure it properly.
- Restore power, then test the fan to ensure it operates safely and correctly.
Installing a ceiling fan can considerably improve your room’s comfort and energy efficiency, but it requires careful preparation and basic electrical knowledge. Before you start, gather a complete tool checklist to ensure you have everything you need. This typically includes a voltage tester, screwdrivers (both flathead and Phillips), pliers, wire strippers, a ladder, and possibly a drill. Having these tools ready will make the process smoother and help you avoid unnecessary trips to the hardware store. Safety is paramount, especially when working with electrical wiring. Always turn off the circuit breaker that supplies power to the fan location to prevent electric shocks. Use a voltage tester to double-check that the wires are not live before touching them. Wiring safety should be your top priority throughout the project.
Once the power is off, remove the existing fixture, if there is one, by unscrewing it from the ceiling and carefully disconnecting the wires. Take a moment to examine the wiring setup, so you understand how everything is connected. If your home’s wiring is outdated or unfamiliar, consult wiring diagrams or seek guidance from reputable wiring resources. When installing the new ceiling fan mounting bracket, ensure it’s securely attached to a ceiling joist or a mounted electrical box rated for fan support. Use your tools to tighten all screws properly, avoiding loose connections that could cause noise or safety hazards later.
When wiring the fan, always follow the manufacturer’s instructions carefully. Typically, you’ll connect the fan’s black or red wire to the house’s black wire, the white to white, and the green or copper wire to the grounding wire or grounding screw. Use wire nuts to secure each connection tightly and wrap them with electrical tape for added safety. Remember, wiring safety isn’t just about the right connections but also ensuring no exposed copper is left outside the wire nuts. Additionally, understanding the importance of contrast ratio can help ensure your fan operates with minimal noise and vibration, contributing to a quieter environment. Once all connections are made, carefully tuck the wires into the electrical box, attach the fan to the mounting bracket, and secure it firmly.
Finally, restore power at the breaker and test your new ceiling fan. If it spins correctly and the remote or wall switch functions properly, you’ve successfully completed the installation. Remember, patience and attention to detail are your best tools. Taking the time to do it right saves you money and ensures your ceiling fan operates safely and efficiently for years to come.
Top picks for "install ceil without"
Open Amazon search results for this keyword.
As an affiliate, we earn on qualifying purchases.
Frequently Asked Questions
Can I Install a Ceiling Fan Without Existing Wiring?
You can install a ceiling fan without existing wiring by using a wireless remote-controlled fan. First, verify you have ceiling fan brackets that suit your fan model. Mount the brackets securely to the ceiling, then connect the fan’s wiring to a power source, following safety guidelines. The wireless remote allows easy control without complicated wiring, making the installation straightforward even without previous wiring in place.
What Tools Are Essential for DIY Ceiling Fan Installation?
You’ll need a few essential tools for DIY ceiling fan installation. Grab a drill with various drill bits to make holes and secure mounting brackets. Wire strippers are vital for safely removing insulation from wires, ensuring proper connections. Having a screwdriver, ladder, and voltage tester on hand will also help you work safely and efficiently. With these tools, you can confidently install your ceiling fan without hiring an electrician.
How Do I Determine the Right Ceiling Fan Size?
Imagine fitting a giant umbrella in a tiny room—it just won’t work. To choose the right ceiling fan size, consider your room size and fan blade size. For small rooms (up to 150 sq ft), pick a fan with a 36-42 inch blade span. Larger rooms (up to 400 sq ft) need a 52-inch fan. Always match fan blade size to room dimensions for ideal comfort and efficiency.
Is It Safe to Install a Ceiling Fan on a Vaulted Ceiling?
Yes, it’s safe to install a ceiling fan on vaulted ceilings if you follow proper fan placement. You’ll need a sturdy ceiling fan rated for high ceilings and an extension downrod to position the fan at the ideal height—about 8-9 feet above the floor. Make certain the electrical wiring is secure, and use a ladder or scaffolding for safety. Proper installation prevents wobbling and maximizes cooling efficiency.
How Do I Troubleshoot if the Fan Doesn’t Turn On?
If your fan refuses to turn on, don’t panic—your ceiling fan might just be throwing a silent tantrum. First, check the switch wiring for loose connections or tripped breakers. Then, verify the fan blades are balanced; an imbalance can cause safety shut-offs. Sometimes, the simplest fix is just resetting the wall switch or testing the remote batteries. With a little patience, you’ll have that fan spinning in no time.
Conclusion
Now that you know how to install a ceiling fan on your own, there’s no need to wait or spend extra money hiring an electrician. With the right tools and step-by-step guidance, you can enjoy cool comfort in no time. Isn’t it satisfying to tackle home projects yourself? Just remember to turn off the power, follow safety tips, and take your time. Who knew installing a ceiling fan could be so rewarding?