
To perform a clean install of Windows 11, first back up your files and check that your system meets the hardware requirements. Download the official Windows 11 ISO or Media Creation Tool, then create a bootable USB drive using tools like Rufus. Change your BIOS settings to boot from the USB, then restart and follow the on-screen instructions to format your drive and install Windows 11. For detailed steps, continue exploring the process.
Key Takeaways
- Backup all important files and ensure hardware meets Windows 11 requirements before starting.
- Download the official Windows 11 ISO or Media Creation Tool and create bootable installation media.
- Configure BIOS/UEFI settings to enable UEFI mode, Secure Boot, and set boot priority to USB or DVD.
- Boot from the installation media, select custom install, and format the target drive to perform a clean installation.
- Follow on-screen prompts to complete setup, connect to Wi-Fi, sign in, and update drivers post-installation.

32GB – Bootable Windows 10&11, USB Driver 3.2 Gen for Install/Recovery Windows, No TPM Required, Network Drives (WiFi & LAN), Supported UEFI and Legacy, Compatible All Brands
✅ Beginner watch video instruction ( image-7 ), tutorial for "how to boot from usb drive", Supported UEFI…
As an affiliate, we earn on qualifying purchases.
As an affiliate, we earn on qualifying purchases.
Preparing Your Data and System Requirements
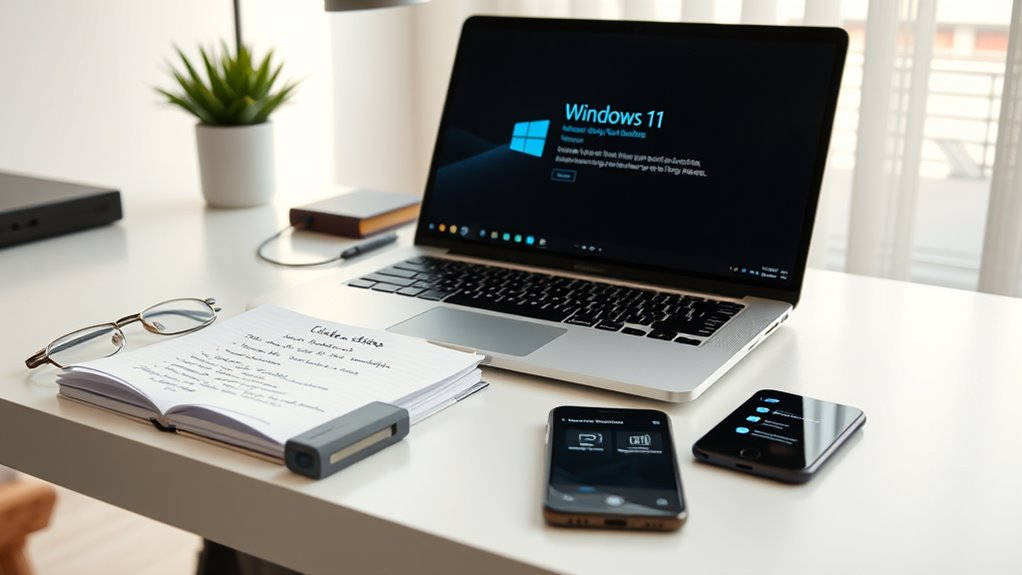
Before you begin the clean install of Windows 11, it’s essential to prepare your data and guarantee your system meets the necessary requirements. Start by backing up all important files, documents, and media to an external drive or cloud storage. This ensures you won’t lose anything during the process. Next, check your PC’s hardware specifications against Windows 11’s minimum requirements: a compatible 64-bit processor, 4GB of RAM, 64GB storage, UEFI firmware with Secure Boot, and TPM 2.0. You can find these details in your system settings or use Microsoft’s PC Health Check tool. Confirming your system’s hardware specifications now prevents errors and avoids wasted time later. Proper preparation ensures a smooth installation, giving you a fresh start with Windows 11.
bootable USB creation tool
As an affiliate, we earn on qualifying purchases.
As an affiliate, we earn on qualifying purchases.
Downloading Windows 11 ISO or Media Creation Tool
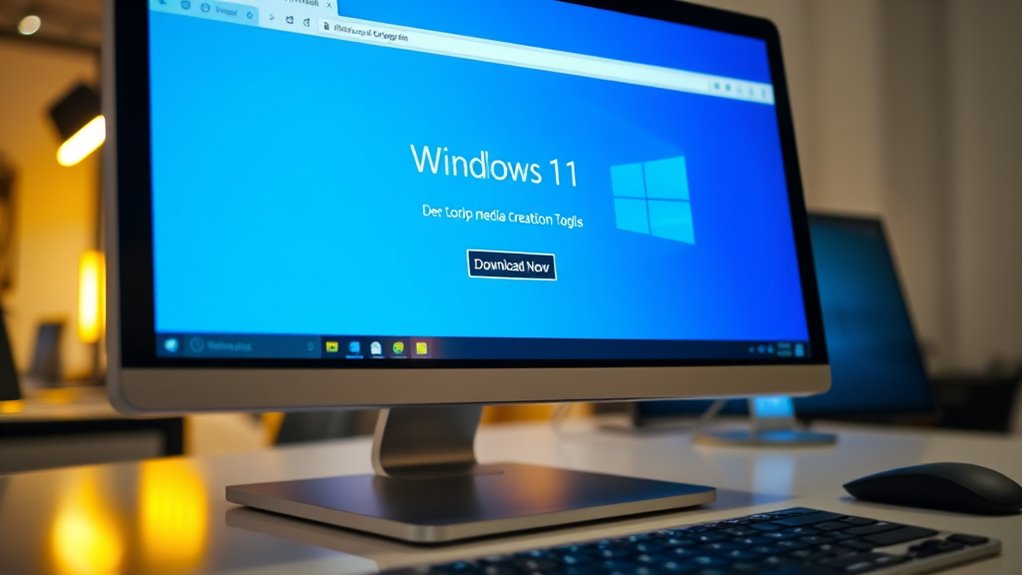
To start your Windows 11 installation, you’ll need to obtain the installation files. Visit the official Microsoft website to download the Windows 11 ISO or the Media Creation Tool. The ISO file is a direct disk image that you can burn to a USB or DVD later, while the Media Creation Tool helps you create a bootable USB automatically. Choose the option that best suits your needs. Confirm your PC meets the system requirements before downloading. Select the correct language, edition, and architecture (64-bit). If you opt for the Media Creation Tool, run it and follow the prompts to generate a bootable drive. Downloading these files from official sources guarantees authenticity and security for your installation process. Additionally, verifying your device’s hardware compatibility ensures a smoother installation experience.

SamData USB Flash Drive 8GB 1 Pack USB 2.0 Thumb Drive Swivel Memory Stick Data Storage Jump Drive Zip Drive Drive with Led Indicator (Black, 8GB-1Pack)
[Package Offer]: 1 Pack USB Flash Drive 8GB Available in black.
As an affiliate, we earn on qualifying purchases.
As an affiliate, we earn on qualifying purchases.
Creating a Bootable USB Drive
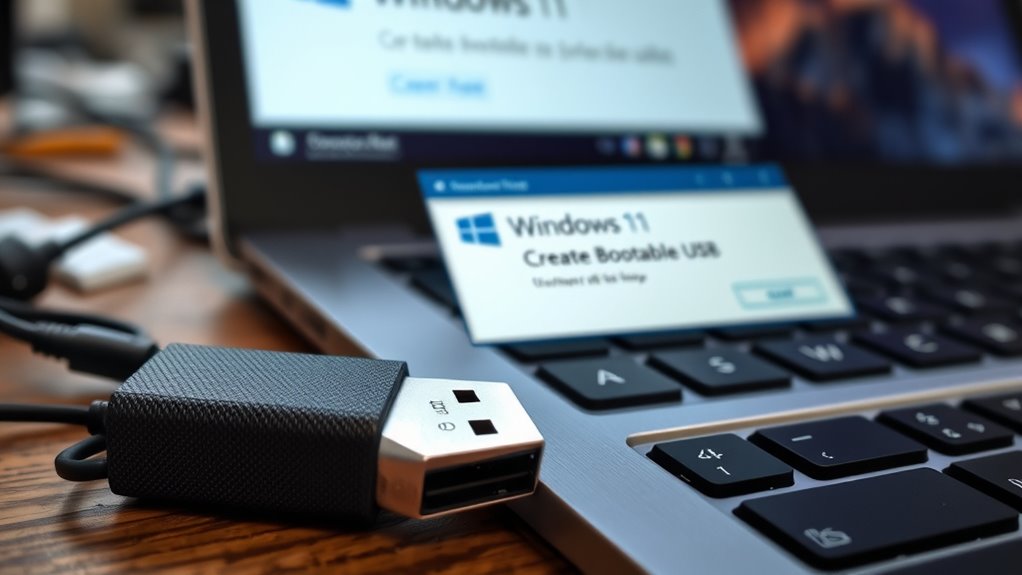
Creating a bootable USB drive is a crucial step that turns your downloaded Windows 11 ISO into a usable installation medium. First, insert a USB flash drive with at least 8GB of space into your computer. Download a tool like Rufus or the Media Creation Tool, which helps create bootable media. Open the software and select your USB drive, then choose the Windows 11 ISO file you downloaded earlier. Confirm the partition scheme matches your system’s firmware—GPT for UEFI systems. Click start, and the tool will format the drive and copy the necessary files. Once complete, your USB drive becomes a bootable installer, ready to help you perform a clean installation of Windows 11. Always double-check that you’ve selected the correct drive to avoid data loss. Additionally, understanding the concept of Free Floating can help you optimize your setup for a smoother installation process.
![WavePad Audio Editing Software - Professional Audio and Music Editor for Anyone [Download]](https://m.media-amazon.com/images/I/B1fcLEGCs6S._SL500_.png)
WavePad Audio Editing Software – Professional Audio and Music Editor for Anyone [Download]
Full-featured professional audio and music editor that lets you record and edit music, voice and other audio recordings
As an affiliate, we earn on qualifying purchases.
As an affiliate, we earn on qualifying purchases.
Adjusting BIOS/UEFI Settings for Boot Priority
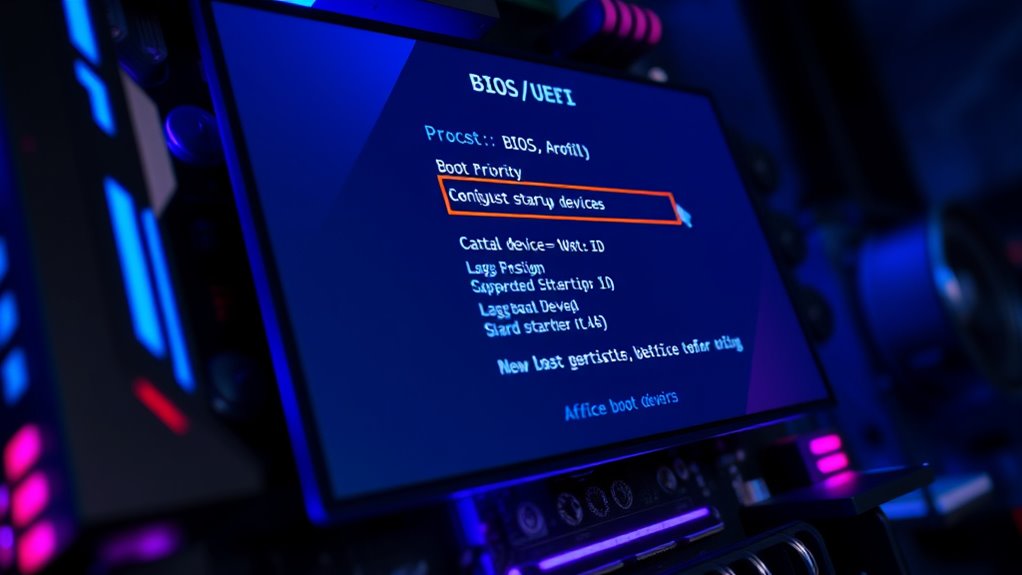
To start the clean install, you need to access your BIOS or UEFI setup. Once there, you’ll set your boot order so that the USB drive is guaranteed to be prioritized. This makes sure your computer boots from the installation media instead of the existing operating system. Ensuring the use of energy-efficient cloud servers principles can also help in maintaining an environmentally sustainable setup during the process.
Accessing BIOS/UEFI Setup
Accessing the BIOS or UEFI setup is a crucial step in preparing your computer for a clean Windows 11 installation. To do this, restart your PC and press the designated key during startup—common keys include F2, F12, DEL, or ESC. The exact key varies by manufacturer, so check your device’s manual or look for prompts on the screen. Once in the setup menu, you’ll see options to configure your system’s hardware settings. Use the following table to familiarize yourself with common BIOS/UEFI terms:
| Term | Description |
|---|---|
| Boot Mode | Switch between UEFI and Legacy |
| Secure Boot | Protects against unauthorized OS |
| Boot Priority | Determines boot device order |
| Save & Exit | Applies changes and restarts |
Additionally, understanding how to adjust these settings can help ensure your system boots correctly into Windows 11, especially when dealing with boot priority configurations.
Configuring Boot Order
Once you’re in the BIOS or UEFI setup, the next step is to adjust the boot order so your computer can start from the installation media. Look for the “Boot” or “Boot Order” menu. Use the arrow keys or mouse to move your USB drive or DVD drive to the top of the list. This guarantees the system checks your installation media first during startup. Save your changes by selecting “Save and Exit” or pressing the designated key (often F10). Your computer will then restart, and if everything is set correctly, it will boot from the media you chose. This step is essential for starting the Windows 11 installation process directly from your USB or DVD.
Booting From the USB Drive and Starting the Installation
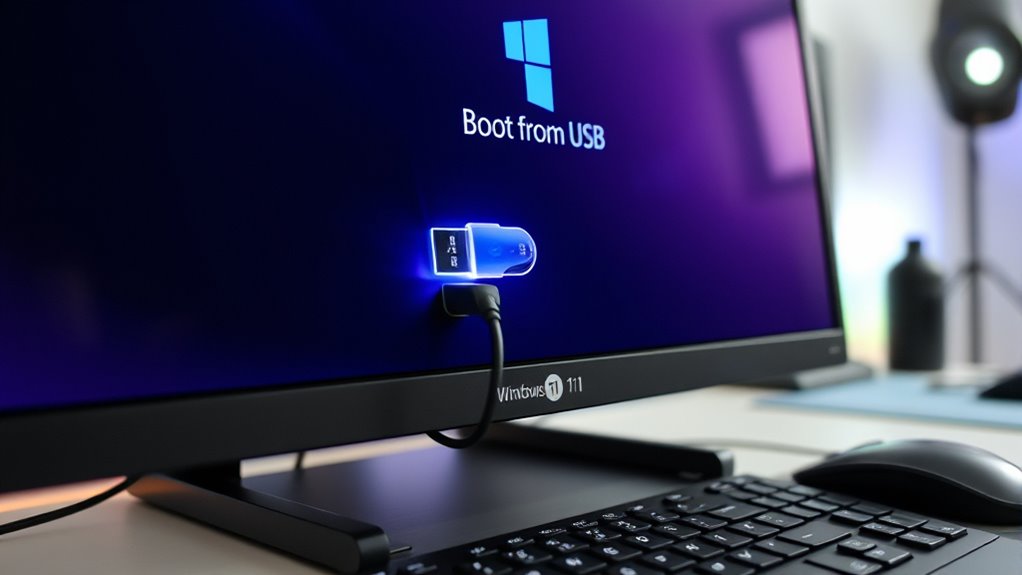
Once your BIOS/UEFI settings are configured to prioritize booting from a USB drive, restart your computer. When the boot menu appears, select your USB device as the boot option. This will launch the Windows 11 installation process so you can proceed with the setup. To ensure a smooth process, verify that your trusted resources are up to date and accessible during installation.
BIOS/UEFI Setup
Have you prepared your USB drive with the Windows 11 installation files? Now, you need to access your BIOS or UEFI setup. Restart your computer and press the appropriate key during startup—common keys are F2, F12, Delete, or Esc. This opens your firmware settings. Once inside, navigate to the Boot or Boot Order menu. Here, you’ll set your USB drive as the primary boot device. Save your changes and exit; your PC will restart. It should now boot from the USB drive, allowing you to begin the Windows 11 installation process. Be careful not to modify other settings unless you’re sure, as incorrect BIOS/UEFI configurations can cause boot issues. This setup step ensures your system recognizes the USB as the boot source.
Selecting Boot Device
After saving your BIOS or UEFI settings and restarting your computer, it should automatically boot from the USB drive. If it doesn’t, you might need to access the boot menu manually. Usually, this involves pressing a key like F12, F11, F8, or Esc immediately after turning on your PC. Once the boot menu appears, select your USB drive from the list of boot devices. Confirm your choice, and your computer will begin loading the Windows 11 installation files. You’ll see the Windows logo and a loading screen, signaling that the setup process has started. Make sure the USB remains plugged in throughout the installation to avoid interruptions. From here, follow the on-screen prompts to proceed with installing Windows 11. Additionally, ensuring your system’s firmware settings support UEFI boot mode can improve security and compatibility during the installation process.
Formatting Your Drive and Installing Windows 11
Before installing Windows 11, you need to prepare your drive by formatting it properly. This step guarantees a clean slate for the installation process. Once you boot from the installation media, select your drive, then choose “Format” to wipe existing data. Confirm the action to prepare the disk for Windows. Here’s a quick overview:
| Step | Action | Result |
|---|---|---|
| Select Drive | Choose your primary partition | Ready for formatting |
| Format Drive | Click “Format” and confirm | Old data erased, clean space |
| Proceed with Install | Follow prompts to install Windows | Windows 11 installs fresh |
Be sure to back up important data before formatting. Once completed, you’re ready for the next step in installing Windows 11. Incorporating a holistic SEO approach can also help ensure your guides are more discoverable and authoritative.
Setting Up Windows 11 After Installation
Once Windows 11 finishes installing, you’ll be prompted to go through the initial setup process. Follow these steps to get your system ready:
- Connect to Wi-Fi and sign in with your Microsoft account to sync settings and access cloud features.
- Customize your privacy preferences, deciding what data you want to share with Microsoft.
- Choose your preferred settings for Cortana, notifications, and personalization options.
- Take a moment to review your system organization and ensure your home and work preferences are optimized for your daily routines.
After completing these steps, Windows will finalize your setup, and you’ll see the desktop. Confirm your date and time are correct, and check for any Windows updates to keep your system secure and up to date. This initial setup prepares your device for seamless use, with personalized settings tailored to your preferences.
Installing Drivers and Finalizing Your Setup

With your initial setup complete and your desktop ready, the next step is to guarantee all your hardware functions properly. Start by updating your device drivers to ensure compatibility and peak performance. Visit the manufacturer’s website for each component, like your graphics card, motherboard, and peripherals, and download the latest drivers. Alternatively, use Windows Update to automatically find and install necessary drivers. Once drivers are installed, restart your PC to apply changes. Check that devices such as printers, audio systems, and network adapters work correctly. You can also utilize driver update tools to simplify the process and keep everything current. Finally, personalize your settings, enable security features, and install essential software. Confirm all hardware functions smoothly, and your system will be fully prepared for everyday use. This step ensures stability and a seamless Windows 11 experience.
Frequently Asked Questions
How Do I Troubleshoot Installation Errors During Windows 11 Setup?
When troubleshooting Windows 11 installation errors, start by checking your system’s hardware compatibility and ensuring all drivers are up to date. Restart your PC and try the installation again. If errors persist, disconnect unnecessary peripherals, disable antivirus software temporarily, and run the setup as an administrator. Review error codes online to find specific solutions, and consider creating a bootable USB with the latest Windows 11 ISO for a fresh install.
Can I Upgrade From Windows 10 Without Losing Data?
Yes, you can upgrade from Windows 10 to Windows 11 without losing your data. Simply check if your PC meets the Windows 11 requirements, then use Windows Update or the Installation Assistant to upgrade. Before starting, back up your important files to prevent any data loss. The upgrade process preserves your apps and settings, making the changeover smooth and seamless.
What Should I Do if My USB Drive Isn’T Recognized?
If your USB drive isn’t recognized, first try unplugging and reconnecting it, then test it on another port or computer. Make certain your USB drivers are up to date by checking Device Manager. If it still doesn’t work, restart your PC. You can also run the hardware troubleshooter or update your motherboard drivers. If needed, format the drive using Disk Management, but remember this erases all data.
How Do I Activate Windows 11 After Installation?
Imagine your screen lighting up with a prompt, inviting you to activate Windows 11. You simply click on the Start menu, then go to Settings > Update & Security > Activation. Enter your 25-character product key when prompted, or choose the “Activate” option if your device is linked to a digital license. Follow the on-screen instructions, and soon your Windows 11 will be fully activated, ready to personalize and optimize.
Is It Safe to Install Windows 11 on an Unsupported Device?
Installing Windows 11 on an unsupported device isn’t recommended because it can cause stability issues, security vulnerabilities, and may violate Microsoft’s terms. While some users attempt it, you risk losing updates or facing driver problems. If you choose to proceed, back up your data first, and be prepared for potential glitches. Consider upgrading your hardware or sticking with Windows 10 for a safer, more reliable experience.
Conclusion
A fresh start with Windows 11 can breathe new life into your device, offering a seamless experience filled with possibilities. By carefully preparing and following each step, you’re gently guiding your system toward renewed vigor. Remember, this process is like turning a new page—bringing clarity, efficiency, and a touch of excitement. Embrace the journey, knowing that your efforts will blossom into a smoother, more vibrant digital world at your fingertips.