To connect your laptop to your TV, first check the available ports on both devices, like HDMI or VGA, and gather the right cables or adapters. Then, connect your laptop to the TV using the chosen method, switch the TV to the correct input, and adjust your display settings for the best resolution and mode, whether mirroring or extending. If you encounter issues, you can troubleshoot and optimize your setup — learn more to get seamless connection tips.
Key Takeaways
- Identify compatible ports (HDMI, VGA, DisplayPort) on both your laptop and TV before connecting.
- Use the appropriate cable or adapter to connect your laptop to the TV securely.
- Set the TV to the correct input/source and adjust display settings for resolution and mode (mirror or extend).
- Configure audio output to TV speakers in your laptop’s sound settings for synchronized sound.
- Troubleshoot connection issues by checking cables, detection options, and display settings for proper recognition.
Highwings 8K 10K 4K HDMI Cable 48Gbps 6.6FT/2M, Certified Ultra High Speed HDMI Cable Braided Cord-4K@120Hz 8K@60Hz, DTS:X, HDCP 2.2 & 2.3, HDR 10 Compatible with Roku TV/PS5/HDTV/Blu-ray
Top Technology—-8K@60HZ: This 8K Ultra High Speed HDMI Cable uses the most cutting-edge technology, is compatible with 8K@60HZ…
As an affiliate, we earn on qualifying purchases.
As an affiliate, we earn on qualifying purchases.
Checking Your Laptop and TV Compatibility
Before connecting your laptop to your TV, it’s important to check whether both devices are compatible. Start by inspecting the ports on your laptop and TV. Many laptops have HDMI or USB-C ports, while TVs typically feature HDMI, VGA, or even DisplayPort. Ascertain your laptop’s port matches or can adapt to the TV’s input options. Next, verify if your laptop’s graphics card supports output to an external display at your desired resolution and refresh rate. If you’re using an older TV or laptop, compatibility issues may arise, so check the specifications online or in the user manuals. Confirming compatibility beforehand saves you time and prevents frustration during setup. If you’re unsure, look for adapters that bridge different ports, ensuring a smooth connection.

BENFEI HDMI to VGA 6 Feet Cable, Uni-Directional HDMI Computer to VGA Monitor Cable (Male to Male) Compatible for Computer, Desktop, Laptop, PC, Monitor, Projector, HDTV, Roku, Xbox
COMPACT DESIGN – The compact-designed portable Benfei HDMI to VGA adapter connects a computer, desktop, laptop, or other…
As an affiliate, we earn on qualifying purchases.
As an affiliate, we earn on qualifying purchases.
Choosing the Right Connection Method
Once you’ve confirmed your devices are compatible, it’s time to choose the best connection method. Your options depend on the ports available on both your laptop and TV. If your laptop and TV support HDMI, that’s usually the simplest and highest-quality choice. If HDMI isn’t an option, consider alternatives like VGA, DVI, or DisplayPort, but be aware they may require adapters. Wireless options, such as Miracast or Chromecast, offer convenience without cables, but they might introduce slight latency or quality loss. Think about your setup and how you plan to use your TV—if you want high-definition video and audio, wired connections are typically better. For casual streaming or presentations, wireless methods might suffice. Choose the method that balances quality, convenience, and compatibility for your specific devices.

Qisoable Wireless HDMI Transmitter and Receiver 328ft/100m Extender 4K Decode Input 1080P Output Plug&Play Portable 2.4G/5.8G for Video and Audio to Monitor from PC/Projector/TV Box,with LED Display
【No Need HDMI Cable,Easy Use】This wireless HDMI transmitter and receiver,easy installation, plug and play, no need for WiFi/APP/Bluetooth,…
As an affiliate, we earn on qualifying purchases.
As an affiliate, we earn on qualifying purchases.
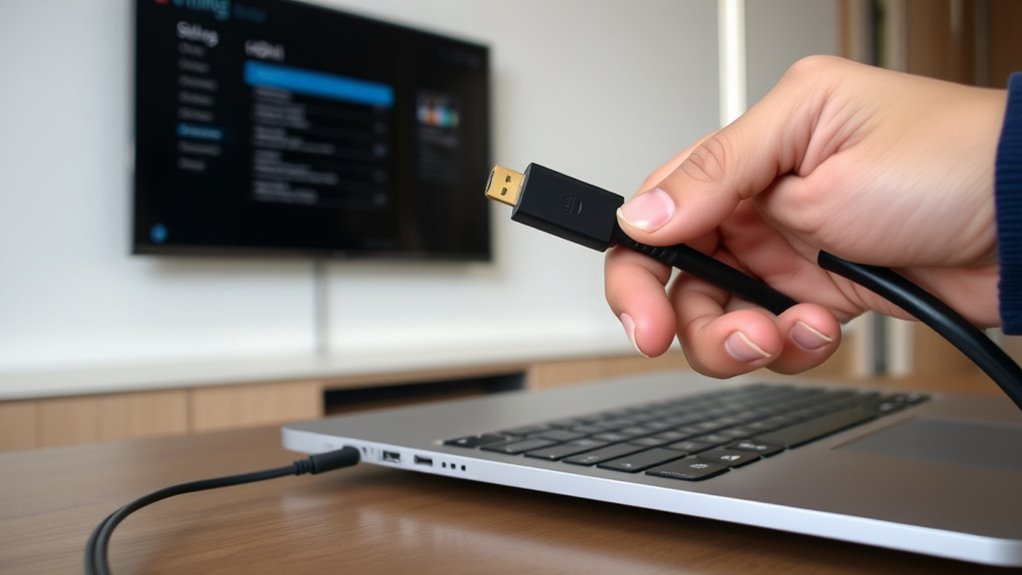
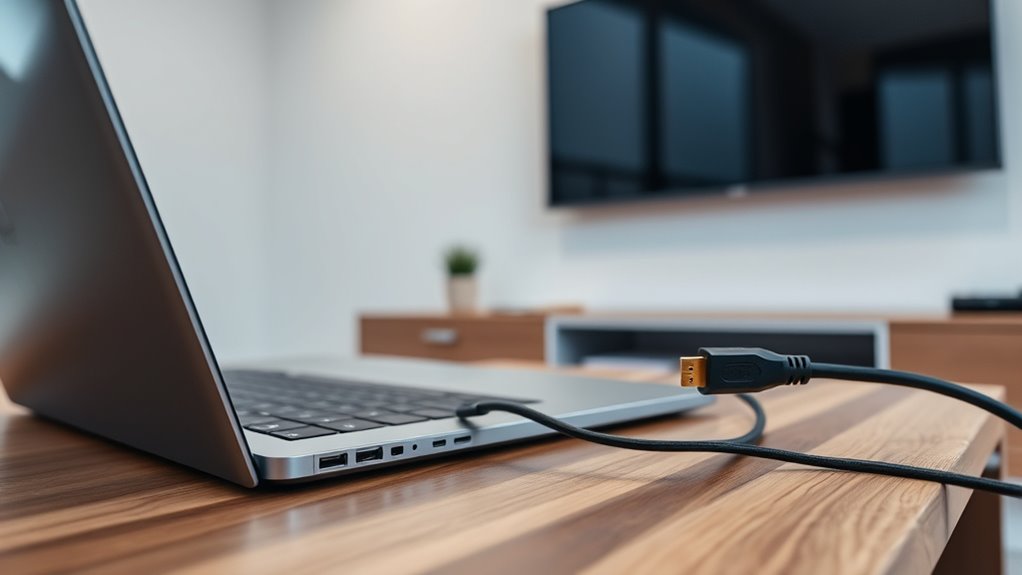
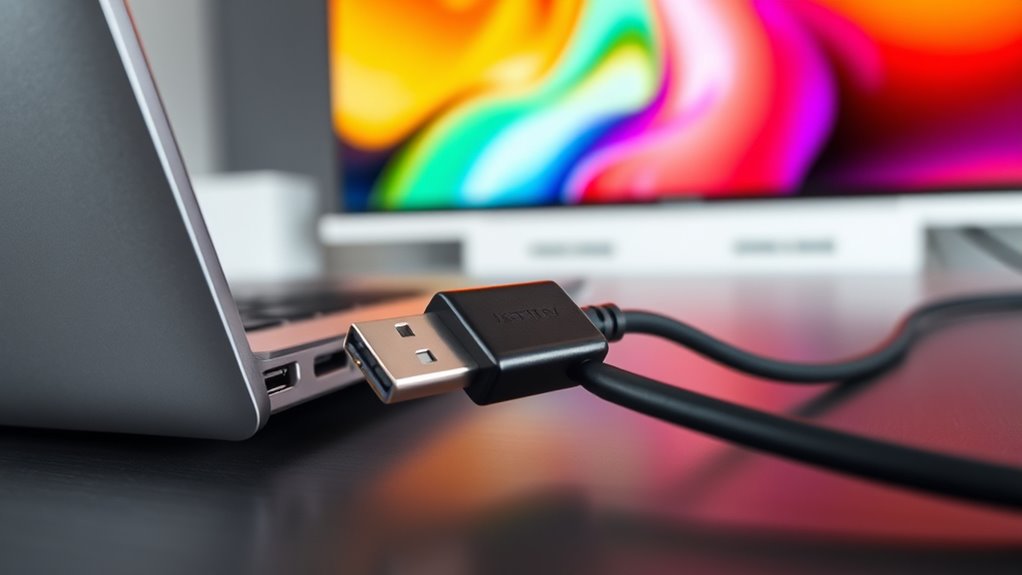
Connecting With an HDMI Cable

Connecting your laptop to your TV with an HDMI cable is straightforward and offers high-quality audio and video transmission. First, locate the HDMI port on your laptop and TV. Plug one end of the HDMI cable into your laptop’s port, then connect the other end to your TV’s HDMI input. Turn on your TV and select the correct HDMI input source using your remote. Your laptop should automatically detect the connection and display on the TV. If not, adjust display settings on your laptop. Here’s a quick overview:
| Step | Action |
|---|---|
| Connect the HDMI cable | Plug into laptop and TV |
| Switch input on TV | Use remote to select HDMI input |
| Configure display settings | Adjust resolution or screen mode |
This method ensures high-quality playback with minimal hassle.
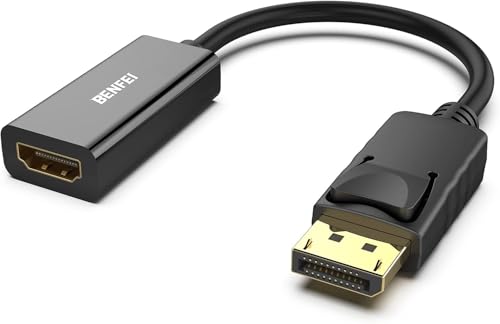
BENFEI 4K DisplayPort to HDMI Adapter, Uni-Directional DP 1.2 Computer to HDMI 1.4 Screen Gold-Plated DP Display Port to HDMI Adapter (Male to Female) Compatible with Lenovo Dell HP and Other Passive
COMPACT DESIGN: The BENFEI DisplayPort to HDMI adapter connects a computer, laptop or devices with DisplayPort to a…
As an affiliate, we earn on qualifying purchases.
As an affiliate, we earn on qualifying purchases.
Using a VGA Cable for Older Devices
If your device is older and lacks HDMI, a VGA cable might be your best option. Make sure your laptop and TV have VGA ports to guarantee compatibility. Setting up is straightforward, but you’ll need to connect the cable and configure the display settings.
Compatibility With Older Devices
While many modern laptops have shifted to HDMI and DisplayPort connections, older devices often rely on VGA ports. If your laptop or TV only has a VGA connection, you’ll need to guarantee compatibility before connecting. VGA is an analog signal, so it may result in lower image quality compared to digital options. Check that both devices have VGA ports and understand that you’ll likely need a separate audio cable, since VGA transmits video only. Keep in mind, some older devices might not support the resolutions you want, or may require additional adapters. Before proceeding, verify these key points:
- Both devices have compatible VGA ports
- You have the correct VGA cable
- You’re aware of potential resolution limitations
Ensuring these will help you connect smoothly without surprises.
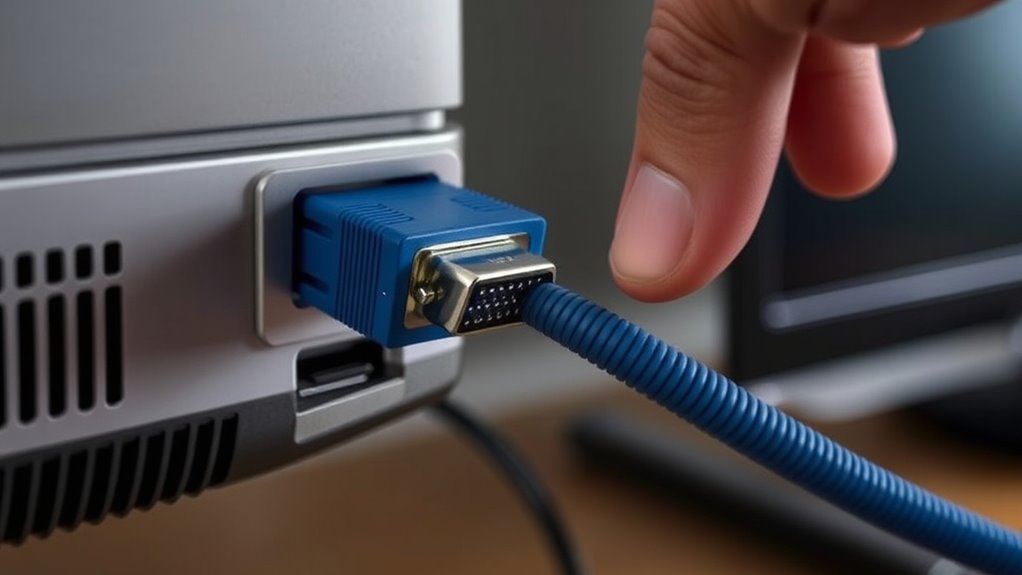
VGA Cable Setup
To set up a VGA connection, start by locating the VGA ports on both your laptop and TV. Connect one end of the VGA cable to your laptop’s VGA port and the other end to your TV’s VGA input. Make sure the connections are snug. You’ll also need a 3.5mm audio cable if you want sound, since VGA only transmits video. Use the table below to identify common settings:
| Device | Signal Type | Additional Equipment |
|---|---|---|
| Laptop | VGA Out | Audio cable (optional) |
| TV | VGA In | Audio input (optional) |
| Additional Devices | VGA Out/In | Adapters if needed |
Once connected, switch your TV to the correct input and adjust your display settings on your laptop.
Connecting via DisplayPort or Mini DisplayPort
Connecting your laptop to your TV using DisplayPort or Mini DisplayPort offers a straightforward way to transmit high-quality audio and video. First, locate the port on your laptop—it’s usually marked with a symbol resembling a D. Then, plug in a compatible DisplayPort or Mini DisplayPort cable. Make sure your TV has a DisplayPort input; if not, you might need an adapter. Once connected, switch your TV to the correct input source.
To guarantee the best experience, keep these tips in mind:
- Use a high-quality cable to avoid signal issues
- Check your laptop’s display settings for resolution adjustments
- Confirm your TV supports DisplayPort input before connecting
This method provides a reliable, high-definition connection for your media needs.
Setting Up Wireless Screen Mirroring
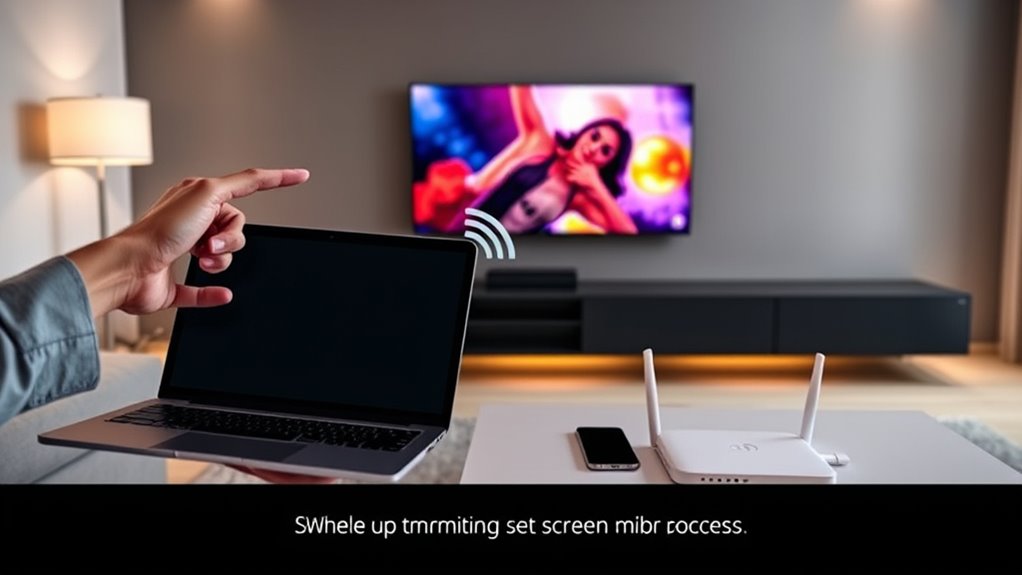
To set up wireless screen mirroring, start by enabling the Wireless Display feature on your laptop. Then, connect your device to your TV using Miracast for a seamless connection. This method lets you mirror your screen without any cables, making your setup quick and easy.
Enable Wireless Display
Have you ever wondered how to wirelessly mirror your laptop screen onto your TV? To do this, you need to activate the Wireless Display feature on your laptop. First, go to your Settings and select “Devices,” then click on “Connected Devices” or “Bluetooth & other devices.” Look for the “Wireless Display” or “Cast” option and toggle it on. This feature allows your laptop to find compatible devices nearby. Make sure your TV supports Miracast or similar technology. To prepare, ensure your TV is set to the correct input or screen mirroring mode. Once enabled:
- Confirm your laptop detects your TV in the available devices list
- Select your TV to initiate the connection
- Follow on-screen prompts to complete the setup
Connect via Miracast
Are you ready to set up wireless screen mirroring with Miracast? First, confirm your laptop and TV support Miracast. On your laptop, press Windows + K to open the Connect sidebar. Your device will scan for compatible displays. Turn on your TV’s Miracast or screen mirroring mode—consult your TV’s manual if unsure. Once your TV appears in the list, click on it to establish the connection. Your laptop screen should now mirror onto the TV wirelessly. If the connection doesn’t happen immediately, check your network connection and restart both devices. Miracast offers a seamless way to display your laptop content without cables, making it ideal for presentations, streaming, or gaming.
Configuring Your Laptop Display Settings
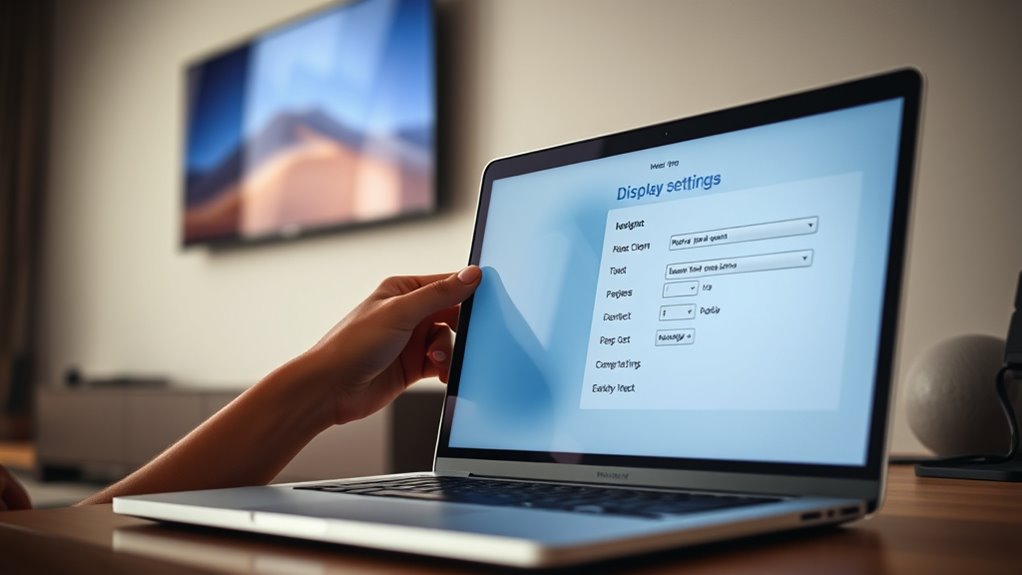
Before you connect your laptop to your TV, it’s important to configure your display settings properly. This guarantees your screen appears correctly and makes the most of your connection. First, right-click on your desktop and select “Display Settings” (Windows) or go to “System Preferences” > “Displays” (Mac). Next, choose how you want your display to behave with options like duplicate, extend, or second screen only. Finally, adjust resolution and scaling to fit your TV’s screen for ideal clarity. Keep these tips in mind:
Configure your display settings to ensure sharp, properly scaled content when connecting your laptop to a TV.
- Set the resolution to match your TV’s native resolution for sharp images
- Choose “Duplicate” to mirror your laptop screen or “Extend” for a larger workspace
- Adjust scaling if interface elements appear too small or large
Following these steps will prepare your display for a seamless connection.
Troubleshooting Common Connection Issues
If your laptop isn’t displaying on your TV, start by checking if your cable is compatible with both devices. Next, make sure your display settings are adjusted correctly to mirror or extend your screen. These quick checks can often resolve common connection problems fast.
Check Cable Compatibility
Have you checked if your cables match your laptop and TV ports? Using incompatible cables can prevent your devices from connecting properly. First, identify the ports on your laptop and TV—HDMI, DisplayPort, VGA, or DVI. Then, verify the cable type you plan to use supports those ports.
Here are some key points to consider:
- Make sure your cable supports both audio and video if needed
- Confirm the cable’s length doesn’t cause signal degradation
- Check that your cable isn’t damaged or frayed
Using the wrong cable type or one that’s faulty can lead to no picture or sound. Double-check compatibility before proceeding to avoid unnecessary frustration.
Adjust Display Settings
After confirming your cable is compatible and properly connected, the next step is to adjust your display settings. On your laptop, go to the display or screen resolution settings. If your TV isn’t showing up automatically, try manually detecting the display. On Windows, press Windows + P and select the appropriate option—duplicate, extend, or second screen only. On Mac, open System Preferences, click Displays, then hold the Option key to detect displays manually. Verify your resolution matches your TV’s native resolution for the best picture quality. If the image appears distorted or is cut off, adjust the scaling options. Sometimes, a quick reboot or disconnecting and reconnecting the cable helps your laptop recognize the TV correctly. Fine-tuning these settings should resolve most display-related issues.
Optimizing Audio and Visual Quality
To get the most out of your laptop-to-TV connection, it’s essential to maximize both audio and visual quality. First, adjust your TV’s picture settings, such as brightness, contrast, and sharpness, for clearer images. Second, guarantee your audio output is set to the TV speakers or an external sound system for better sound quality. Finally, check the resolution settings on your laptop to match your TV’s native resolution, reducing blurriness or pixelation. To enhance your experience, consider these tips:
Optimize your laptop-to-TV setup by adjusting picture, sound, and resolution settings for the best viewing experience.
- Use high-quality HDMI cables for better signal transmission
- Enable any available picture enhancement modes on your TV
- Adjust audio settings on your laptop for ideal sound output
These steps help you enjoy crisp visuals and immersive sound during your media sessions.
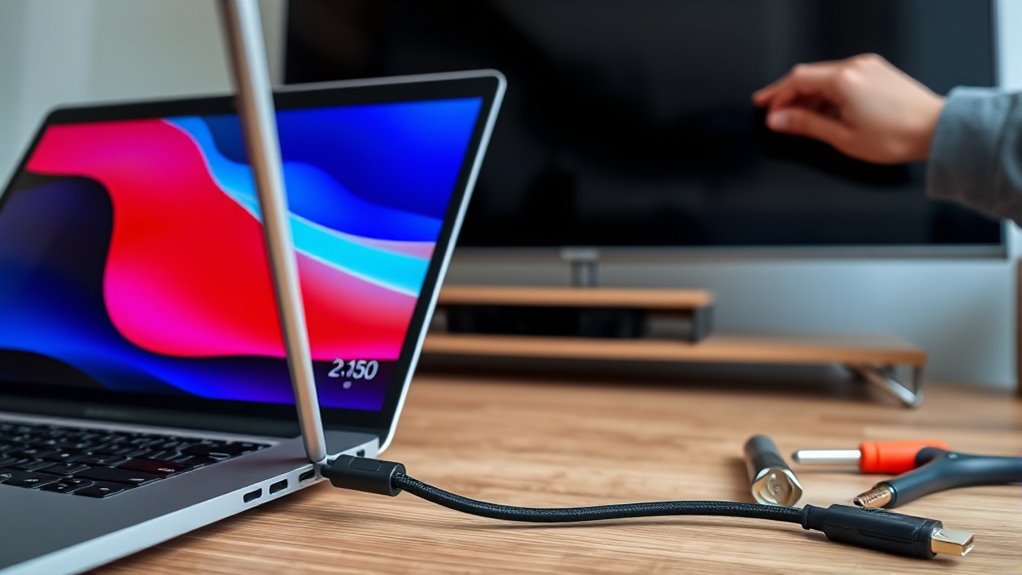
Disconnecting and Reversing the Setup
When you’re ready to disconnect your laptop from your TV, start by turning off both devices to prevent any potential damage. Carefully unplug the cables, starting with the video connection, then the audio or power cords if applicable. Reversing the setup is simple; just follow the connection steps in reverse order. Use the table below for quick reference:
| Step | Action | Notes |
|---|---|---|
| Turn off devices | Power down your laptop and TV | Prevent damage |
| Unplug cables | Remove HDMI, VGA, or other cables | Handle gently |
| Store accessories | Keep cables and adapters organized | Prevent loss or damage |
| Reconnect for reverse | Connect your laptop to the TV again | Follow initial setup steps |
This ensures a smooth transition without issues.
Frequently Asked Questions
Can I Connect Multiple Devices to My TV Simultaneously?
Yes, you can connect multiple devices to your TV simultaneously, but it depends on your TV’s ports and capabilities. Most TVs have multiple HDMI and USB ports, allowing you to switch between devices easily. Using an HDMI switch or splitter can help connect more devices than available ports. Just guarantee your TV or connected device supports multiple inputs, so you can select the right one without unplugging and reconnecting constantly.
What Should I Do if My Laptop Doesn’T Recognize the TV?
When your laptop refuses to recognize the TV, don’t panic. First, check your cables and connections—loose or damaged ones often cause issues. Then, restart both devices to refresh their settings. Make sure your display drivers are up to date; outdated drivers can block recognition. If it still doesn’t work, try selecting the correct input source on your TV manually. Persistence is key—your screen will soon come to life.
Are There Any Safety Precautions When Connecting My Devices?
Yes, there are safety precautions you should take. Always unplug devices before connecting or disconnecting cables to prevent electrical shocks. Use the correct cables and avoid forcing connections to prevent damage. Keep your workspace dry and clear of liquids that could cause short circuits. Make certain your devices are properly grounded and avoid overloading power outlets. Finally, handle all cables and connectors gently to avoid damaging ports or internal components.
How Do I Improve Lag or Latency Issues During Streaming?
You can improve lag or latency issues during streaming by prioritizing a wired connection over Wi-Fi, as it offers more stability. Make certain your internet speed is sufficient for streaming, and close background apps that might be hogging bandwidth. Adjust your TV’s picture settings for maximum performance, and update your device drivers and firmware. These steps reduce delay, giving you smoother streaming and a better viewing experience.
Is There a Way to Connect My Laptop Wirelessly Without Wi-Fi?
You can’t connect your laptop wirelessly to your TV without Wi-Fi unless you use a direct connection like Miracast or a wireless display adapter. Miracast allows you to mirror your screen without an internet connection by creating a direct wireless link between your laptop and TV. Alternatively, you can use a USB-C or HDMI dongle that supports wireless display technology, but these usually still require some form of local wireless communication.
Conclusion
Now that you know how to connect your laptop to your TV, you’re ready to enjoy your favorite content on a bigger screen. But remember, every setup has its quirks, and sometimes things don’t go as planned. Will your next connection be seamless or full of surprises? The choice is yours—master the process, and open endless entertainment possibilities lurking just beyond your screen. The real adventure begins when you hit “connect.”