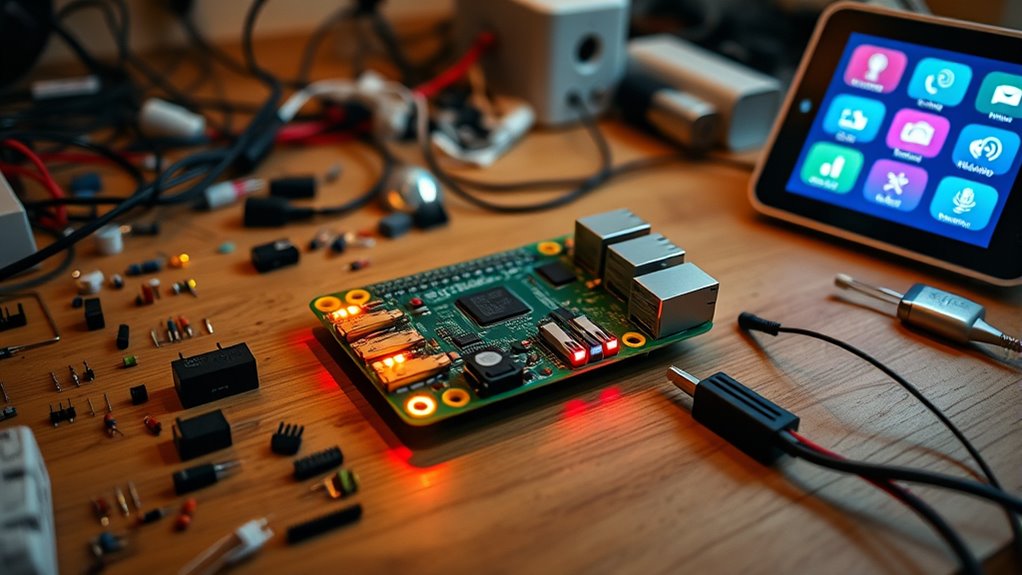

Building a smart home hub with a Raspberry Pi lets you customize your automation system affordably. You can connect voice assistants like Google or Alexa, control lights, security, and entertainment with ease, and even set up remote camera monitoring. This approach offers flexibility to fit your home’s needs and enhances accessibility. By following simple steps, you’ll create a connected, efficient environment. Keep going to discover all the tools and tips to bring your smart home to life.
Key Takeaways
- Choose a compatible Raspberry Pi model and install a suitable operating system like Raspberry Pi OS.
- Set up home automation software such as Home Assistant or openHAB for device management.
- Connect smart devices (lights, sensors, cameras) to the Raspberry Pi via wired or wireless protocols.
- Integrate voice control using platforms like Google Assistant or Amazon Alexa for hands-free operation.
- Configure security features and remote access to monitor and control your smart home system effectively.
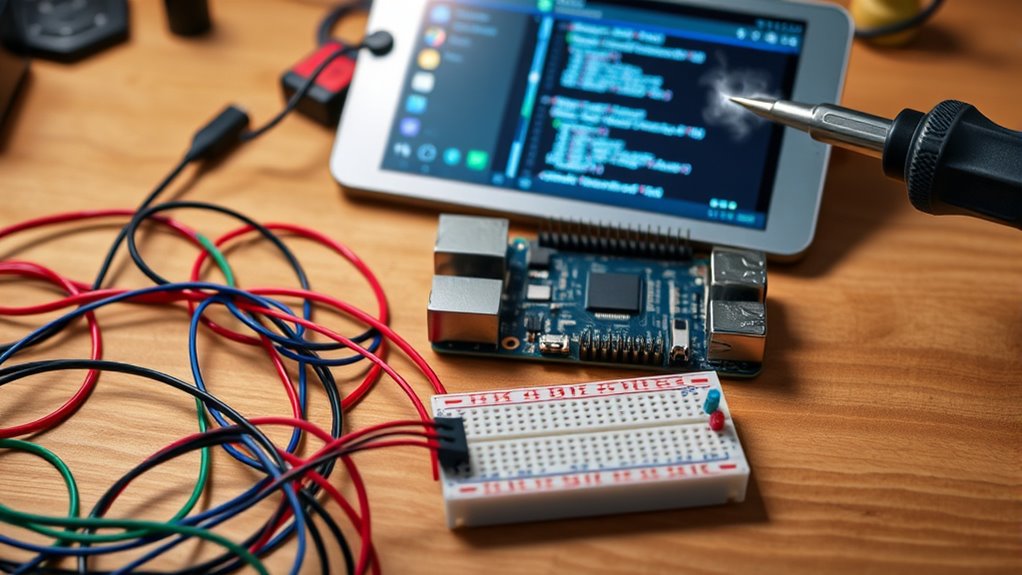
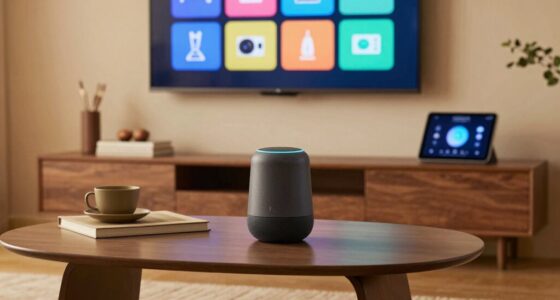
Have you ever thought about turning your house into a smarter home without breaking the bank? With a little DIY spirit and a Raspberry Pi, you can create a custom home automation hub that transforms your space into a modern, efficient sanctuary. Starting with the basics, integrating voice control is one of the smartest moves you can make. By connecting your Raspberry Pi to voice assistants like Google Assistant or Amazon Alexa, you gain hands-free control over various devices. Imagine asking your smart speaker to turn on the lights, adjust the thermostat, or lock the doors—all seamlessly handled through voice commands. Setting this up is straightforward; you just need to install the appropriate software, connect your microphone and speakers, and configure the system to recognize your voice commands. This not only makes controlling your home more convenient but also enhances accessibility, especially for those with mobility challenges. Additionally, investing in a good home theatre projector can elevate your entertainment experience, making your space not just smarter but also more enjoyable for movie nights and gaming sessions.
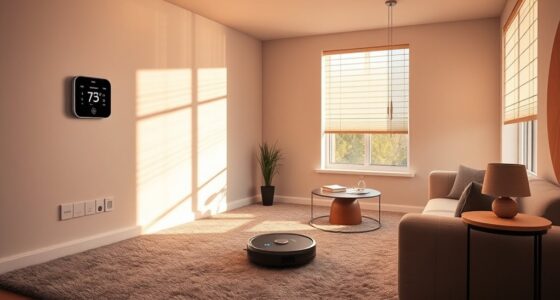
Security systems are another key aspect you can easily incorporate into your DIY smart home setup. With a Raspberry Pi, you can build a reliable security hub that monitors cameras, detects motion, and even sends alerts if something unusual happens. Connecting cameras to your Pi allows you to view live feeds from your smartphone or computer, giving you peace of mind whether you’re at home or away. You can also set up sensors on doors and windows, which trigger alerts or activate alarms when breached. The best part? You’re in control of the entire security system, customizing it to suit your needs and budget. Plus, with open-source software like MotionEye or Home Assistant, you get a flexible platform that’s continually improved by a community of enthusiasts. This approach not only saves money compared to commercial security systems but also offers a personalized experience tailored to your home’s layout and your security priorities.
Integrating voice control with your security systems can further streamline your smart home. For instance, you could ask your voice assistant to arm or disarm your security system or check the status of your cameras. This fusion of functions simplifies daily routines, making your home safer and more responsive. Building this setup yourself means you understand every component and can troubleshoot or expand it as needed. It’s about creating a connected ecosystem where your Raspberry Pi acts as the central brain, linking voice commands, security, lighting, and other smart devices. With patience and a bit of technical curiosity, you’ll be able to craft a DIY home automation system that’s both affordable and highly functional. It’s a rewarding project that transforms your house into a smarter, more secure, and more convenient place to live.
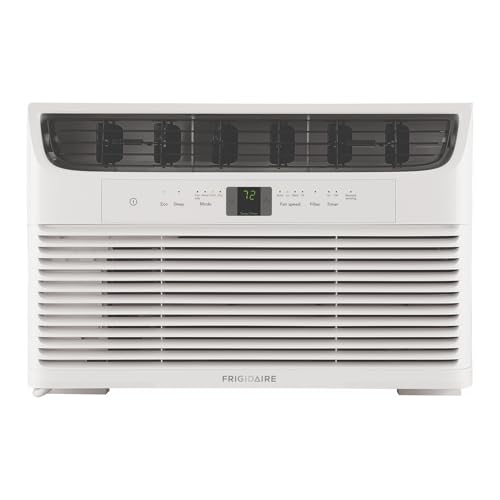
Frigidaire 8,000 BTU Window Air Conditioner with Remote Control, Cools Up to 350 Sq. Ft., Quiet Operation, Eco Mode, 3 Fan Speeds, Auto Restart, White
Customizable Cooling: Achieve optimal comfort with custom temperature settings, 6-way directional airflow, and three different fan speeds
As an affiliate, we earn on qualifying purchases.
Frequently Asked Questions
What Are the Best Accessories for Expanding My Raspberry Pi Smart Home Hub?
To expand your Raspberry Pi smart home hub, consider adding wireless sensors for motion, temperature, or humidity detection, which enhance automation capabilities. LED indicators are also great for providing visual feedback on device status or alerts. These accessories are easy to connect and customize, making your smart home more responsive and efficient. With the right wireless sensors and LED indicators, you’ll improve your system’s functionality and user experience seamlessly.
How Secure Is a DIY Smart Home System Against Hacking Attempts?
Think of your DIY smart home system as a fortress; its security depends on your defenses. It can be quite secure if you use strong encryption protocols and implement network segmentation. Regular updates and strong passwords also protect against hacking attempts. However, remember that no system is invulnerable. Staying vigilant and proactive guarantees your smart home remains safe, just like a well-guarded fortress safeguarding your treasures.
Can I Integrate Voice Control With My Raspberry Pi Home Automation?
Yes, you can integrate voice control with your Raspberry Pi home automation. By setting up a voice assistant like Mycroft or Rhasspy, you enable speech recognition and control your smart devices hands-free. You’ll need a microphone and speaker connected to the Pi, and some configuration to customize commands. This setup offers a convenient, natural way to interact with your smart home system, enhancing its functionality and ease of use.
What Is the Power Consumption of a Raspberry Pi-Based Smart Home Hub?
Your Raspberry Pi-based smart home hub is highly energy-efficient, typically consuming around 3 to 5 watts under normal operation. Thanks to good power management, it uses minimal energy, making it cost-effective and environmentally friendly. You can further optimize power consumption by adjusting settings and shutting down unused features, ensuring your hub remains efficient while maintaining reliable performance. This balance helps you save energy without sacrificing functionality.
How Do I Troubleshoot Connectivity Issues Between Devices and the Hub?
Imagine your smart thermostat isn’t responding; start by checking device firmware updates to verify compatibility. Next, verify signal interference—move other electronics away from your hub and devices. Restart your devices and the Raspberry Pi hub, then test connectivity again. If issues persist, check your Wi-Fi network strength and consider changing channels to reduce interference. This proactive approach helps you quickly troubleshoot device connectivity problems effectively.

6000 BTU Window Air Conditioner with Remote Control, Window AC Units Cools up to 250 Sq. Ft, 3 Cooling & Fan Speeds, Quiet Operation, LED Digital Display, Easy Installation, Ideal for Bedroom Office
【Efficient Cooling for Medium Rooms】 This 6000 BTU window air conditioner delivers reliable, fast cooling for spaces up...
As an affiliate, we earn on qualifying purchases.
Conclusion
So, there you have it—your very own smart home hub, built with a Raspberry Pi. Now, you can finally impress friends by saying you’ve “automated everything.” Just remember, while you’re busy turning on lights with a tap, don’t forget to stay human—because one day, your smart home might just start making the coffee itself. Until then, enjoy the convenience… and maybe keep a manual switch handy, just in case.

Amazon Basics 5000-BTU Window Air Conditioner with Quiet Operation, Up to 150 Sqf, Cool and Fan Functions, Washable Filter, Adjustable Window Kit, Intuitive Mechanical Controls, for Small Room, White
EFFICIENT COOLING: 5000 BTU cooling capacity ideal for rooms up to 150 sq. ft. - perfect for bedrooms,...
As an affiliate, we earn on qualifying purchases.

Midea 6,000 BTU U Shaped Smart Inverter Window Air Conditioner - Cools 250 Sq Ft, Ultra Quiet with Open Window Operation - Alexa/Google Assistant Compatible, 37% Energy Savings, Remote (2026 Edition)
ULTRA QUIET - The U-shape design of Midea U Smart Inverter AC uses your window to block noise...
As an affiliate, we earn on qualifying purchases.