To remove wallpaper without losing your mind, gather the right tools like a utility knife, scoring tool, and wallpaper steamer. Start by scoring the paper to allow solutions to penetrate, then soak with warm water or stripping solution. Use a steamer for stubborn sections, gently peel away the wallpaper, and carefully clean the wall afterward. Filling in gouges and prepping the surface guarantees a smooth finish. Keep going, and you’ll master a damage-free removal process.
Key Takeaways
- Use scoring tools to create small holes, allowing stripping solutions to penetrate and loosen adhesive effectively.
- Apply a wallpaper steamer to soften stubborn sections, making removal easier and reducing wall damage.
- Spray warm water or stripping solutions generously and let them soak for several minutes before peeling.
- Gently lift edges with a sponge or putty knife, working patiently to prevent tearing or drywall damage.
- Clean the wall thoroughly after removal and patch any gouges for a smooth, ready surface.
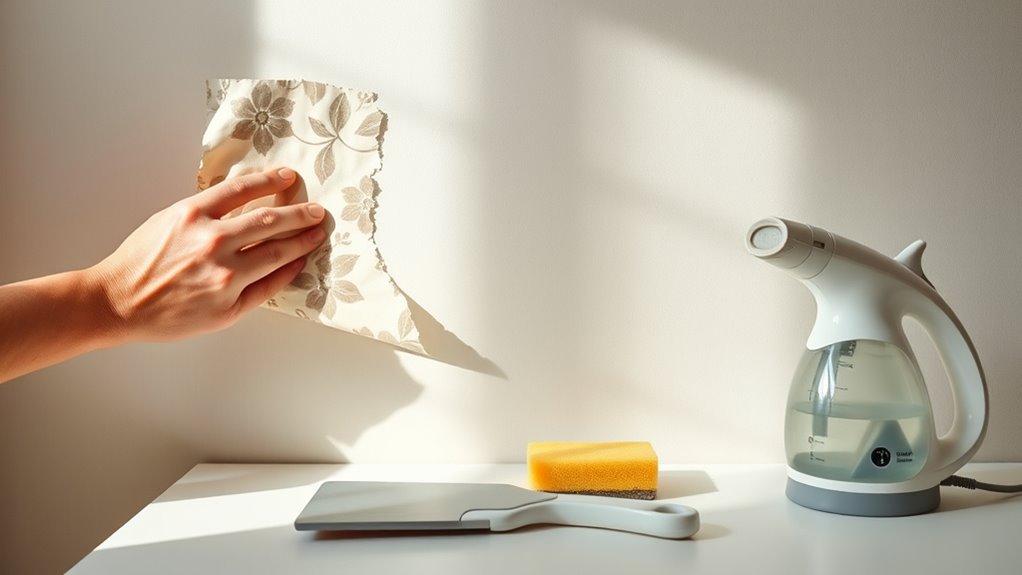
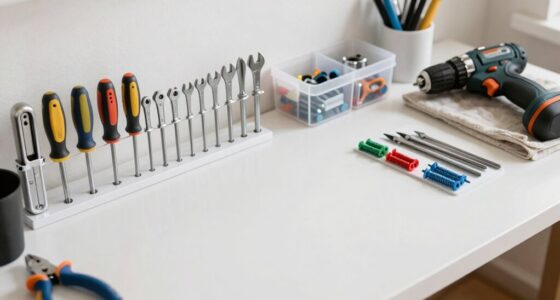
Removing wallpaper can be a challenging job, but knowing the right methods makes it much easier. The key to a successful removal process starts with having the right wallpaper removal tools on hand. Whether you’re tackling a small room or an entire house, investing in quality tools can save you time and frustration. Basic supplies include a utility knife, putty knife, scoring tool, spray bottle, sponge, and a steamer or wallpaper stripper. These tools are essential for a smooth DIY wallpaper removal experience because they help loosen the adhesive and peel away the paper without damaging the wall underneath.
Having the right tools ensures a smooth, damage-free wallpaper removal experience.
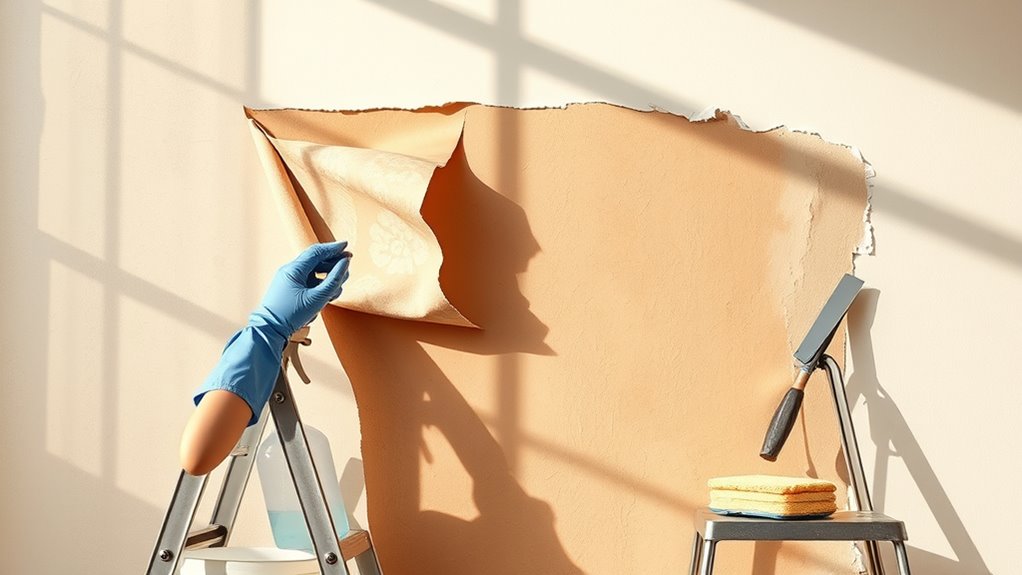
When you begin, start by inspecting the wallpaper to see if it’s peelable or glued down firmly. For DIY wallpaper removal, scoring tools are invaluable. They create tiny holes in the paper, allowing your chosen solution—whether it’s a commercial wallpaper stripper or a homemade mixture of water and vinegar—to penetrate the paper and adhesive. Be careful not to press too hard with the scoring tool, as you don’t want to puncture or damage the drywall beneath. Once you’ve scored the wallpaper, fill your spray bottle with warm water or a stripping solution and spray generously over the surface. Allow it to soak in for a few minutes to loosen the adhesive.
After the wallpaper has soaked, use a sponge or a putty knife to gently lift the edges of the paper. For stubborn sections, a wallpaper steamer can be a game-changer. If you don’t have one, you can rent or buy one for DIY wallpaper removal. The steamer’s hot steam softens the adhesive, making it easier to lift the paper without tearing it. Carefully hold the steamer against the wall and work in small sections, peeling away the paper as you go. Remember, patience is key—rushing can rip the wallpaper or cause damage to the wall surface.
Once the wallpaper is removed, you’ll likely need to clean the wall thoroughly to remove any remaining adhesive residue. Use a sponge soaked in warm water or a mild detergent. If you notice any gouges or imperfections, fill them with spackle and sand smooth before painting or applying new wallpaper. Taking your time with each step and using the right wallpaper removal tools helps ensure a clean, damage-free surface ready for your next project. Good preparation and understanding of wallpaper adhesive can also help prevent future issues during removal. With a little patience and the right approach, DIY wallpaper removal can be straightforward—and even satisfying.
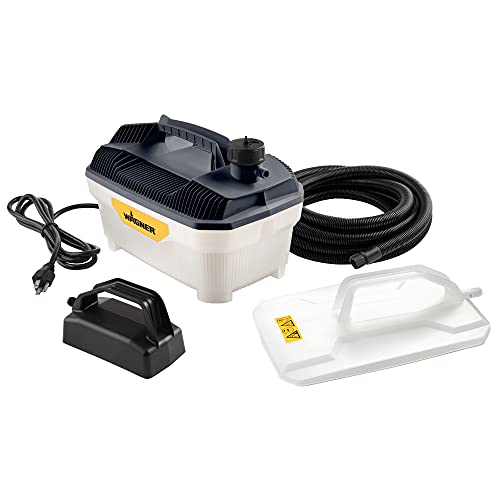
Wagner Spraytech 2439019 725 Wallpaper Steamer, Steam Cleaner for Easy Wallpaper Removal, 2 Steam Plates Included
CHEMICAL FREE WALLPAPER REMOVER: Just add distilled water to this Wagner steam cleaner for a natural and environmentally…
As an affiliate, we earn on qualifying purchases.
As an affiliate, we earn on qualifying purchases.
Frequently Asked Questions
How Long Does Wallpaper Removal Typically Take?
Wallpaper removal usually takes a few hours to a full day, depending on the room size and wallpaper type. You’ll spend time soaking the walls to loosen the adhesive, which helps safeguard your drywall. As you work carefully, you avoid damaging the drywall surface. Patience is key—you might need multiple attempts to fully remove the wallpaper without harming the wall beneath, but staying gentle ensures drywall preservation.
Can I Remove Wallpaper Without Damaging the Drywall?
Yes, you can remove wallpaper without damaging the drywall if you prioritize wallpaper removal safety. Use gentle techniques like scoring and applying a quality removal solution, avoiding aggressive scraping. DIY removal is doable if you’re careful and patient, but for larger or stubborn areas, professional removal might be safer to prevent drywall damage. Always test a small section first and work slowly to preserve your drywall’s integrity.
What Tools Are Best for Removing Stubborn Wallpaper?
When tackling stubborn wallpaper, you need the right tools and techniques to get the job done. A wallpaper steamer is your best friend, loosening the adhesive with ease, while a scoring tool helps create access points. Chemical solutions like a vinegar and water mix or commercial removers break down tough glue. Use a putty knife or scraper gently to lift the wallpaper without damaging your drywall. Think of it as peeling an onion—patience is key.
Is It Necessary to Prime Walls After Removal?
Priming is essential after wallpaper removal to guarantee proper wall preparation. It helps seal any leftover adhesive, smooths out the surface, and creates a uniform base for new paint or wallpaper. Skipping priming can lead to uneven finishes or adhesion issues later. So, yes, priming your walls is a necessary step to achieve a professional look and make your next project easier and more successful.
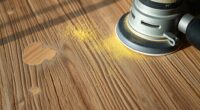
How Do I Remove Wallpaper From Textured or Uneven Surfaces?
To remove wallpaper from textured or uneven surfaces, start by scoring the wallpaper gently to break the seal. Use a spray bottle with warm water or a wallpaper stripper to soak the paper thoroughly, ensuring the solution reaches the wallpaper texture. For uneven wall prep, take your time, work in sections, and use a putty knife carefully to lift the wallpaper without damaging the wall. Patience is key for a smooth removal.

WP Chomp Wallpaper Scorer Remover Tool: with Hardened Steel Wheels 52014
IDEAL FOR ALL WALLPAPERS: Two balanced, interwoven scoring heads mounted on a pressure reactive nylon pivot arm- mild…
As an affiliate, we earn on qualifying purchases.
As an affiliate, we earn on qualifying purchases.
Conclusion
Removing wallpaper might feel like trying to tame a wild beast, but with the right methods, you can tame it without losing your mind. Whether you opt for steaming, scoring, or chemical removers, each technique is a tool in your toolbox. Stay patient and persistent, and you’ll transform your walls from chaos to clean canvas. Think of it as peeling back a stubborn layer to reveal fresh, new space—your home’s blank slate awaiting your personal touch.

ROMAN Wallpaper Removal Kit – Concentrate (32 oz), Perforating Scoring Tool, and Angled Scraper for Home Improvement – Yields 5 Gallons of Remover (1500 sq. ft Coverage)
FAST ACTING – Formulated to break down stubborn wallpaper paste and residue quickly, leaving walls clean for new…
As an affiliate, we earn on qualifying purchases.
As an affiliate, we earn on qualifying purchases.

Putty Knife, 4Pcs Spackle Knife Set (2, 3, 4, 5 in), Stainless Steel Paint Scraper, Taping Knife Tool for Repairing Drywall, Removing Wallpaper, Applying Putty, Plaster, Cement, Adhesive
Sturdy Design: The blade and handle in our drywall knife are processed in one piece, which is very…
As an affiliate, we earn on qualifying purchases.
As an affiliate, we earn on qualifying purchases.