
To patch a drywall hole and have it look like new, start by gathering tools like a putty knife, drywall tape, and joint compound. Prepare the area by cleaning and smoothing rough edges, then securely fix a drywall patch over the hole with screws, making sure it’s flush. Sand the surface to blend the patch seamlessly, then apply primer and matching paint for a flawless finish. Keep going, and you’ll soon master every step for a perfect repair.
Key Takeaways
- Cut and clean the damaged drywall edges for a smooth, even surface before patching.
- Apply drywall tape around the patch edges and secure it with drywall screws or nails.
- Cover the patch with joint compound, feathering the edges to blend seamlessly with the wall.
- Sand the dried compound smoothly and evenly, removing any ridges or bumps.
- Prime and paint the repaired area for a uniform, like-new finish.
Top picks for "patch hole drywall"
Open Amazon search results for this keyword.
As an affiliate, we earn on qualifying purchases.
Gather Your Tools and Materials

Before you begin patching drywall, it’s essential to gather all the necessary tools and materials. You’ll need a putty knife or drywall knife to apply joint compound smoothly. A utility knife helps you cut drywall or tape, while a drywall saw is useful for enlarging holes. Get a sanding sponge or fine-grit sandpaper to smooth the surface later. You’ll also need drywall tape to cover seams and a container for joint compound. Don’t forget a drywall patch or a piece of drywall if the hole is large. Safety gear like gloves and a dust mask can protect you during sanding. Having everything on hand keeps the process efficient and prevents interruptions, ensuring your repair goes smoothly and looks professional.
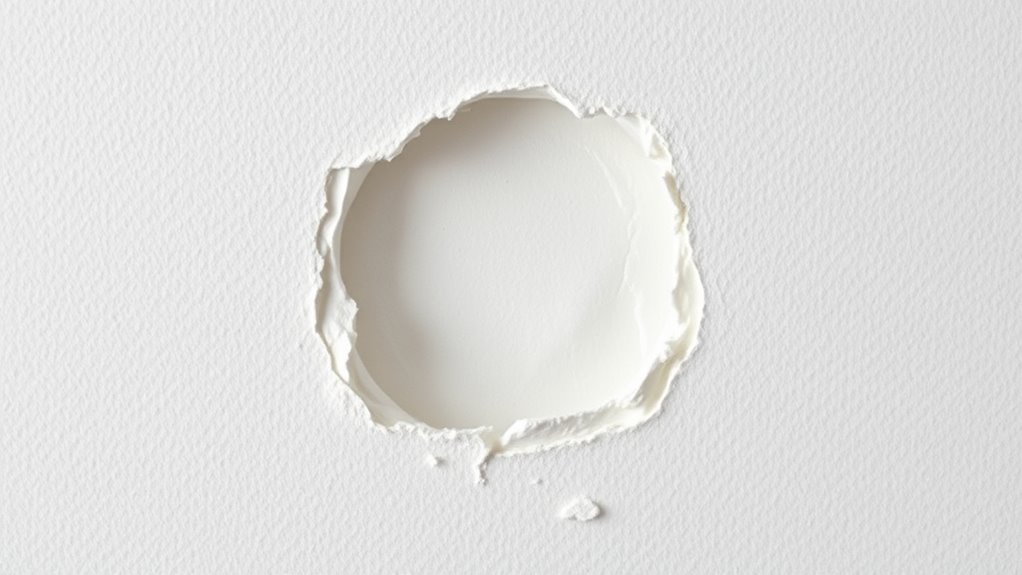
Prepare the Damaged Area

Start by inspecting the damaged area carefully. Look for loose drywall, jagged edges, or debris that could interfere with patching. Use a utility knife to trim away any loose or damaged drywall around the hole, creating a clean, smooth edge. Remove any peeling paint or flaking drywall compound to guarantee a solid surface for the patch. If there’s a rough or uneven edge, sand it lightly to smooth the surface. Clear away dust, dirt, and debris from the area so the patch will adhere properly. Measure the size of the hole and note any irregularities. Preparing a clean, smooth, and stable surface now will make the patching process easier and help the repair blend seamlessly with the surrounding wall.
Apply the Patch and Secure It
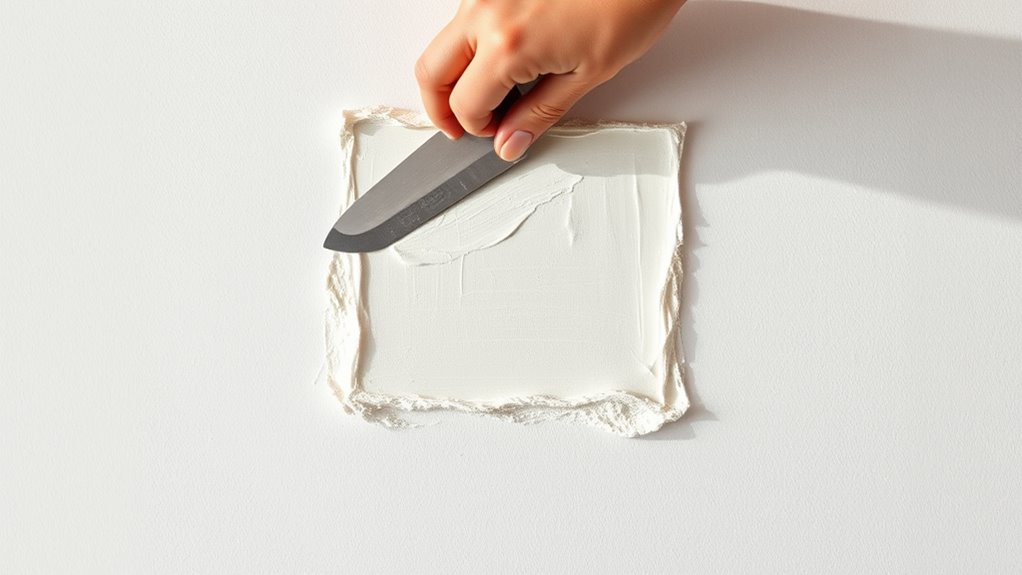
Once you’ve prepared the damaged area, it’s time to apply the patch and secure it properly. Place the patch over the hole, making sure it’s centered and covers the damaged spot completely. Press firmly to verify it adheres well to the drywall. Use drywall tape around the edges for extra strength, especially if the patch is large. Secure the patch with drywall screws or nails, driving them just below the surface to avoid tearing. Keep the patch flat and flush with the wall, avoiding any bumps. Check for air bubbles or gaps and press down as needed. This step ensures your patch stays in place and forms a solid foundation for the finishing touches.
Secure the patch with drywall screws, ensuring a flush, smooth surface for a seamless finish.
- Use a utility knife to trim excess material
- Double-check the patch’s alignment
- Make sure the patch is flush with the wall surface
- Secure edges with drywall screws or nails
- Keep everything smooth and flat for easy finishing
Sand and Smooth the Surface
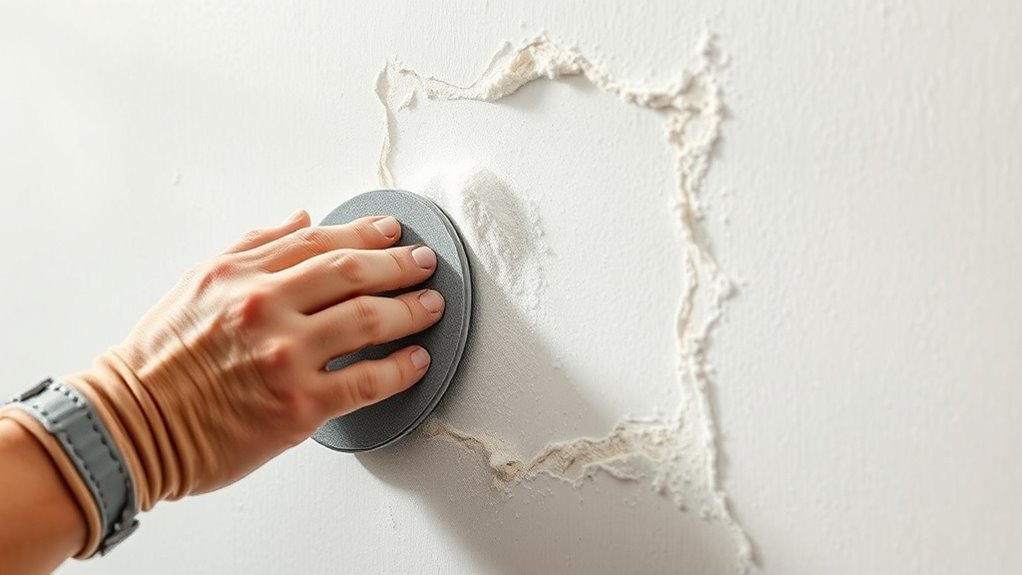
To achieve a seamless finish, you need to sand and smooth the patched area thoroughly. Begin by using a fine-grit sanding sponge or a piece of sandpaper, around 120 to 220 grit. Gently sand over the patch, applying even pressure to blend the edges into the surrounding drywall. Be careful not to sand too aggressively, which can damage the repair or create uneven surfaces. Focus on leveling the dried joint compound so it’s flush with the wall. Wipe away dust with a damp cloth or vacuum the area to keep the surface clean. Proper sanding guarantees the patch blends smoothly, setting the stage for a flawless finish when you paint. Take your time to achieve a surface that feels even and smooth to the touch.
Finish With Primer and Paint

After sanding the patched area, applying a primer is essential to guarantee the paint adheres properly and the finish looks even. Primer seals the patch and provides a uniform surface, preventing color variations. Once the primer dries, you can proceed with painting. Use a brush or roller to apply the paint smoothly, working in even strokes. For the best results, choose a color-matched paint or one slightly lighter to blend seamlessly. Remember to let each coat dry thoroughly before applying the next. Here are some tips to make the process easier:
Priming ensures a smooth, even finish and helps paint adhere properly for professional-looking results.
- Use high-quality brushes and rollers
- Apply thin, even coats
- Sand lightly between coats if needed
- Keep a damp cloth nearby for drips
- Match your paint color precisely before starting
Frequently Asked Questions
How Long Should I Wait Before Painting After Patching?
You should wait at least 24 hours before painting after patching your drywall. This allows the joint compound to completely dry and cure, preventing cracks or peeling later. If you used multiple coats, give each layer ample drying time. Once the patch feels firm and dry to the touch, lightly sand it smooth, then proceed with painting. Patience guarantees a seamless, professional-looking finish that lasts.
Can I Use Household Items Instead of Professional Patching Materials?
Yes, you can use household items to patch drywall, but results may vary. For small holes, mashed potatoes or toothpaste can fill gaps temporarily. For larger holes, use a piece of cardboard or paper taped behind the hole, then cover it with joint compound or spackle from your toolbox. Sand smooth once dry, and you can paint over it. Just remember, homemade patches might not look as seamless as professional materials.
What Is the Best Way to Prevent Future Drywall Cracks?
You should regularly inspect your drywall for early signs of cracks, which often appear around door frames or windows due to natural settling. To prevent future cracks, control humidity levels, avoid hanging heavy objects without proper anchors, and make certain your home’s foundation is stable. Keep an eye on temperature fluctuations and address small issues promptly, because catching problems early helps your walls stay smooth and crack-free over time.
How Do I Fix a Hole Larger Than a Standard Patch?
To fix a large hole, you first cut a piece of drywall slightly bigger than the hole. Secure it with drywall screws or adhesive, then tape the seams with drywall or mesh tape. Apply joint compound over the tape, feathering the edges for a smooth finish. Let it dry, then sand it lightly. Repeat as needed until the patch blends seamlessly with the wall.
Is It Necessary to Prime the Patch Before Painting?
Yes, you should prime the patch before painting. Priming helps seal the patch and makes certain the paint adheres evenly, preventing differences in texture or color. You’ll want to use a primer suitable for drywall, applying it smoothly over the patch and surrounding area. Let the primer dry completely before applying your final coat of paint. This step guarantees a seamless, professional-looking finish that blends perfectly with the rest of your wall.
Conclusion
Now, as you step back and admire your perfectly patched wall, it’s funny how a small hole can teach you so much about patience and precision. Sometimes, a simple repair isn’t just about fixing drywall—it’s about restoring confidence in your own skills. With a little effort, you’ve turned what seemed like a minor flaw into a seamless finish. Who knew that a little patching could bring such a satisfying sense of accomplishment?