
To paint a room like a pro, start with a solid plan that includes choosing the right paint and colors, and gathering quality tools and supplies. Prepare your space by protecting surfaces and repairing walls for a smooth finish. Apply paint carefully with proper techniques for cutting-in and rolling, and manage drips and streaks promptly. Let everything dry thoroughly, inspect closely, and do any final touch-ups. Keep following these steps to discover expert results—you’ll find all the details if you continue on.
Key Takeaways
- Plan your color scheme, select quality paints, and gather essential tools for a professional finish.
- Prepare your workspace by protecting surfaces, masking edges, and ensuring good lighting.
- Use proper techniques with brushes and rollers to achieve smooth, streak-free application.
- Fix imperfections promptly with sanding, feathering, and blending for seamless results.
- Allow adequate drying time, inspect thoroughly, and perform final touch-ups for a flawless look.
Top picks for "ultimate paint room"
Open Amazon search results for this keyword.
As an affiliate, we earn on qualifying purchases.
Selecting the Perfect Paint and Color Scheme
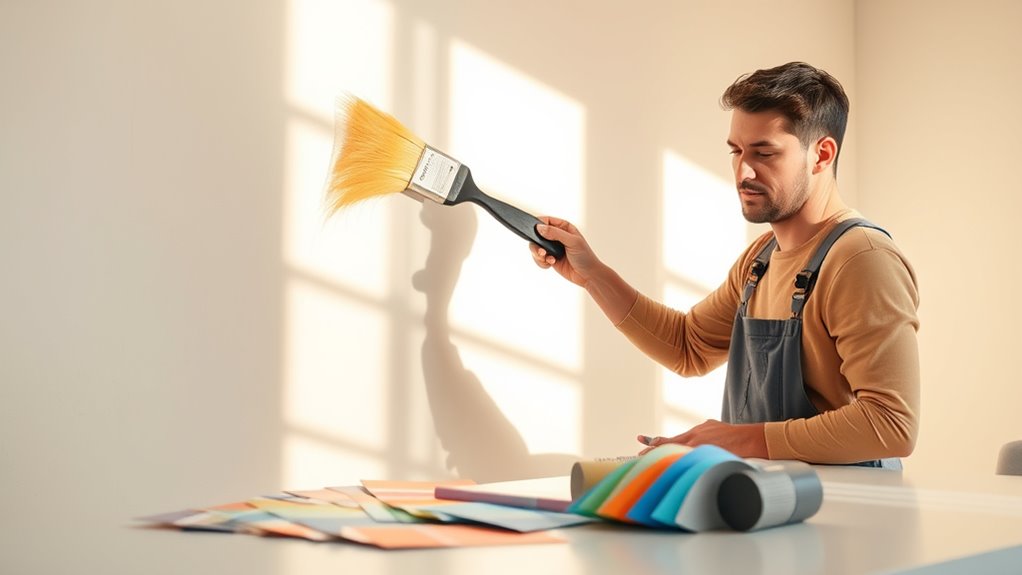
Have you ever wondered how to choose the right paint and color scheme for your room? The key is to consider the mood you want to create and how the space will be used. Start by selecting a base color that complements your furniture and decor. Neutral tones like beige, gray, or soft pastels work well for versatility and calming effects. Then, think about accent colors to add personality and depth. Use color theory principles—like pairing complementary or analogous shades—to create harmony. Don’t forget to test small swatches in your space, observing how they look in different lighting. Ultimately, pick shades that reflect your style and make you feel comfortable. With a thoughtful approach, you’ll craft a space that feels both inviting and stylish.
Gathering Essential Tools and Supplies
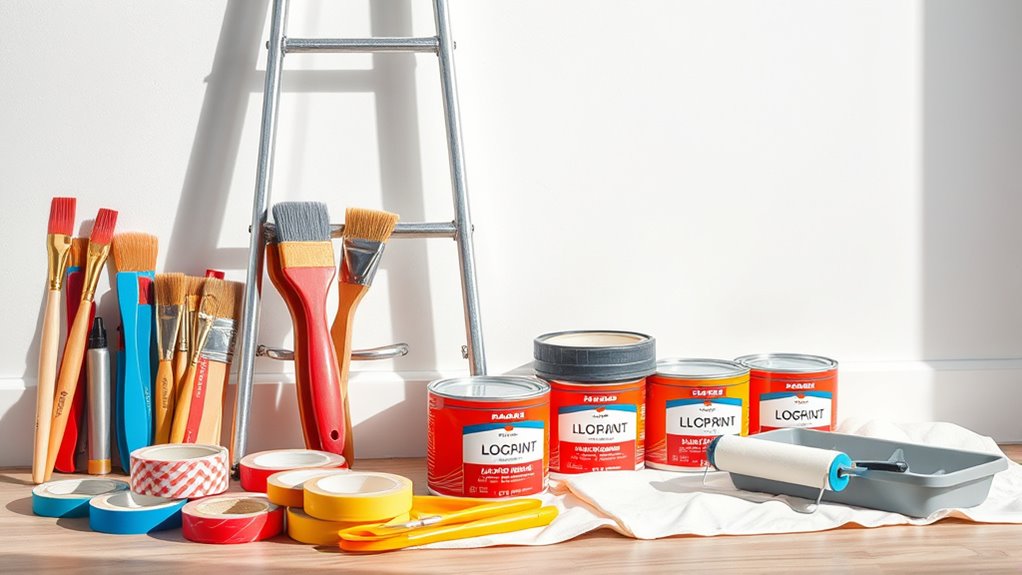
Before you start painting, make sure you have all the essential tools and supplies on hand. This includes a preparation checklist, quality brushes and rollers, and safety gear like masks and gloves. Having everything ready guarantees your project goes smoothly and results look professional.
Preparation Checklist Items
To guarantee a smooth painting process, gathering all the essential tools and supplies beforehand is crucial. This ensures you won’t waste time searching for items mid-project. First, check if you have a high-quality roller and brushes suitable for your wall type. Second, gather painter’s tape to protect edges and trim. Third, get drop cloths or plastic sheeting to cover furniture and floors. Fourth, prepare a sturdy ladder or step stool for reaching higher areas. Having these items ready allows you to work efficiently and maintain a professional finish. Remember to also have a paint tray, stir sticks, and cleaning supplies nearby, but these are part of your overall prep. Proper preparation sets the foundation for a flawless painting job.
Quality Painting Supplies
Selecting high-quality painting supplies is essential to achieving a professional-looking finish. Invest in good brushes, rollers, and painter’s tape to guarantee smooth, even coverage and clean lines. Quality brushes with fine bristles help you cut in edges precisely, while durable rollers cover large areas efficiently without splattering. Don’t skimp on primer and paint; premium products apply more evenly and last longer. Keep a variety of tray liners and extension poles handy to reduce mess and reach difficult spots easily. Using the right supplies minimizes touch-ups and creates a polished look. Remember, the right tools make your job easier and deliver superior results, so prioritize quality over cost to ensure your paint job looks flawless and professional.
Safety Gear Essentials
Ensuring your safety while painting is essential, and gathering the right safety gear is the first step. Proper safety equipment protects you from fumes, splashes, and debris. Here are the must-have items:
- Respirator or Mask: Keeps paint fumes and dust out of your lungs.
- Safety Goggles: Protect your eyes from splatters and airborne particles.
- Gloves: Shield your skin from chemicals and paint stains.
- Coveralls or Old Clothing: Prevent paint from staining your clothes and skin.
Always check that your gear fits correctly and is in good condition before starting. Using these essentials guarantees you can focus on your project safely and comfortably. Prioritize safety to make your painting experience smooth and worry-free.
Preparing Your Workspace and Walls
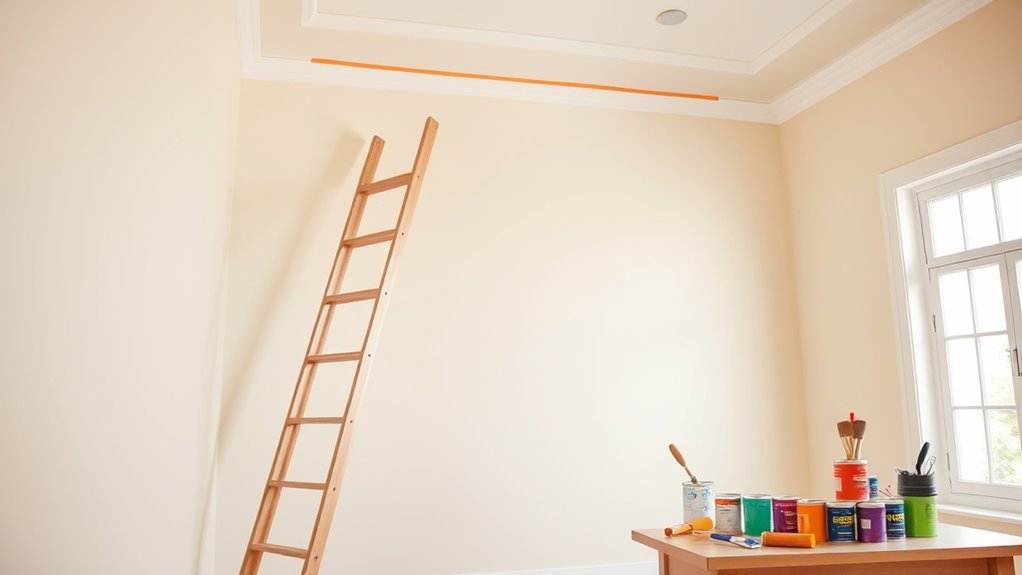
Before you start painting, establishing your workspace and walls thoroughly is essential. Clear the area of furniture or move it to the center and cover with drop cloths. Protect the floor with plastic sheets or old newspapers. Use painter’s tape to mask edges, outlets, and trim for clean lines. Consider the lighting: good illumination helps spot imperfections. Visualize your space with this setup:
| Workspace Setup | Wall Preparation | Protection Measures |
|---|---|---|
| Clear furniture | Clean walls | Drop cloths on floor |
| Drop cloths | Remove dust | Painter’s tape on edges |
| Good lighting | Check for damage | Mask outlets and trim |
Repairing and Priming Surfaces for a Smooth Finish
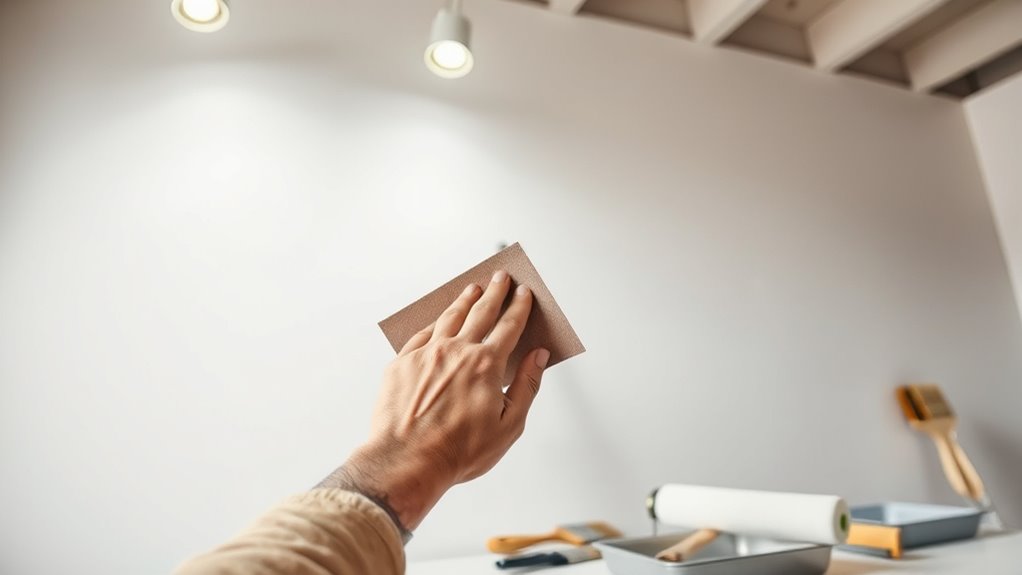
Once your workspace is prepared and walls are ready for painting, focus on repairing any imperfections to achieve a flawless finish. First, inspect the surface closely for cracks, holes, or dents. Second, fill these with spackle or joint compound, using a putty knife for smooth application. Third, sand the patched areas once dry until they are flush with the wall. Fourth, apply a primer to seal the surface, especially on patched spots or previously unpainted surfaces. Priming helps create a uniform base, enhances paint adhesion, and ensures even color. Taking these steps guarantees a smooth, professional-looking finish and minimizes the need for touch-ups later. Proper repair and priming lay the foundation for a beautifully painted room.
Techniques for Cutting-In and Edging Like a Pro
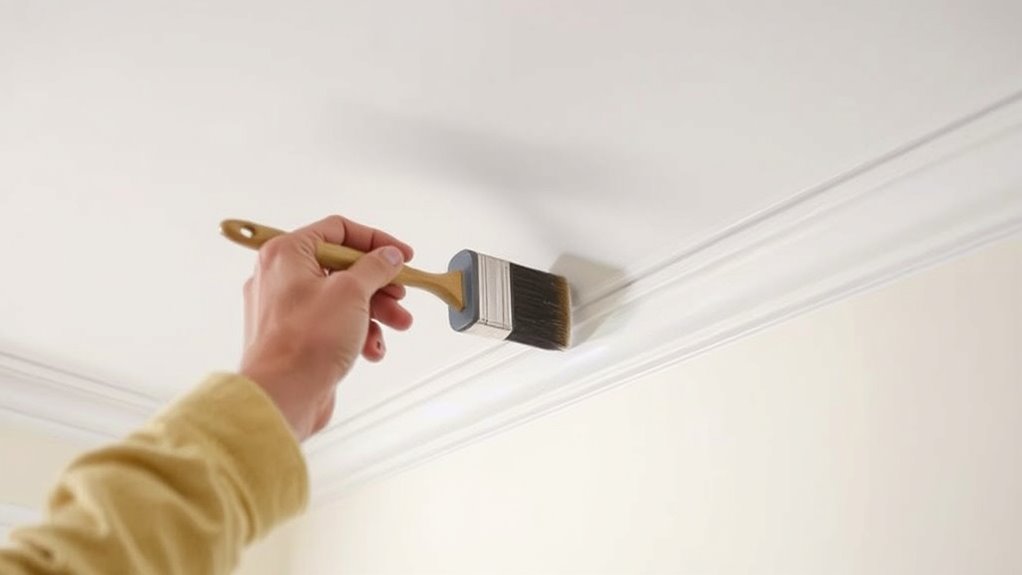
Mastering cutting-in and edging is essential for achieving crisp, professional-looking lines when painting a room. To do this, use high-quality angled brushes designed for detail work. Start by loading the brush with a manageable amount of paint, then steady your hand and work slowly along the edges, maintaining consistent pressure. Keep a wet edge by overlapping slightly onto already painted areas to prevent lap marks. Use light, controlled strokes rather than heavy pushes, and pause briefly at corners or edges to ensure accuracy. For tricky spots or tight corners, take your time and use painter’s tape for extra precision. With practice, your lines will become cleaner and more confident, giving your room a polished, professional finish.
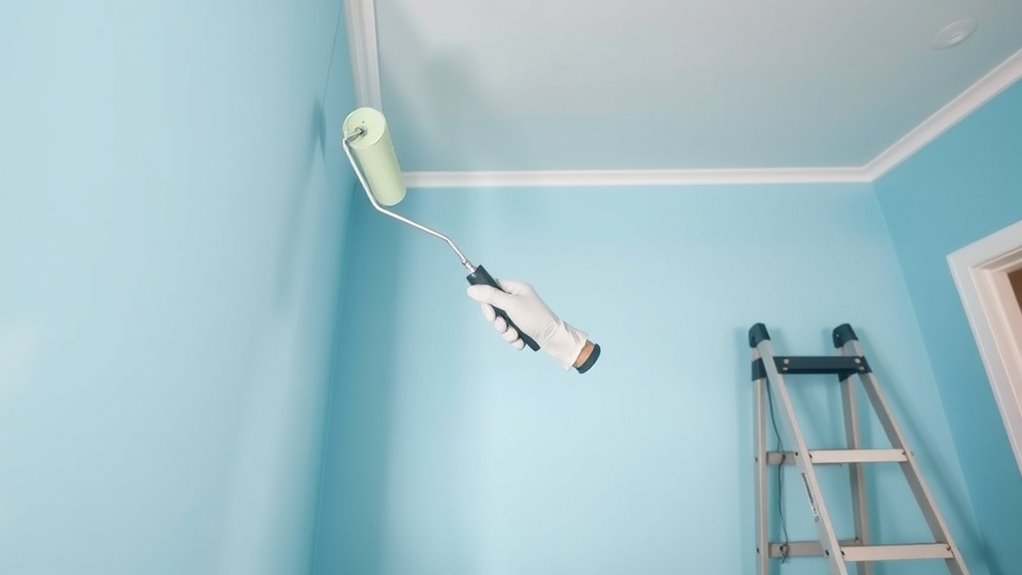
Applying Paint With Rollers and Brushes for Even Coverage
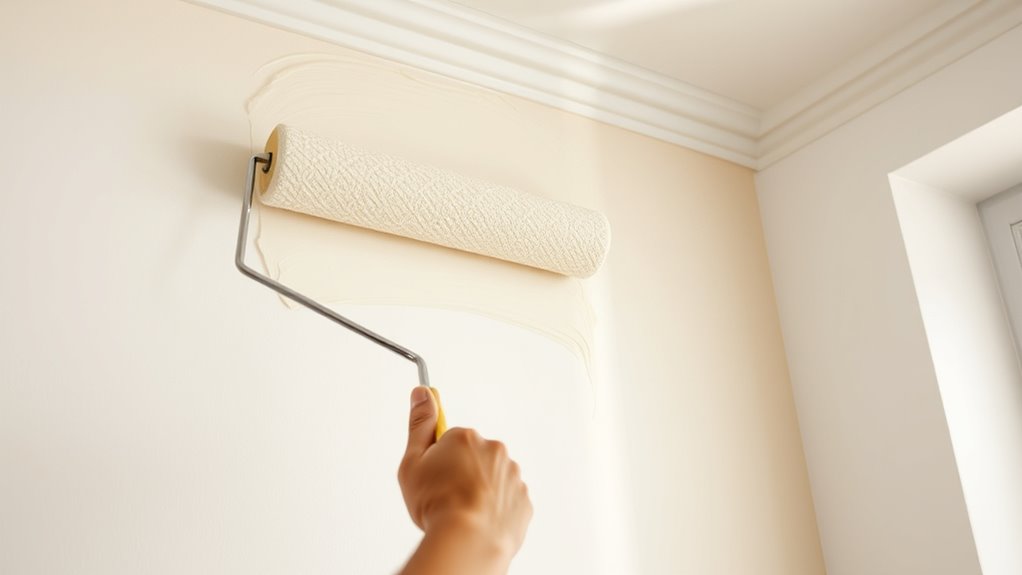
To achieve an even, smooth finish when applying paint, it’s vital to use the right techniques with rollers and brushes. First, load your roller or brush with the right amount of paint—not too much, to prevent drips. Second, use a consistent, overlapping motion to spread paint evenly across the surface. Third, apply paint in long, steady strokes to avoid streaks and uneven patches. Fourth, periodically reload your tools to maintain uniform coverage. For brushes, use gentle, feathering strokes near edges to blend seamlessly. With rollers, maintain consistent pressure and work in sections to ensure a uniform coat. These techniques help you avoid lap marks and achieve a professional-looking finish with minimal effort.
Managing Drips, Streaks, and Touch-Ups

To achieve a flawless finish, you need to manage drips, streaks, and touch-ups carefully. Prevent paint from dripping by controlling your brush and roller techniques, and fix streaks quickly before they set. Mastering precise touch-ups guarantees your walls look smooth and professional once you’re done.
Preventing Paint Drips Effectively
Paint drips and streaks can quickly ruin a professional-looking finish, but you can prevent them with careful technique. First, load your brush or roller properly—dip just enough to cover the bristles or nap without overloading. Second, work in manageable sections, applying paint smoothly and evenly, avoiding excess buildup. Third, maintain a steady hand and consistent pressure to prevent uneven layers and drips. Fourth, keep a damp rag nearby to wipe drips or splatters immediately before they dry. By following these steps, you minimize messes and achieve a clean, streak-free coat. Remember, patience and precision are key—rushing can cause more drips and uneven coverage. With practice, you’ll master the art of preventing drips and enjoy a flawless finish.
Fixing Streaks Seamlessly
Even with careful application, streaks and drips can appear, but you can fix them quickly and seamlessly. The key is to act promptly. For streaks, lightly sand the area with fine-grit sandpaper to smooth the surface. Wipe away dust with a damp cloth, then gently feather the streaked area with a damp brush or roller, blending it into the surrounding paint. Drips should be trimmed with a razor blade or sanded down once dry, then lightly repainted. For touch-ups, use a small brush and apply paint in thin, even layers, feathering the edges to blend seamlessly. Always work in good lighting to spot imperfections early. With patience and the right tools, you’ll achieve a flawless finish, even after initial mishaps.
Mastering Precise Touch-Ups
After fixing streaks and drips, the next step is to master precise touch-ups that blend imperfections seamlessly into the surrounding paint. To do this effectively, keep a small brush or detail brush handy. Here are key tips:
- Lightly dampen your brush to prevent excess paint.
- Use a minimal amount of paint for touch-ups, building coverage gradually.
- Feather the edges outward to blend the repaired area into the existing paint.
- Step back frequently to assess if the touch-up matches seamlessly.
Stay patient and work carefully; rushing can create new imperfections. With practice, your touch-ups will become nearly invisible, leaving your walls looking flawless and professionally finished.
Allowing Proper Drying and Final Inspection
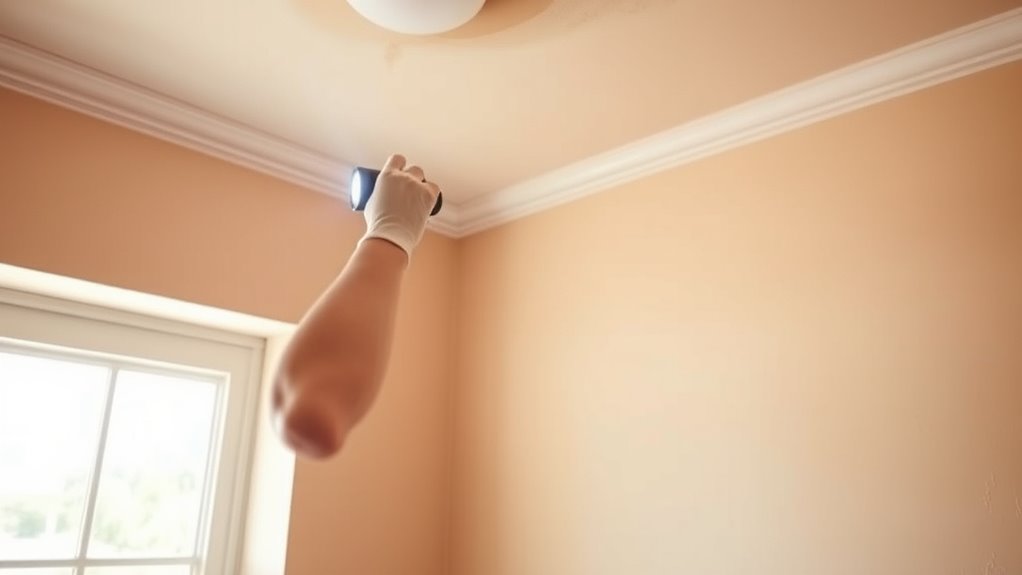
Once you’ve finished applying the final coat, it is essential to let the paint dry thoroughly before moving on. Rushing this step can cause smudges, streaks, or accidental damage. Check the paint can for recommended drying times, but generally, you should wait at least 24 hours for latex paint and longer for oil-based finishes. During this period, avoid touching or disturbing the walls. Once dry, inspect your work carefully under good lighting. Look for uneven spots, drips, or missed areas. Use a flashlight to highlight imperfections. If you notice any flaws, do quick touch-ups and allow those areas to dry completely. Taking your time during this stage ensures a smooth, professional-looking finish that lasts.
Frequently Asked Questions
How Can I Prevent Paint Fumes From Lingering After Completion?
To prevent paint fumes from lingering, open windows and doors immediately after finishing, creating good airflow. Use fans to speed up ventilation and consider placing a box fan near an open window or door. Keep the room well-ventilated for several hours or even days, especially if you used strong paints. Wearing a mask and using low-VOC or zero-VOC paints also helps minimize fumes and improve air quality.
What Are Eco-Friendly Paint Options for Indoor Rooms?
You can choose eco-friendly paints made from natural ingredients like clay, milk protein, or plant-based oils. Look for paints labeled low or zero VOC (volatile organic compounds), which emit fewer fumes and are safer for indoor air quality. Brands like Benjamin Moore Natura, ECOS Paints, and AFM Safecoat offer sustainable options. Always check labels and opt for water-based paints to decrease environmental impact and guarantee healthier indoor spaces.
How Do I Choose the Best Paint Finish for Different Rooms?
You should choose a finish based on each room’s use and your desired look. For example, opt for matte or flat finishes in bedrooms and living rooms for a soft, non-reflective surface. Use eggshell or satin in kitchens and bathrooms for durability and moisture resistance. For high-traffic areas or trim, go for semi-gloss or gloss to withstand wear and add a polished touch.
Can I Paint Over Wallpaper or Textured Walls?
Painting over wallpaper or textured walls is like trying to smooth out ripples on a pond. You can do it, but prep is key. First, clean and repair any damage. Then, roughen the surface with a primer or a special bonding agent designed for wallpaper or textured surfaces. This helps the paint adhere better. Use a high-quality primer and apply multiple coats if needed for a seamless, lasting finish.
What Are Tips for Painting High or Hard-To-Reach Areas Safely?
To paint high or hard-to-reach areas safely, use a sturdy ladder or an extension pole with your brush or roller. Always guarantee your ladder is stable and on an even surface, and never overreach. Wear non-slip shoes, keep your workspace clear of obstacles, and have someone hold the ladder if possible. Take your time, stay balanced, and prioritize safety to avoid accidents while achieving a smooth, professional finish.
Conclusion
Think of your painted room as a blank canvas ready to showcase your creativity. With each brushstroke, you’re adding layers of personality and warmth, transforming a simple space into a reflection of you. When you step back and admire your work, you see more than just colors—you see your effort, patience, and vision coming to life. Your room now stands as a vibrant masterpiece, a symbol of your dedication and the beauty that comes with a well-painted space.