
To fix a running toilet in minutes, start by inspecting the flapper for damage or leaks and replace it if needed. Next, check the float and adjust it so the water level is about an inch below the overflow tube. Turn off the water supply, remove the tank cover carefully, and make these adjustments. If you keep these tips in mind, you’ll be able to stop your toilet from running consistently—more helpful tricks are just ahead.
Key Takeaways
- Turn off the water supply and drain the tank by flushing the toilet.
- Inspect and replace a damaged or warped flapper to ensure a proper seal.
- Adjust the float (ball or cup) to set the water level about an inch below the overflow tube.
- Check and tighten the fill valve connections, and clear any debris or mineral buildup.
- Test the flush and water level to confirm the toilet stops running within minutes.
Top picks for "trick runn toilet"
Open Amazon search results for this keyword.
As an affiliate, we earn on qualifying purchases.
Identifying the Cause of Your Toilet’s Constant Run
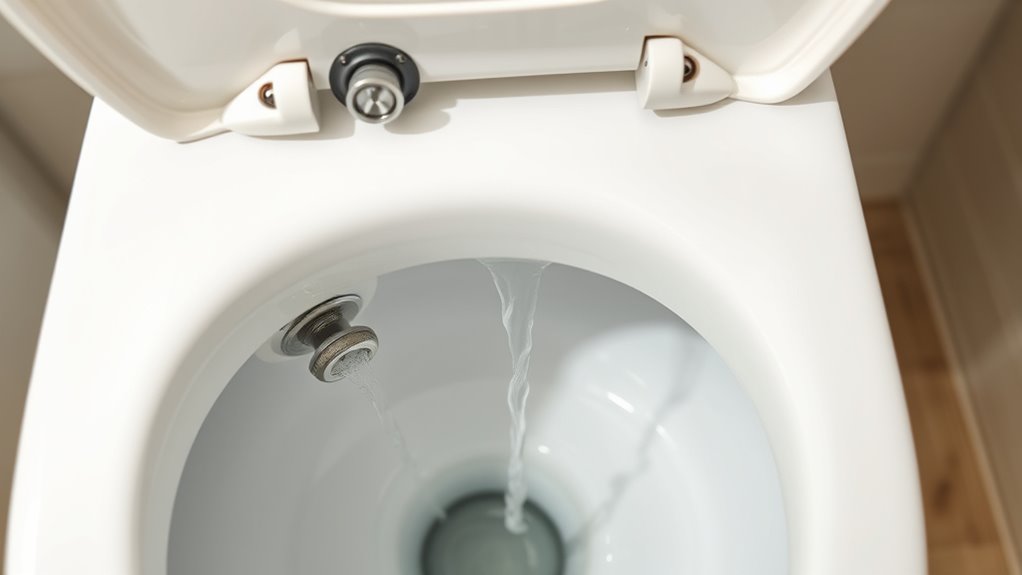
A constantly running toilet can be frustrating, but often the cause is straightforward to identify. First, lift the lid and observe the water level in the tank. If it’s too high and spills into the overflow tube, the fill valve might be set too high or malfunctioning. Next, check the flapper at the bottom of the tank; if it doesn’t seal properly, water will leak into the bowl continuously. Listen for constant hissing or dripping sounds, which indicate a leak. Also, inspect the chain connecting the flapper to the flush handle; if it’s too tight or too loose, it can prevent a proper seal. Identifying these common issues can help you determine what’s causing the constant run and guide your repair approach.
Gathering the Necessary Tools and Supplies
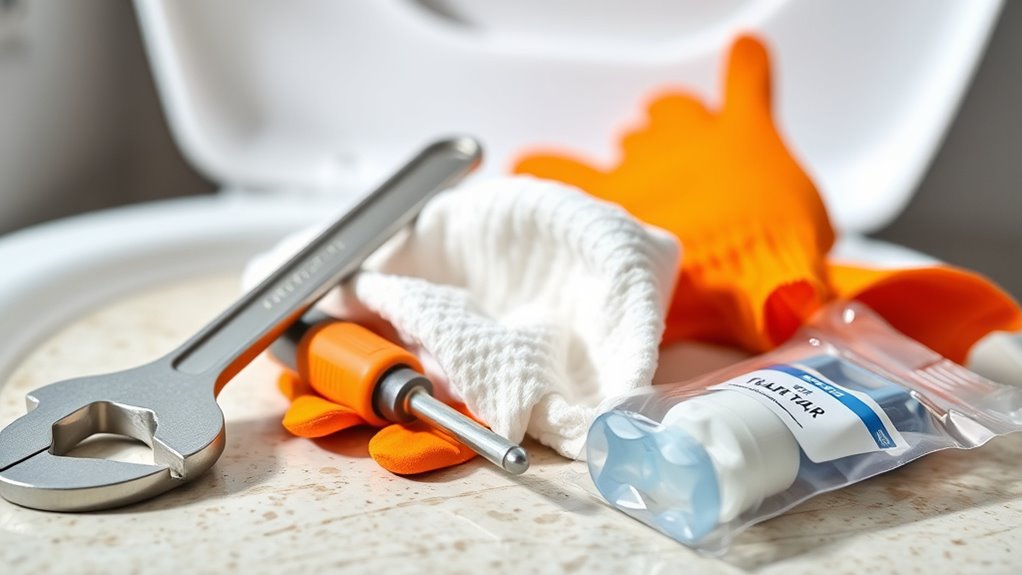
Before you start fixing your toilet, gather all the tools and supplies you’ll need to make the job easier and more efficient. You’ll want a adjustable wrench or pliers to loosen and tighten fittings. Have a replacement flapper or fill valve ready if needed. A sponge or towel will help clean up any water spills, and a bucket can catch excess water. Keep a small screwdriver on hand to adjust or remove parts. It’s also helpful to have some rubber gloves for hygiene and a flashlight for better visibility. Make sure you have these items nearby so you won’t have to stop halfway to hunt for tools. Being prepared with the right supplies saves time and prevents frustration during your repair.
Turning Off the Water Supply to the Toilet

Turning off the water supply to your toilet is a crucial first step to prevent leaks and water damage during repairs. Locate the shutoff valve, which is usually behind the toilet near the floor. Turn the valve clockwise until it stops; this closes the flow of water. If the valve is stiff or hard to turn, use a cloth for grip or pliers gently. Once shut, flush the toilet to drain remaining water from the tank and bowl. This step keeps water from spilling while you work. Confirm the water is off by gently pressing the flush handle; no water should flow. Turning off the supply minimizes messes and makes fixing your running toilet much safer and easier.
Removing the Toilet Tank Cover Carefully
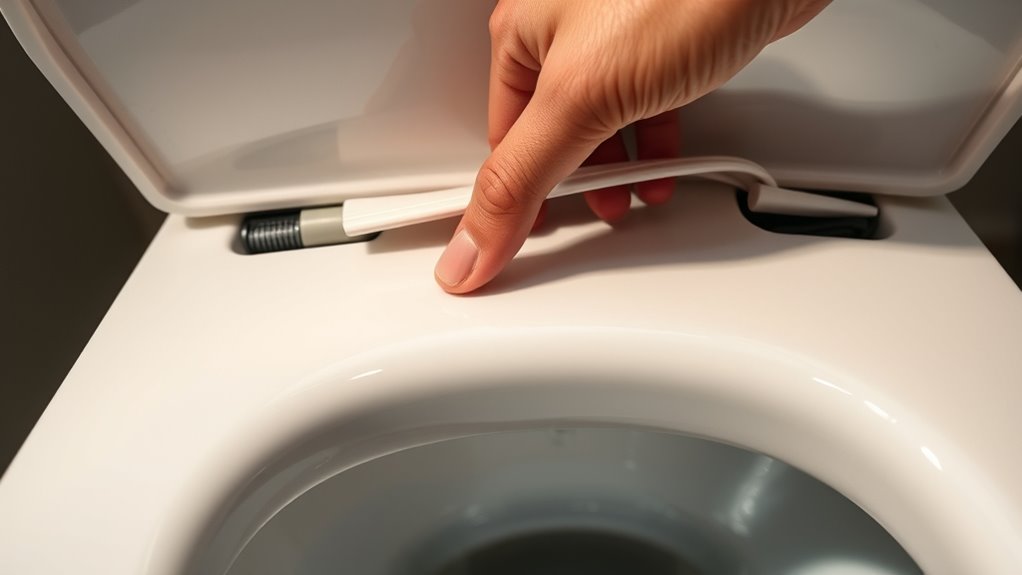
Carefully remove the toilet tank cover to access the internal components without causing damage. Grip the edges firmly but gently, supporting the weight of the cover as you lift. If the cover feels stuck, gently wiggle it back and forth rather than forcing it, which could crack or break the porcelain. Place the cover on a flat, stable surface nearby to prevent accidental drops. Be mindful of any built-in hinges or support brackets that might be attached, and lift straight up to avoid bending or snapping them. Taking your time ensures the cover stays intact and saves you from unnecessary repairs later. Once removed, set the cover aside carefully so you can work comfortably inside the tank.
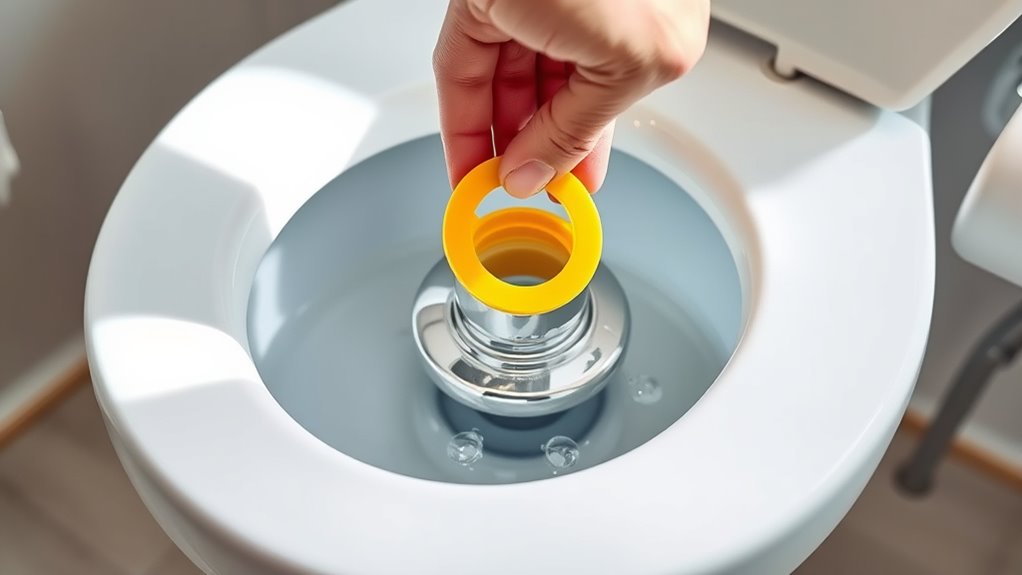
Inspecting and Replacing the Flapper Valve
To guarantee your toilet works properly, you need to check the flapper valve for any signs of damage or wear. If it’s faulty, you’ll have to remove the old one carefully. Once you’ve taken it out, installing a new flapper is quick and can prevent future leaks.
Identifying a Faulty Flapper
Since a faulty flapper is a common cause of toilet leaks and constant running, it’s important to inspect it carefully. First, lift the lid and observe if the flapper is sealing properly at the bottom of the tank. Look for visible signs of damage, such as cracks, tears, or mineral buildup. If the flapper is warped or doesn’t sit flush, it won’t seal correctly, causing water to leak into the bowl. You can also press down gently on the flapper; if the water stops running, it indicates a poor seal. Sometimes, mineral deposits or debris prevent a tight closure. If the flapper looks damaged or doesn’t sit properly, it’s time to replace it with a new one for a quick fix.
Removing the Old Valve
Have you ever wondered how to remove the old flapper valve from your toilet tank? First, turn off the water supply valve and flush the toilet to drain the tank. Once empty, disconnect the chain or arm holding the flapper in place. Gently lift the flapper out of the tank, being careful not to damage the overflow tube. Inspect the flapper and its seat for cracks or buildup, which can cause leaks. If the flapper is worn or warped, it’s time to replace it. Some models might require you to unclip or unscrew the flapper from its hinge. Keep track of any small parts, so you have everything you need for the next step. Removing the old valve is straightforward with patience and careful handling.
Installing a New Flapper
Once you’ve removed the old flapper, it’s time to inspect the new one to verify it fits properly and functions correctly. Make sure the new flapper matches the size and shape of the old one. Check that the chain attaches securely and moves freely without obstruction. Test the seal by gently pressing down on the flapper—if it holds water without leaking, you’re good to go.
Here’s what to look for:
- A snug fit that prevents leaks
- A chain that isn’t too tight or loose
- Smooth movement without sticking
- No cracks or damage on the new flapper
Getting these details right ensures your toilet stops running and saves you from future headaches. Once everything checks out, attach the chain and test the flush.
Adjusting the Float to Stop Water Overflow
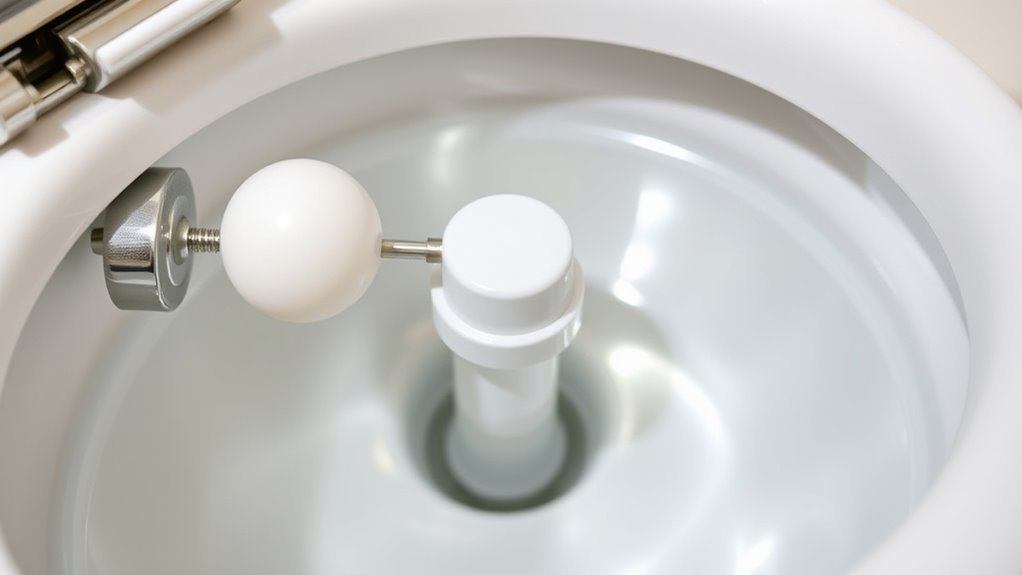
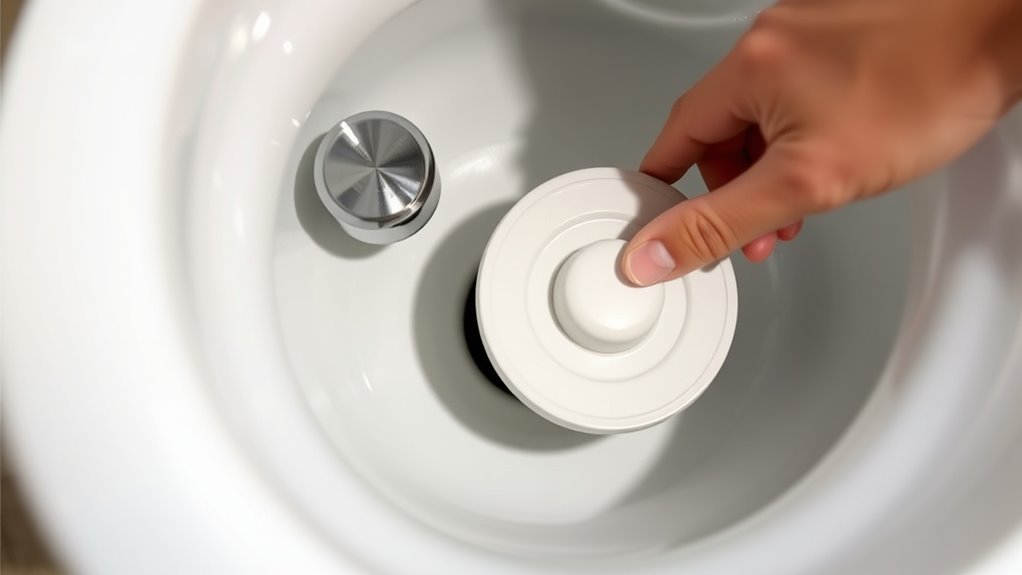
If your toilet keeps overflowing, adjusting the float can often resolve the issue. The float controls the water level in the tank, stopping it from rising too high. To adjust it, first remove the tank lid carefully. If your float is a ball-type, bend the arm downward gently to lower the water level. For a cylindrical float that slides along the fill valve, squeeze the clip and slide the float downward. This reduces the water level and prevents overflow. After making adjustments, flush the toilet and watch the water rise. Make certain the water stops at the correct level—about an inch below the overflow tube opening. If the water still overflows, readjust the float again until the level is just right.
Checking and Fixing the Fill Valve
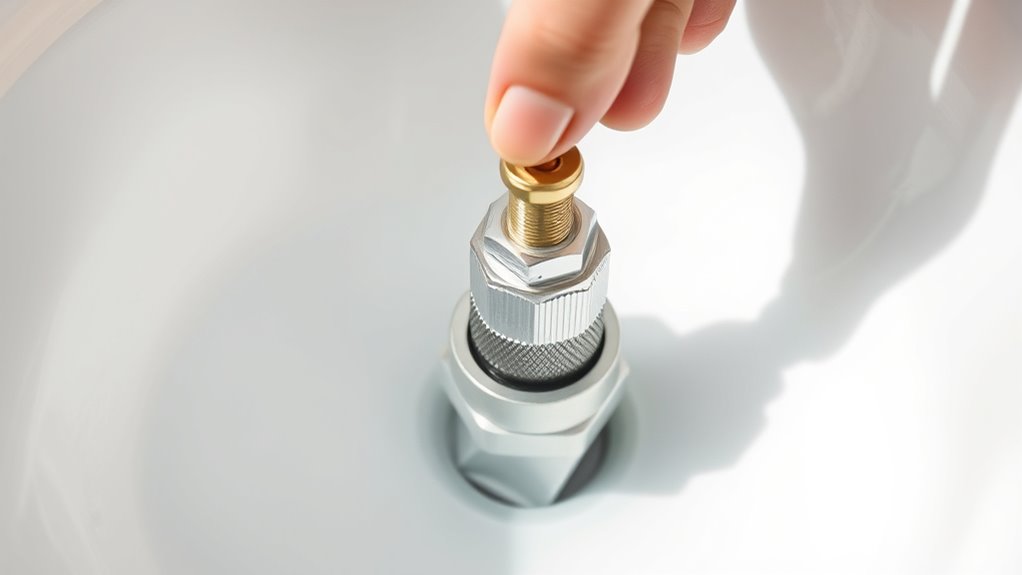
The fill valve plays a crucial role in regulating the water flow into your toilet tank, so ensuring it works properly is essential for preventing overflows and maintaining efficient operation. First, lift the fill valve cap and inspect for debris or mineral buildup, which can hinder movement. If the valve isn’t shutting off, consider adjusting the float or replacing the valve entirely. Check for leaks or cracks that might cause continuous running. Tighten any loose connections and test the valve by flushing the toilet. Remember, a faulty fill valve can waste water and increase your bill.
- Feel confident fixing your toilet yourself
- Save money on costly repairs
- Avoid the inconvenience of constant running
- Enjoy a smoothly functioning, efficient toilet
Testing Your Repairs and Ensuring the Toilet Stops Running

After making adjustments or replacing the fill valve, it’s important to test whether your repairs have resolved the issue. Flush the toilet and observe how it refills. Make sure the water stops filling once it reaches the correct level. If the tank refills normally and the float shuts off the water as it should, your fix is successful. Listen for any continuous running sounds, which indicate the problem persists. If the toilet still runs, double-check your adjustments, ensuring the float arm or fill valve is correctly positioned. You might need to make further tweaks or recheck your connections. Once everything looks good, do a few more flushes to confirm it’s functioning properly and that no water is continuously running.
Preventative Tips to Keep Your Toilet Running Smoothly

To keep your toilet running smoothly, make it a habit to check the flapper regularly for signs of wear or leaks. Adjust the water level in the tank to verify it’s not too high or low, which can cause issues. These simple steps can prevent many common problems before they start.
Regular Flapper Checks
Regular flapper checks are essential for keeping your toilet running smoothly and preventing costly leaks. Over time, flappers can warp, crack, or become misaligned, causing water to leak and increasing your water bill. By inspecting the flapper regularly, you catch problems early before they escalate. Look for signs of wear, such as brittleness or discoloration, and make sure it seals tightly. Don’t wait until you notice a constant running sound or higher bills—preventative action saves money and hassle.
- Avoid waking up to a flooded bathroom
- Prevent hidden leaks that waste water
- Save money on your water bill every month
- Keep your toilet functioning perfectly without surprise failures
Adjust Water Level
Have you checked your toilet’s water level lately? If it’s too high or too low, it can cause running or inefficient flushing. To adjust it, lift the tank lid and locate the float. If you have a float ball, gently bend the arm downward to lower the water level. For a float cup, find the adjustment screw or clip and turn it clockwise to lower the water level. Make small adjustments and flush to test the new level. Proper water height should be about an inch below the overflow tube’s opening. Keeping the water at the correct level prevents unnecessary running and saves water. Regularly checking and adjusting the water level is a simple way to keep your toilet running smoothly and prevent future problems.
Frequently Asked Questions
How Do I Identify if the Flapper or Fill Valve Is Causing the Issue?
To identify if the flapper or fill valve is causing the issue, start by removing the tank lid. If water keeps running after flushing, check the flapper for leaks or damage—touch it to see if it’s warped or worn. If the water level is high or constantly refilling without flushing, the fill valve might be faulty. Adjust or replace the part causing the water to overflow or leak.
Can I Fix a Running Toilet Without Any Prior Plumbing Experience?
Think of fixing a running toilet as a simple puzzle you can solve with a little guidance. Yes, you can fix it without prior plumbing experience—just follow straightforward steps. Turn off the water, remove the tank lid, and check the flapper and fill valve for issues. With basic tools and patience, you’ll be surprised how quickly you can restore your toilet’s peace and save money.
What Are Common Signs Indicating the Need to Replace the Entire Toilet?
You should consider replacing your entire toilet if you notice persistent cracks, constant leaks despite repairs, or frequent clogging that hampers functionality. Also, if the toilet’s porcelain becomes severely chipped or stained beyond cleaning, or if it’s over 50 years old and no longer efficient, these signs indicate it’s time for a replacement. Addressing these issues promptly ensures you avoid more costly repairs and maintain hygiene in your bathroom.
How Often Should I Perform Maintenance to Prevent a Running Toilet?
You should perform maintenance on your toilet every 6 to 12 months to prevent it from running. Regularly check the flapper, fill valve, and float for signs of wear or damage. If you notice a constant trickle or strange noises, address these issues promptly. Keeping these components in good shape guarantees your toilet functions efficiently, saving you water and money while avoiding more costly repairs down the line.
Are There Any Safety Precautions I Should Follow During the Repair Process?
Think of fixing your toilet like handling a delicate instrument—you need to be cautious. Always turn off the water supply before starting, wear gloves if possible, and avoid forcing parts. Keep small tools organized to prevent accidents. I once rushed a repair and caused a leak; taking safety steps saved me from bigger problems. Following these precautions guarantees your repair is safe, effective, and hassle-free.
Conclusion
A running toilet may seem small, but it reminds you that even the tiniest leaks can ripple outward. By taking control and fixing it yourself, you’re sealing the cracks before they grow. Think of your efforts as planting seeds of confidence and self-reliance. With patience and care, you restore harmony beneath your roof, turning a simple fix into a symbol of your ability to mend what’s broken—both in your home and in yourself.