
You can tackle many home repairs yourself to save money and avoid calling a pro. Fix leaky faucets, patch small drywall holes, unclog drains, replace broken tiles, and even install light fixtures or door locks. Sealing windows and shelves supports are straightforward projects too. With basic tools and some guidance, you can handle these tasks confidently. Keep going, and you’ll discover helpful tips to make each repair easier and more successful.
Key Takeaways
- Fix leaky faucets and running toilets to save water and reduce utility bills.
- Patch small drywall holes and replace broken tiles for quick cosmetic repairs.
- Unclog drains using plunger and natural solutions like baking soda and vinegar.
- Install or replace door handles, locks, and shelf supports to improve home functionality.
- Seal windows and doors with weatherstripping and caulk to enhance energy efficiency.
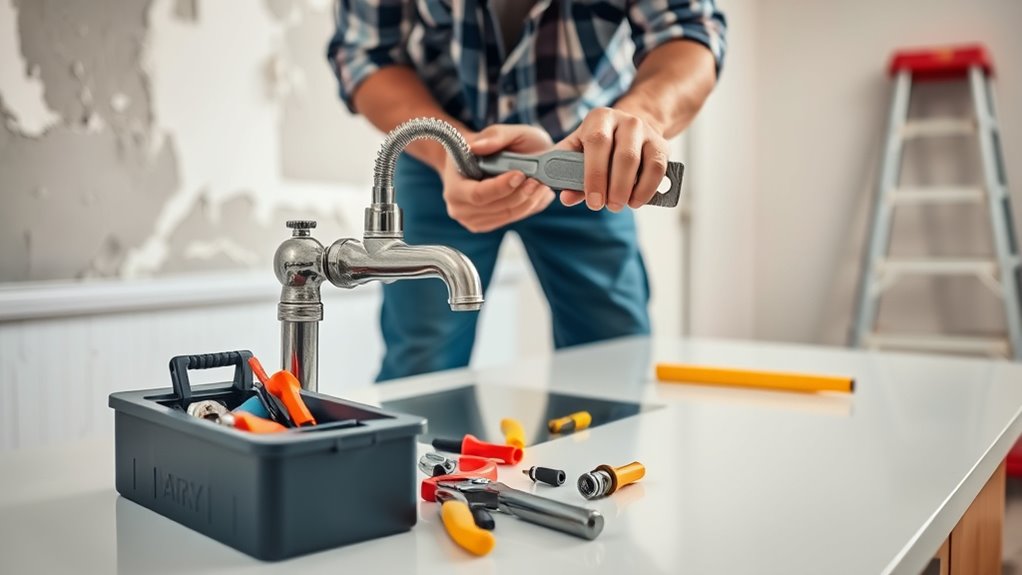
Fixing a Leaky Faucet
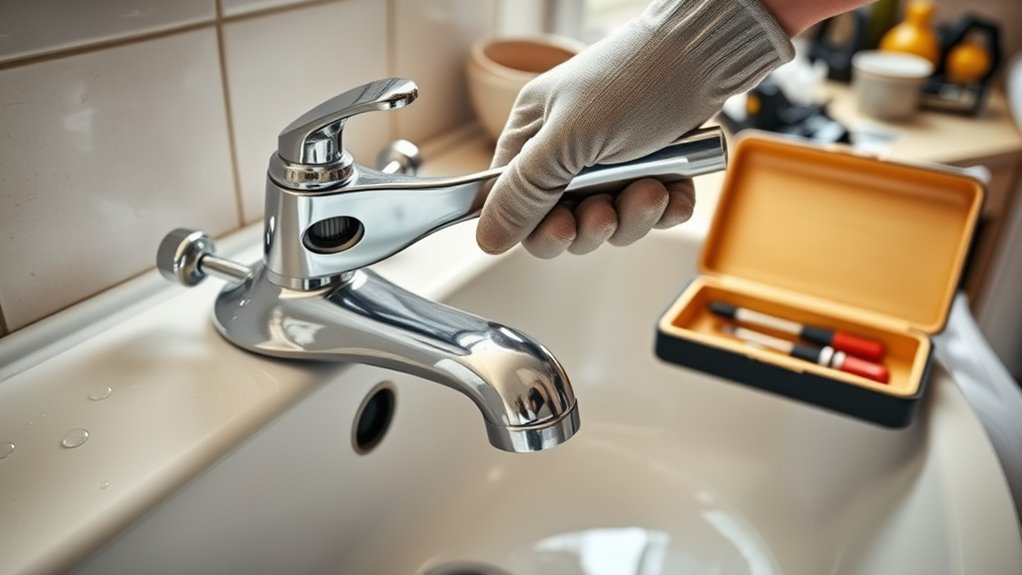
Have you ever wondered why your faucet keeps dripping? It’s usually due to worn-out washers or a loose valve seat. Fixing it yourself is simpler than you think. First, turn off the water supply under the sink. Next, remove the handle by loosening the screw, then take out the cartridge or valve stem. Inspect the washer or O-ring; if it’s cracked or hardened, replace it with a new one. Clean any debris or mineral buildup around the valve seat. Reassemble the faucet, turn the water supply back on, and test for leaks. This quick fix not only stops the annoying drip but also saves water and reduces your utility bill. With basic tools and a little patience, you can easily handle this common repair.
Patching Small Holes in Drywall
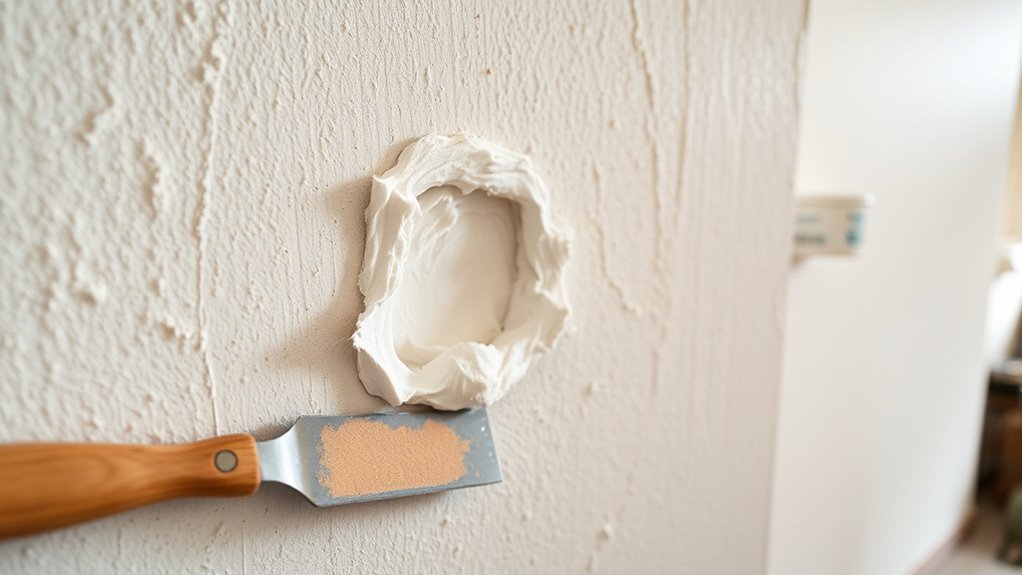
Small holes in drywall are common, but fixing them doesn’t have to be complicated. Start by cleaning the area around the hole to remove dust and loose debris. For holes up to a dime, you can use a simple spackle or joint compound. Apply it with a putty knife, pressing firmly to fill the hole completely. Smooth out the surface and let it dry according to the product instructions. Once dried, sand the patch lightly to create a smooth, even surface. If needed, apply a second coat of compound and sand again. Finally, paint over the patch with matching wall color to blend it seamlessly. With these steps, you can repair small holes quickly and effectively, saving you time and money.
Unclogging a Drain
To unclog a drain, start by using a plunger properly—cover the drain completely and push down firmly. If that doesn’t work, try a natural solution with baking soda and vinegar to break up the blockage. These simple methods can often clear your drain without harsh chemicals or professional help.
Use a Plunger Effectively
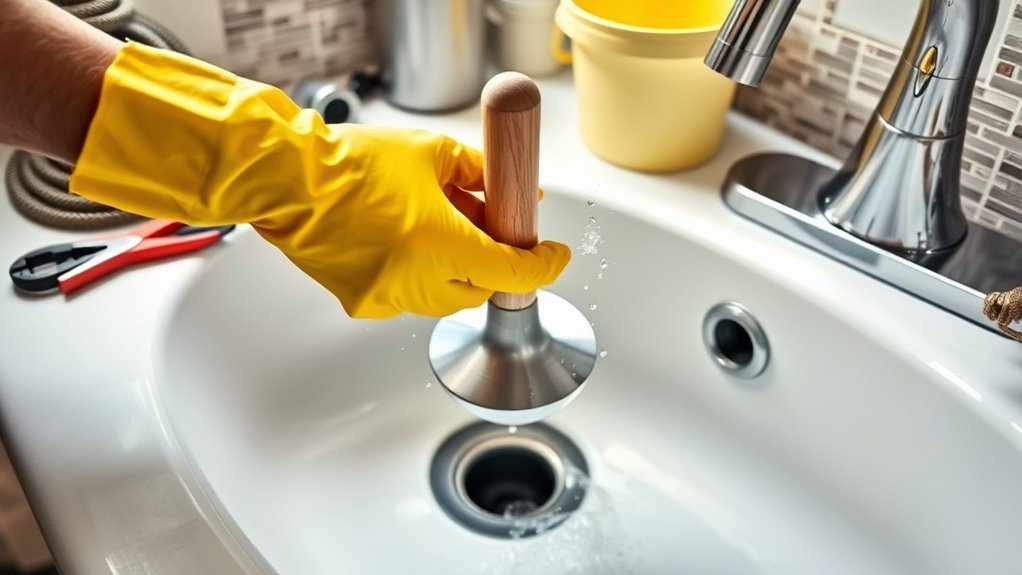
Ever wonder how a simple tool like a plunger can save you from a stubborn clog? To use it effectively, start by sealing the rubber cup around the drain opening completely. Make sure there’s enough water in the sink or toilet bowl to cover the plunger’s cup; this creates the necessary pressure. Place the plunger firmly against the drain and push down gently, then pull up sharply without breaking the seal. Repeat this motion 15-20 times, maintaining steady pressure. The goal is to dislodge the blockage with force and pressure changes. Afterward, lift the plunger and check if the water drains smoothly. If needed, repeat the process until the clog clears. With patience and proper technique, you can clear minor drain blockages on your own.
Try Baking Soda & Vinegar
When dealing with a stubborn drain clog, trying a natural remedy like baking soda and vinegar can often do the trick. First, pour about half a cup of baking soda directly into the drain. Follow that with half a cup of vinegar. You’ll see fizzing and bubbling as the mixture reacts, which helps break down the clog. Cover the drain with a wet cloth or stopper to keep the reaction contained. Wait 15-30 minutes to let it work. Then, flush the drain with hot water to clear out any remaining debris. This method is eco-friendly, inexpensive, and effective for minor clogs. Keep in mind, if the clog persists, it might be time to try other solutions or call a professional.
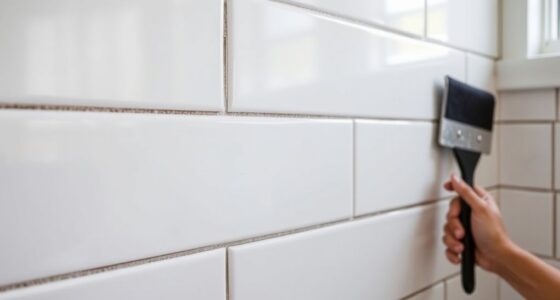
Replacing a Broken Tile
Before you start replacing a broken tile, gather all the necessary materials like a chisel, adhesive, and replacement tile. Carefully remove the old tile by loosening it without damaging surrounding ones. Once the old tile is out, you’re ready to prepare the surface for the new one.
Gather Materials First
Are you ready to replace that broken tile? Before you start, gather all the materials you’ll need. First, get a replacement tile that matches your existing ones in size, color, and style. You’ll also need a chisel and hammer for removing the old tile, a grout saw or utility knife to clean out the grout, and a putty knife for applying adhesive. Make sure you have tile adhesive or thin-set mortar suitable for your surface. Keep a sponge and clean water nearby to wipe away excess grout and adhesive. Wearing gloves is a good idea to protect your hands. Having everything ready saves you from multiple trips to the store mid-project and helps ensure the repair goes smoothly. Preparing your tools and materials first makes the whole process more efficient.
Properly Remove Old Tile
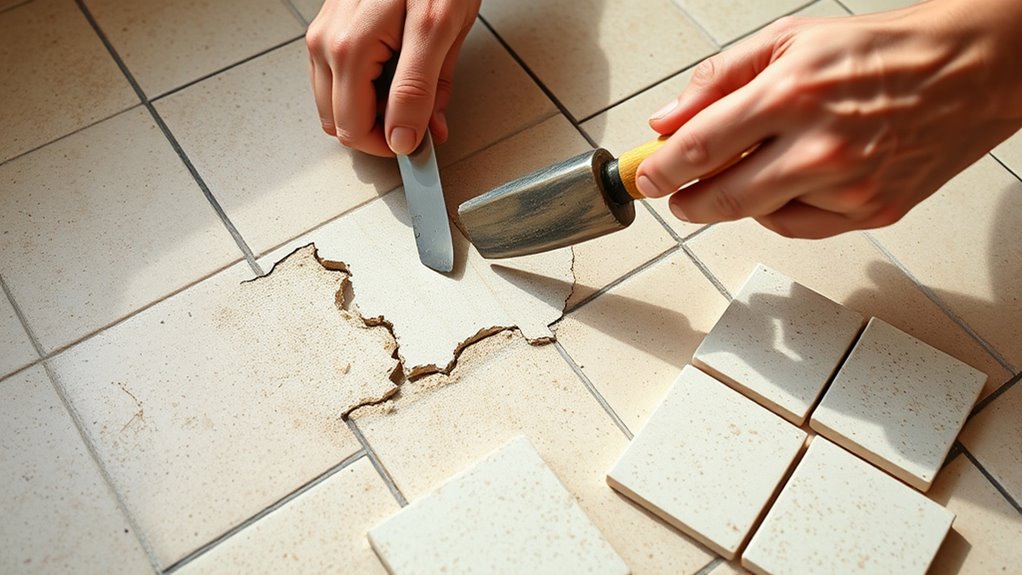
Have you identified the broken tile and prepared your tools? First, put on safety glasses and gloves to protect yourself. Use a chisel and hammer to gently loosen the edges of the damaged tile, tapping carefully to avoid damaging surrounding tiles. Insert the chisel into the grout lines around the broken tile and work slowly to pry it up. If the tile is stubborn, apply a bit of heat with a heat gun or use a grout saw to cut through the grout for easier removal. Once the tile starts to lift, carefully lift it out, making sure no shards remain embedded. Clean the surface thoroughly, removing any leftover adhesive or grout, so you’re ready for the new tile.
Painting a Room
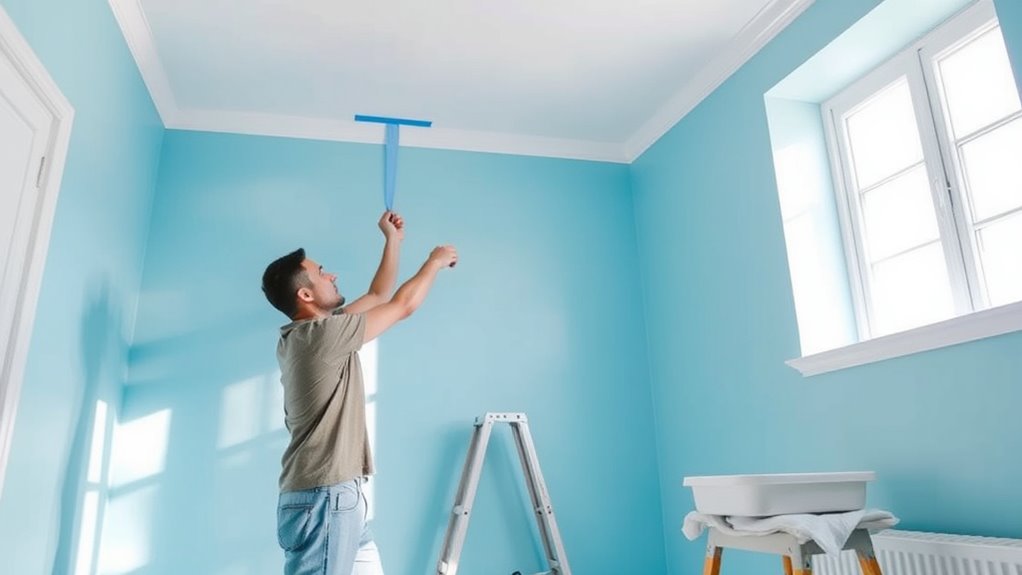
Ever wondered how a fresh coat of paint can transform a room? It’s one of the easiest, most cost-effective ways to update your space. Start by choosing the right color and gathering supplies—brushes, rollers, painter’s tape, and drop cloths. Clear the area and cover furniture or floors to protect them from splatters. Prep the walls by cleaning and repairing any holes or cracks. Use painter’s tape along edges for clean lines. Apply painter’s tape around trim and ceilings for neat edges. Begin with a cut-in around edges and corners, then fill in large areas with a roller. Take your time, use even strokes, and let each coat dry thoroughly before applying another. With patience, you’ll achieve a professional-looking finish without calling in a pro.
Repairing a Running Toilet
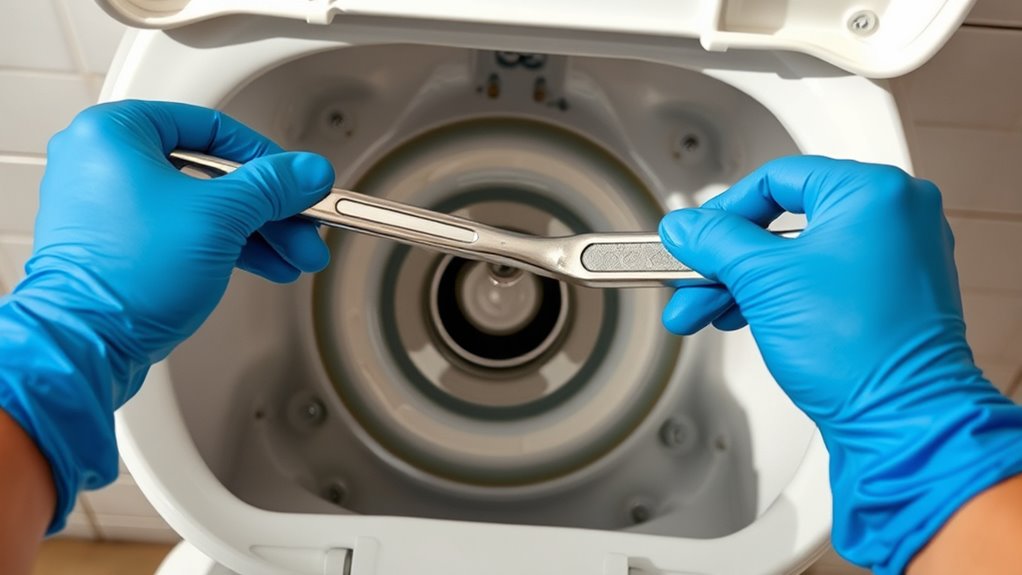
A running toilet often starts with a faulty flapper that doesn’t seal properly. You should check the flapper, then adjust or replace the valve if needed. Don’t forget to look for leaks around the tank to prevent further issues.
Identify the Flapper Issue
A common cause of a running toilet is a flapper that doesn’t seal properly. To identify this, lift the toilet tank lid and observe the flapper when the tank is full. If the flapper is raised slightly or appears to be warped, it’s likely the culprit. You might also notice water slowly leaking into the bowl, causing the tank to continuously refill. Check if the chain connected to the flapper is too tight or too loose; both can prevent a proper seal. A damaged or warped flapper won’t close tightly, leading to constant running. If the flapper seems worn or warped, replacing it is usually straightforward and cost-effective. Proper identification ensures you fix the root cause without unnecessary parts or repairs.
Adjust or Replace the Valve
When your toilet continues to run despite a working flapper, the issue may lie with the fill valve or float mechanism. First, lift the toilet tank lid and observe the float. If it’s set too high, water will spill into the overflow pipe, causing constant running. You can adjust the float by gently bending the arm or turning the adjustment screw, depending on your model. If adjusting doesn’t work, the fill valve might be faulty. In that case, turn off the water supply, drain the tank, and remove the old valve. Install a new one following the manufacturer’s instructions. Once replaced, turn the water back on, check for proper fill level, and ensure the toilet stops running. This quick fix can save you a call to the plumber.
Check for Leaks
If your toilet still runs after adjusting or replacing the fill valve, leaks are likely the cause. First, remove the tank lid and listen for sounds of water constantly flowing. Check for visible leaks around the base of the toilet or where the tank connects to the bowl. Look for water pooling on the floor or damp spots. You can also add a few drops of food coloring to the tank; wait 10-15 minutes without flushing. If colored water appears in the bowl, it confirms a leak. Tighten or replace the flapper or other faulty components. Fixing these leaks prevents water waste and reduces your utility bills. Regularly checking for leaks keeps your toilet functioning efficiently and avoids more serious plumbing issues down the road.
Installing a New Light Fixture
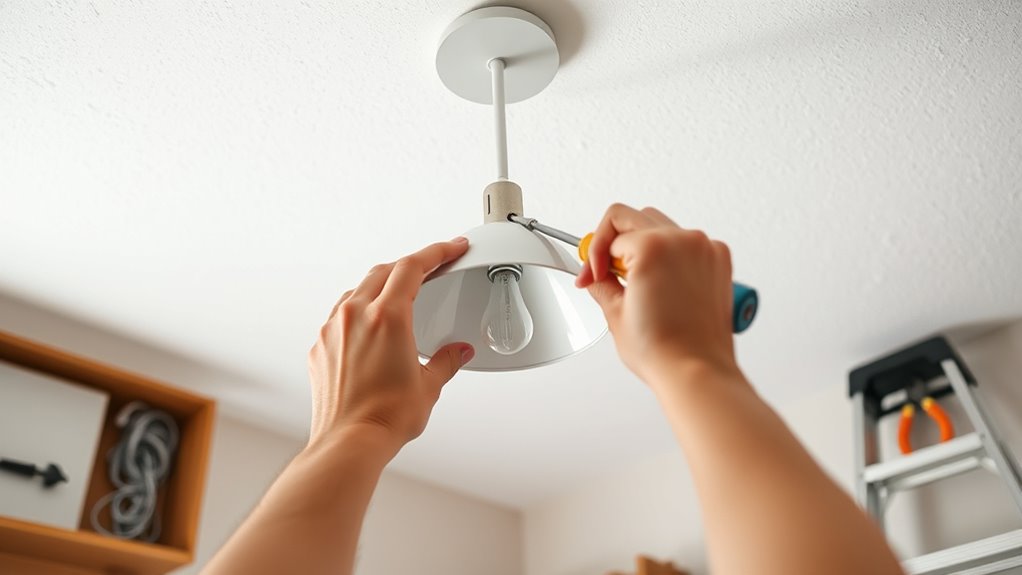
Ever wondered how to give your space a fresh look with new lighting? Installing a new light fixture is simpler than you might think. First, turn off the power at the circuit breaker to guarantee safety. Remove the old fixture carefully, disconnecting the wires and noting how they’re connected. Next, attach the mounting bracket of the new fixture to the electrical box. Connect the wires—matching black to black, white to white, and grounding wire to the ground screw or wire. Secure the fixture to the mounting bracket, then turn the power back on to test it. If everything works correctly, tighten any remaining screws and enjoy your updated lighting. Just take your time, follow safety precautions, and you’ll have a professional-looking upgrade in no time.
Sealing Windows and Doors
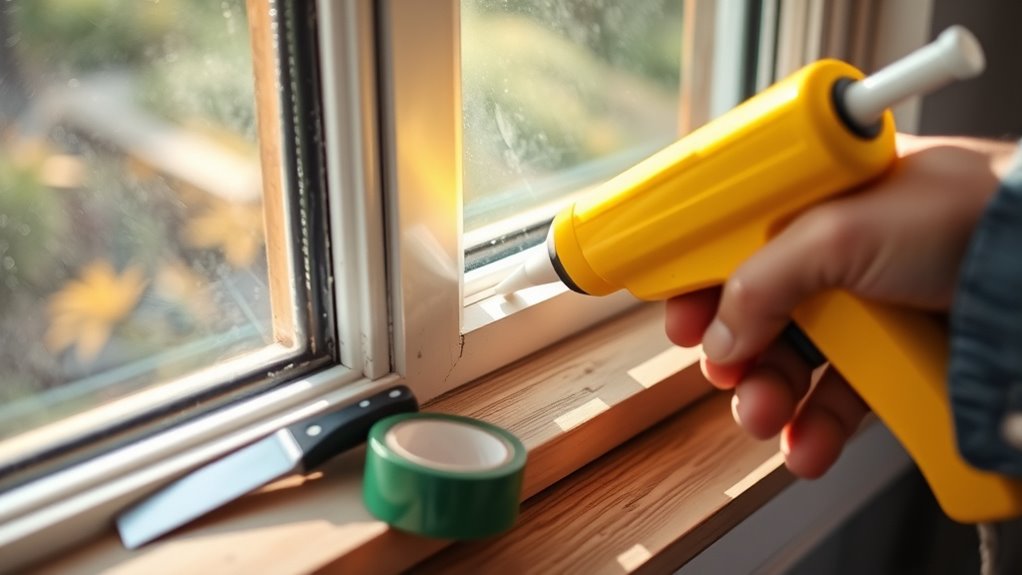
Sealing your windows and doors is a quick and effective way to boost your home’s energy efficiency and comfort. Proper sealing prevents drafts, reduces energy bills, and maintains a consistent indoor temperature. To get started, inspect around frames for gaps or cracks. Use weatherstripping or caulk to seal these openings. The table below highlights key sealing tips:
| Area | Material to Use | Benefit |
|---|---|---|
| Window frames | Weatherstripping | Stops drafts |
| Door thresholds | Door sweeps | Keeps out cold air |
| Cracks & gaps | Caulk | Enhances insulation |
Taking these simple steps ensures your home stays warmer in winter and cooler in summer, saving you money and increasing comfort.
Replacing a Door Handle or Lock
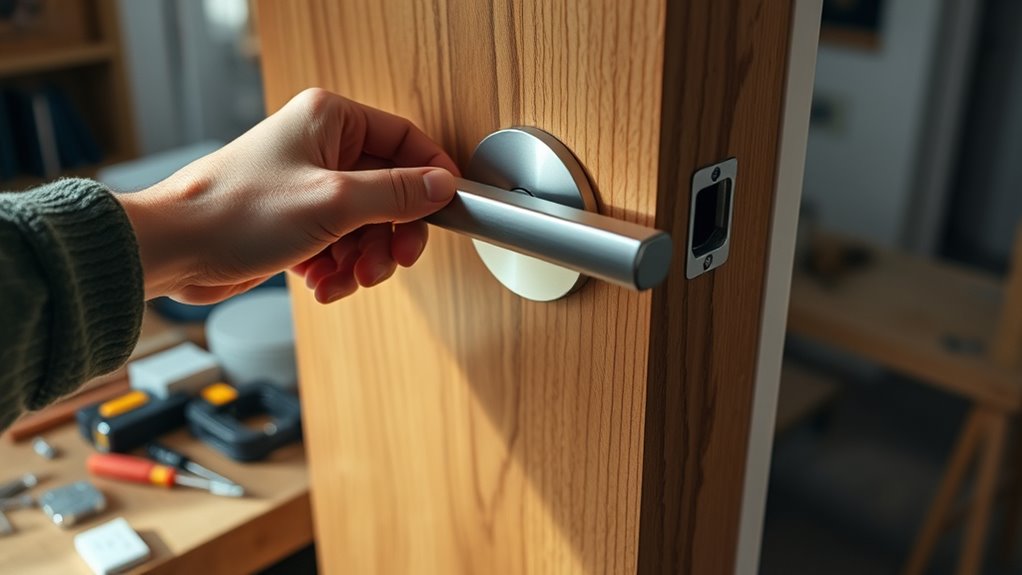
Thinking about upgrading your door security or replacing a worn-out handle? Replacing a door handle or lock is straightforward and saves you money. First, remove the old handle by unscrewing the screws on the interior side. If the lock is integrated, take out the entire assembly. Measure the hole spacing to ensure your new lock fits perfectly. Install the new handle or lock by aligning it with the existing holes and securing it with screws. Test the handle to make sure it turns smoothly and the lock operates correctly. If needed, adjust the strike plate on the door frame for a secure fit. With basic tools like a screwdriver, you can complete this task in minutes, boosting your door’s functionality and security without calling a pro.
Installing Shelf Supports
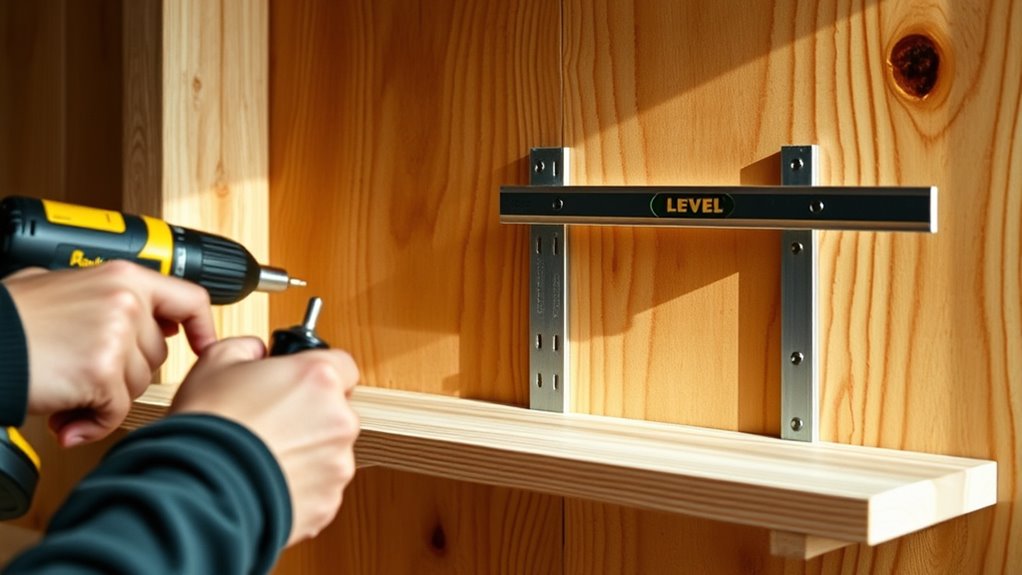
Installing shelf supports is a simple way to add or improve storage in your home. First, decide where you want your shelves and mark the positions with a pencil. Use a level to guarantee your marks are straight. Next, measure and mark the placement of each support, typically about every 16 inches. Drill pilot holes at the marked spots, making sure to avoid hitting any electrical wires or plumbing behind the wall. Insert the supports into the holes, securing them with screws. Once all supports are in place, position your shelf on top and ensure it’s level. Tighten any screws if needed. With a few tools and some careful measuring, you can create functional, sturdy shelves yourself.
Frequently Asked Questions
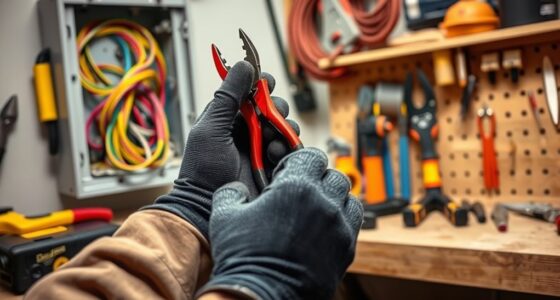
What Tools Are Essential for DIY Home Repairs?
You’ll need a versatile set of essential tools like a hammer, screwdrivers (both Phillips and flathead), a wrench, pliers, and a tape measure. Add a cordless drill for faster work, a level to guarantee accuracy, a utility knife, and a stud finder for wall repairs. These tools cover most basic DIY tasks, making repairs easier and more efficient. Keep them handy for your next project!
How Do I Identify if a Repair Is Diy-Friendly?
You’ll want to evaluate whether a repair is DIY-friendly by honestly gauging your skills and the complexity involved. Simple tasks like fixing a leaky faucet or patching a hole in the wall are usually manageable, like assembling furniture. However, if a repair involves plumbing, electrical work, or structural changes, it’s best to call in a pro. When in doubt, research the process and tools needed to guarantee safety and success.
When Should I Call a Professional Instead of DIY?
You should call a professional when the repair involves complex skills, specialized tools, or poses safety risks. If you’re unsure about the problem, or if your previous attempts haven’t worked, it’s better to seek expert help. Don’t hesitate if the repair could cause further damage or impact your home’s safety. Knowing when to call a pro guarantees the job gets done correctly and safely, saving you time and potential costs.
How Can I Ensure Safety During Home Repair Projects?
Think of safety during home repairs like safeguarding a treasure chest. You should always wear protective gear, like gloves and goggles, to shield yourself from harm. Keep your workspace organized to prevent accidents and use tools properly. Turn off power or water supplies before working on electrical or plumbing tasks. If you’re unsure about a project, stop and consult a professional rather than risking injury. Your safety comes first.
What Are Common Mistakes to Avoid in DIY Repairs?
You should avoid rushing through tasks, as it can lead to mistakes or injuries. Don’t skip reading instructions or using the proper tools, since that jeopardizes quality and safety. Overestimating your skills can cause damage or accidents, so know your limits. Also, neglecting to turn off power or water can be dangerous. Always double-check measurements and safety precautions to ensure a smooth and safe repair process.
Conclusion
Now that you’ve got these DIY tricks up your sleeve, you’re ready to tackle home repairs like a pro. Think of your home as a well-oiled machine—small fixes keep everything running smoothly. No need to wait for a handyman when you can roll up your sleeves and make these simple repairs yourself. With a little effort, you’ll save money and gain confidence, turning home maintenance into a rewarding journey rather than a formidable mountain.