Fixing a leaky faucet is surprisingly simple with basic tools and some easy steps. First, identify signs like dripping sounds or water pooling. Then, shut off the water supply and disassemble the faucet carefully. Replace worn washers or O-rings, reassemble everything tightly, and test for leaks. Routine maintenance, like checking fittings and cleaning parts, keeps your faucet in top shape. Keep going, and you’ll discover how straightforward and cost-effective fixing your faucet can really be.
Key Takeaways
- Turn off the water supply and drain the faucet to prevent water mess during repairs.
- Disassemble the faucet carefully, noting the order of parts for easier reassembly.
- Replace worn-out washers, O-rings, or cartridges with correct-sized replacements.
- Reassemble the faucet securely, then turn the water back on to check for leaks.
- Perform regular maintenance like cleaning aerators and tightening fittings to prevent future leaks.

WORKPRO 2-Piece Adjustable Wrench Set, 6-Inch & 10-Inch Wide Jaw Black Oxide Wrench, Cr-V Steel, Metric & SAE Scales, Max Jaw Opening 15/16" & 1-5/16", for Home Repairs, Plumbing, Garage Work
DUAL-SIZE SET FOR VERSATILE USE: This 2-piece set includes 6-inch and 10-inch adjustable wrenches, designed for everyday household…
As an affiliate, we earn on qualifying purchases.
As an affiliate, we earn on qualifying purchases.
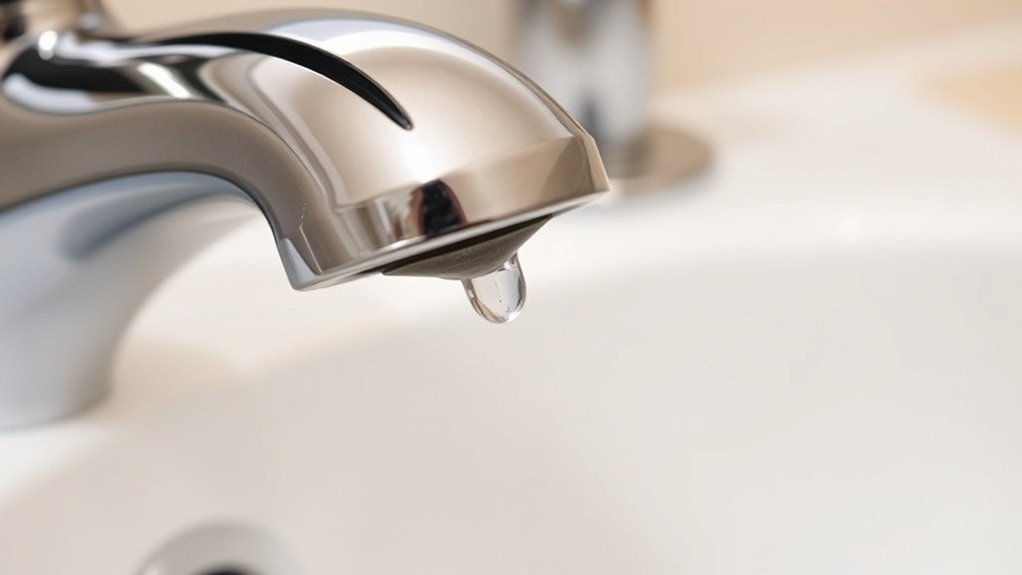
Recognizing the Signs of a Leaky Faucet
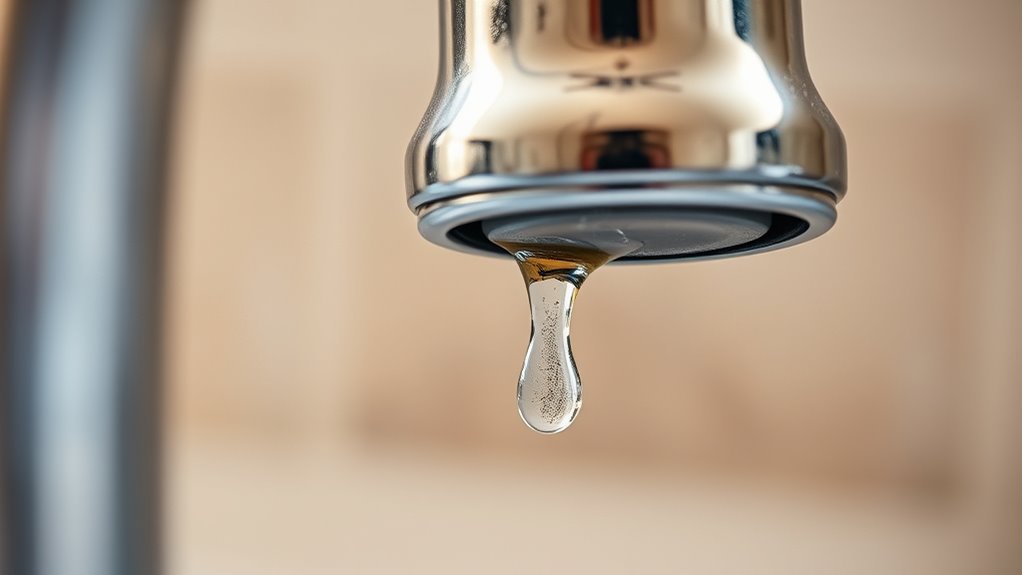
How can you tell if your faucet is leaking? Look for a constant dripping sound or water pooling around the base. Even small drips can waste a lot of water over time, so don’t ignore them. Check if the handle feels loose or if the water flow is inconsistent, which can indicate internal damage. Watch for water stains or mineral buildup around the spout or sink area. If you notice a persistent, slow drip that continues after turning off the tap, it’s a clear sign. Sometimes, the leak isn’t obvious—listen carefully for any hissing or dripping sounds. Recognizing these signs early helps prevent further damage and saves you money on water bills.

360 Pcs O Ring Assortment Kit,Rubber Washer Orings, Black 24 Sizes Pressure Washer O Ring Kit for Faucet, Hose, Automotive, Air Gas Plumbing Sealing Repair O Rings
Premium Material: These assorted o rings are made of outstanding rubber material with good air tightness and high…
As an affiliate, we earn on qualifying purchases.
As an affiliate, we earn on qualifying purchases.
Gathering the Necessary Tools and Materials
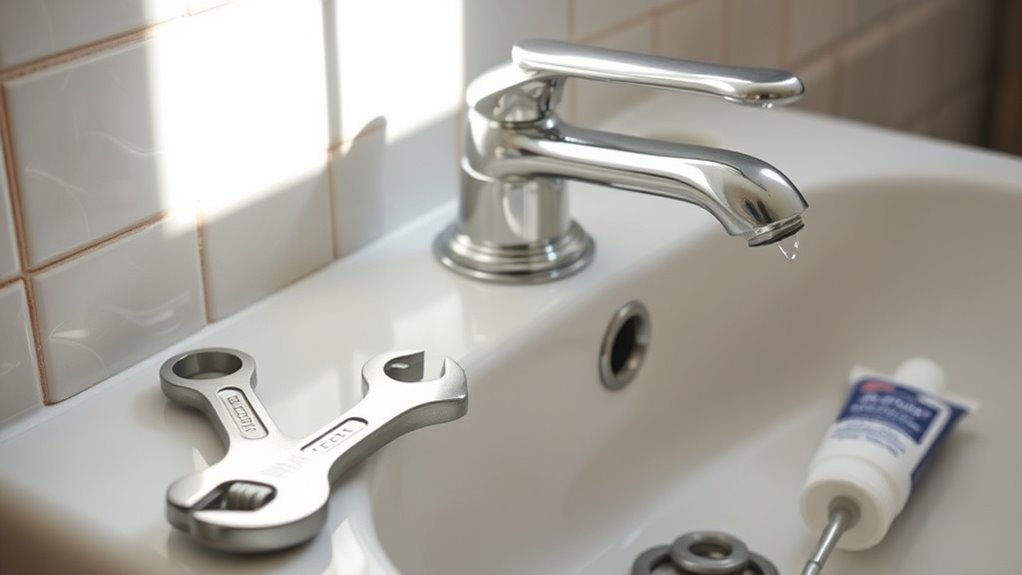
Before you start fixing your leaky faucet, it is essential to gather all the necessary tools and materials. You’ll need a adjustable wrench to loosen fittings, a screwdriver (flathead and Phillips) for removing screws, and a pair of pliers for gripping small parts. Have replacement washers and O-rings ready to seal leaks effectively. A towel or rag can help catch drips and keep the workspace clean. Additionally, gather a small bucket to hold any water that escapes, and some penetrating oil to loosen stubborn parts. Make sure your tools are in good condition to prevent damage. Having everything on hand before you begin will streamline the repair process and save you from unnecessary trips to the hardware store.

RP25513 faucet stem assembly Replacement Kit for two handle faucet repair kit with RP24096 Cartridge RP4993 Seats Springs RP24097 1/4 Turn stop, 2 Pack
Package included: Stem*2 , 1/4 Turn stop*2 , Rubber seat*2 , Spring*2 .
As an affiliate, we earn on qualifying purchases.
As an affiliate, we earn on qualifying purchases.
Turning Off the Water Supply Safely

Start by locating your main shutoff valve and prepare to turn it off. Turn the valve slowly to prevent sudden water pressure changes. Once the water stops flowing, check for any leaks before proceeding with the repair.
Locate Main Shutoff Valve
Have you ever wondered where the main shutoff valve is situated? Finding it is essential before starting any plumbing work. It’s usually near the perimeter of your home, either in the basement, garage, or utility area. Look for a large valve connected to a pipe coming from the street or your water meter. Sometimes, it may be behind a cover or panel. Knowing its exact location helps you turn off water quickly if needed. To locate it efficiently, consider these points:
- Check near your water meter or where pipes enter the house
- Look in the basement or crawl space
- Search in utility closets or garages
- Identify a large wheel or lever-style valve
Having this knowledge ensures you can shut off water safely and avoid flooding.
Turn Off Water Slowly
Once you’ve located the main shutoff valve, turning off the water supply carefully is essential to prevent damage. Slowly turn the valve clockwise, applying steady pressure without forcing it. Rushing or turning too quickly can cause the valve to leak or break. If the valve is stiff, turn it gradually, giving it time to close fully. Keep your hand steady, and avoid sudden jerks. Once the water flow stops, double-check that no water is dripping or running. This careful approach ensures the shutoff is effective without risking damage to the plumbing. Taking your time now makes the repair process smoother and helps prevent future leaks or issues. Remember, patience is key when shutting off the water supply.
Check for Leaks
How can you be sure the water is fully off before proceeding? First, turn the main water valve counterclockwise until it stops. Then, open the faucet to drain any remaining water and confirm the flow has stopped. If water still drips or runs, the valve isn’t fully closed. Carefully check for leaks at the shut-off valve to make sure it’s sealed tightly. This step prevents water from leaking while you work on the faucet.
- Verify the handle stops turning
- Confirm no water flows from the faucet
- Listen for any dripping sounds
- Ensure the shut-off valve is fully closed
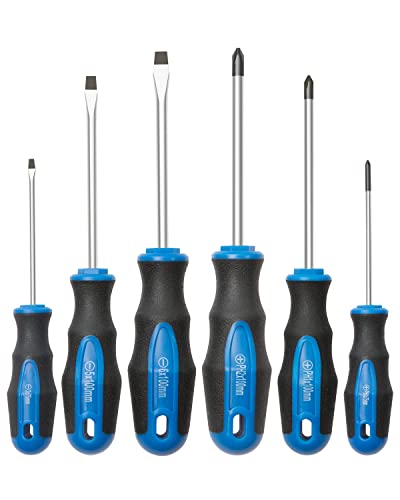
ROTATION 6PCS Magnetic Tip Screwdriver Set, 3 Phillips and 3 Flat, Professional Cushion Grip | 6-Piece Hand Tools Set
DURABLE SHAFTS – made of heat-treated CR-V steel for enhanced durability, rust resistant and anti-corrosion.
As an affiliate, we earn on qualifying purchases.
As an affiliate, we earn on qualifying purchases.
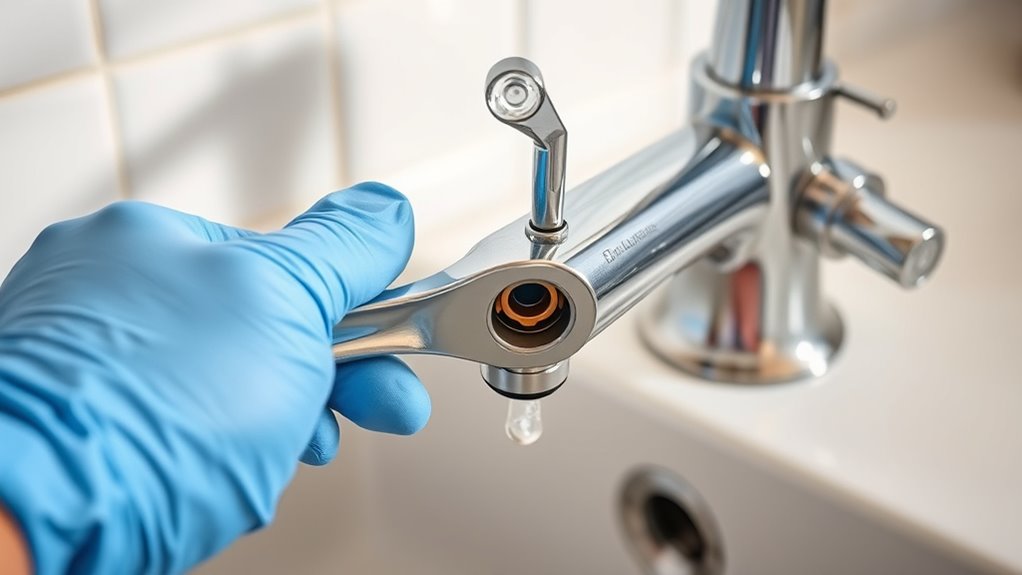
Disassembling Your Faucet Step-by-Step
To begin disassembling your faucet, start by turning off the water supply valves beneath the sink to prevent leaks. Next, open the faucet handles to release any remaining water and pressure. Use a wrench to loosen and remove the decorative caps on the handles, then unscrew the handles themselves. Once removed, take out the packing nuts and carefully extract the cartridge or valve stem, depending on your faucet type. Keep track of all small parts and their order for reassembly. If necessary, use a toothbrush or cloth to clean any mineral buildup or debris inside the components. Be gentle to avoid damaging parts. Disassembling your faucet step-by-step now gives you easy access to inspect and repair the internal components.
Identifying Common Causes of Leaks
Leaking faucets often stem from simple, easily identifiable issues. By recognizing these common causes, you can pinpoint the problem quickly and save time. A dripping faucet might be caused by a worn-out washer or O-ring that no longer seals properly. Loose connections or fittings can also lead to leaks, especially around the base. Corrosion or mineral buildup inside the valve can prevent proper sealing, causing drips. Additionally, a damaged cartridge or valve seat might be the culprit. Identifying the cause involves inspecting these areas carefully. Look for signs of wear, corrosion, or loose parts. Addressing these issues early can prevent further damage and make your repair process smoother.
- Worn-out washers or O-rings
- Loose fittings or connections
- Corrosion or mineral buildup
- Damaged valve components
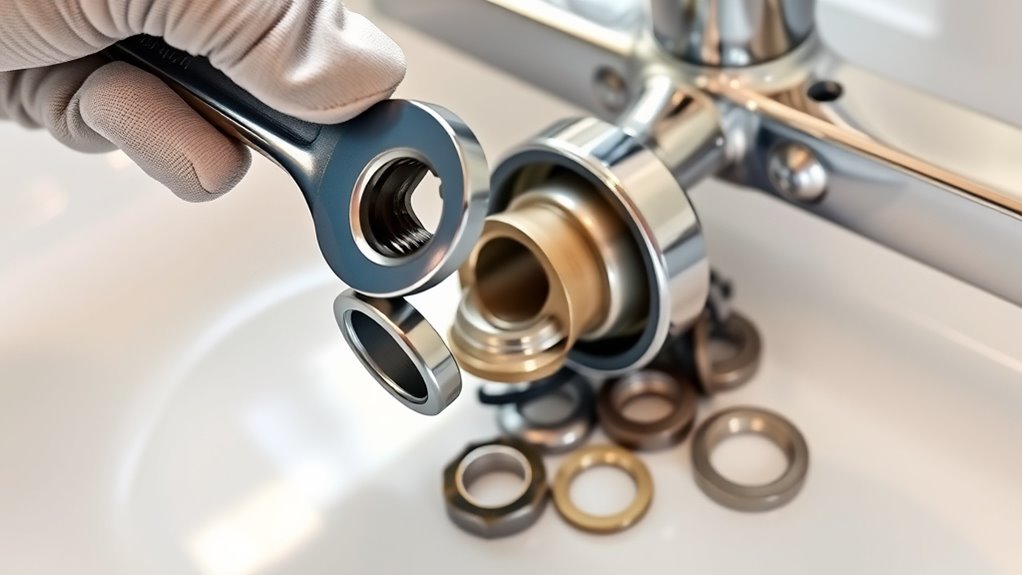
Replacing Worn-Out Parts and Seals
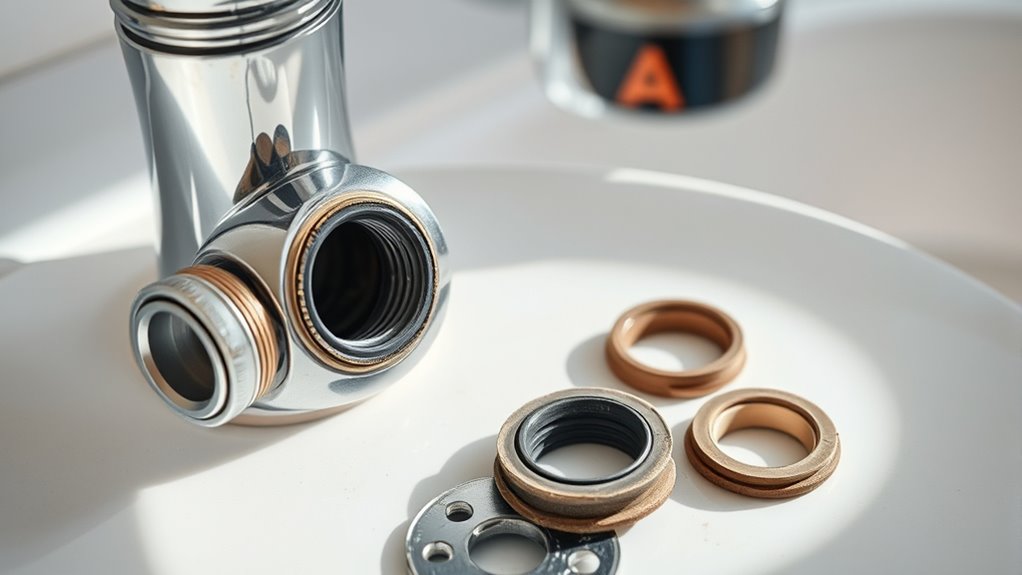
Once you’ve identified the worn-out washer, O-ring, or other damaged seals, it’s time to replace them to stop the leak. Turn off the water supply and open the faucet to drain any remaining water. Use an adjustable wrench to loosen and remove the faucet handle or cartridge, exposing the faulty part. Carefully extract the worn-out washer or seal with pliers or a small screwdriver. Take the old part to a hardware store to ensure you buy the correct replacement. Fit the new washer or seal in place, making sure it sits snugly. Reassemble the faucet components in reverse order, tightening all fittings securely. Turn the water back on and check for leaks. Replacing worn-out parts restores a tight seal and stops dripping effectively.
Testing Your Repair and Preventative Tips
After completing your repair, turn on the water and check for any leaks around the faucet. Keep an eye on the water flow to guarantee it’s steady and not sluggish. Make regular maintenance checks to catch potential issues early and keep everything working smoothly.
Check for Leaks
How can you be sure your repair actually stopped the leak? First, turn on the water and observe the faucet closely. Let it run for a few minutes to make certain no drips or puddles form. Check around the base and underneath for any signs of water escaping. Listen for any hissing or dripping sounds that might indicate a leak. If everything remains dry and silent, your fix was successful. Remember, sometimes leaks are slow and subtle, so patience helps. To confirm, revisit the area after some time has passed.
- Inspect the faucet and surrounding area for drips or puddles
- Listen for any dripping sounds
- Check the drain and pipes underneath
- Watch for slow leaks after a few hours
Monitor Water Flow
Ever wonder if your faucet repair truly holds up under normal use? After fixing the leak, it’s important to monitor the water flow to ensure everything functions smoothly. Turn on the faucet fully and observe the water stream. Check for any irregularities like sputtering, inconsistent flow, or lingering drips. Feel the handle and spout for unusual warmth or vibrations, which might indicate residual issues. Listen for any unusual noises, such as rattling or hissing, that could suggest ongoing problems. Keep an eye on the water pressure over a few days, especially during peak usage times. If the flow remains steady and the water runs clean without interruptions, your repair is likely successful. Regularly monitoring water flow helps catch potential issues early, preventing future leaks or damage.
Regular Maintenance Checks
Once you’ve monitored the water flow and confirmed your repair is holding up, it’s important to perform regular maintenance checks to keep your faucet in top condition. These checks help catch issues early and prevent leaks from reappearing. Periodically inspect for leaks around the handles and spout. Tighten any loose parts and replace worn washers or O-rings as needed. Clean mineral buildup to ensure smooth operation, and check the water pressure to avoid strain on the faucet components. Regular upkeep extends the lifespan of your faucet and saves you money on future repairs.
- Look for signs of leaks or drips
- Tighten fittings and connections
- Replace worn or damaged parts promptly
- Clean aerators and cartridge for smooth flow
Frequently Asked Questions
How Long Does a Typical Faucet Repair Take?
A typical faucet repair takes about 30 minutes to an hour, depending on the issue’s complexity. If you have the right tools and some basic plumbing knowledge, you can often fix minor leaks quickly. However, more complicated problems, like replacing cartridges or dealing with corroded parts, may take longer. Stay patient, follow instructions carefully, and you’ll be able to complete the repair efficiently.
Can I Fix a Leaky Faucet Without Professional Help?
Absolutely, you can fix a leaky faucet yourself, just like a modern-day DIY hero. With a few basic tools, some online tutorials, and a bit of patience, you’ll be able to replace washers or tighten fittings without calling a plumber. No need for a time machine—your hands and some simple steps are enough. Plus, fixing it yourself saves money and gives you a satisfying sense of accomplishment.
What Are the Costs Involved in Fixing a Faucet?
Fixing a faucet typically costs between $50 and $150, depending on the issue and whether you hire a professional or do it yourself. If you choose to fix it yourself, you’ll mainly spend on replacement parts like washers or cartridges, which usually cost under $20. Hiring a plumber might add labor costs, but doing it yourself saves money and is often straightforward with the right tools.
Are There Eco-Friendly Ways to Reduce Faucet Leaks?
Imagine a garden stream, quietly flowing without waste—this is what eco-friendly leak reduction offers. You can install water-saving aerators, which limit flow without sacrificing pressure, or choose smart sensors that turn off faucets automatically. Regular maintenance, like replacing worn washers, also prevents leaks. These simple steps conserve water, lower your bills, and help protect the environment—making your home not just efficient, but eco-conscious too.
When Should I Consider Replacing My Entire Faucet Instead of Repairing?
You should consider replacing your entire faucet if repairs become frequent or costly, especially if it’s old or corroded. When leaks persist despite multiple fixes, or if the faucet’s design is outdated, replacing it saves time and prevents water waste. Additionally, if your faucet lacks eco-friendly features or modern efficiency, upgrading to a new, water-saving model can be more practical and long-term cost-effective.
Conclusion
Now that you know how simple fixing a leaky faucet can be, don’t delay or dismiss the dangers of drips. Immerse yourself in DIY with determination, detail, and a dash of patience. By addressing issues promptly, you prevent bigger problems and save yourself stress, spending, and sanitation struggles. Remember, with the right tools and a little tenacity, you turn tiny leaks into triumphant triumphs—trust your talent and tackle those taps today!