
To purify water in the wild, start by selecting a clean water source like a mountain stream. Boil the water for at least a minute to kill germs, or use purification tablets or drops following instructions carefully. You can also filter water through natural layers or portable devices to remove sediments and some pathogens. Exposing water to sunlight in a transparent container can disinfect it too. Keep exploring to discover more effective ways to guarantee safe drinking water.
Key Takeaways
- Boil water for at least 1 minute to sterilize and eliminate bacteria, viruses, and parasites.
- Use portable water filters or purification tablets/drops to remove contaminants effectively.
- Employ natural filtration methods like gravel, sand, and charcoal to reduce sediments and some chemicals.
- Expose clear water to at least 6 hours of direct sunlight for solar disinfection.
- Collect water from clean sources, filter through cloth if cloudy, and store in sealed, clean containers.
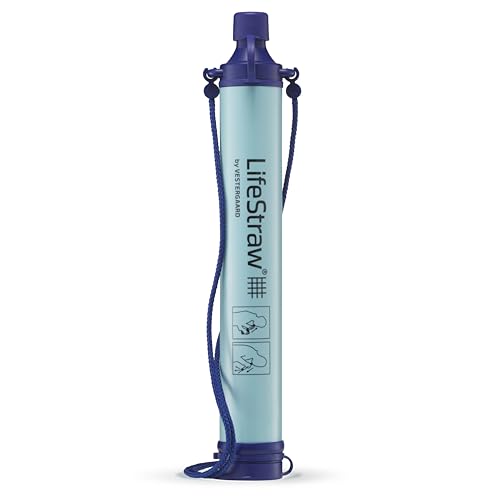
LifeStraw Personal Water Purifier for Hiking, Camping, Travel, and Emergency Preparedness
Removes Bacteria & Parasites: The Microfiltration Membrane Removes 99.999999% of Waterborne Bacteria (Including E. Coli and Salmonella), and…
As an affiliate, we earn on qualifying purchases.
As an affiliate, we earn on qualifying purchases.
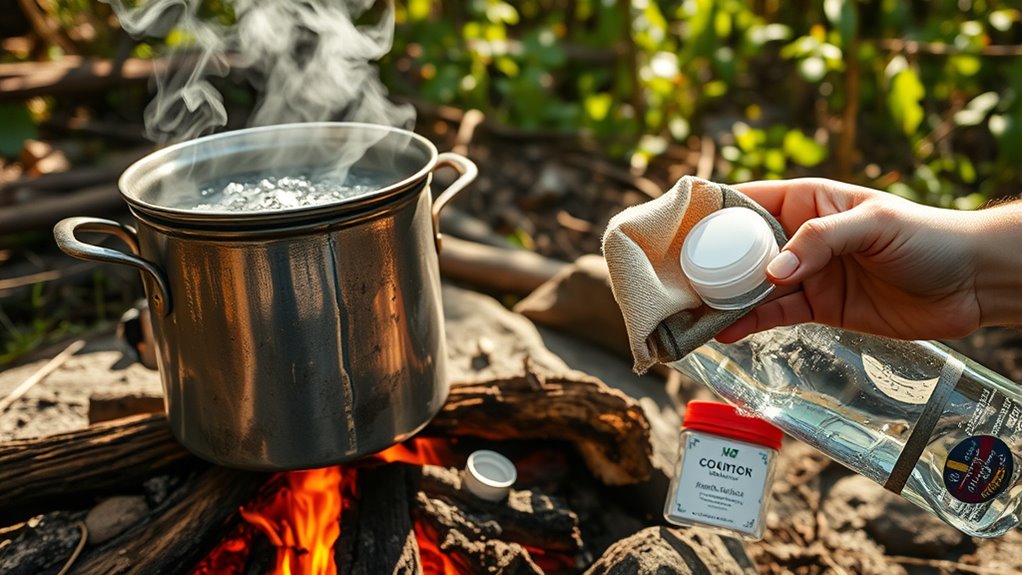
Boiling Water for Safety
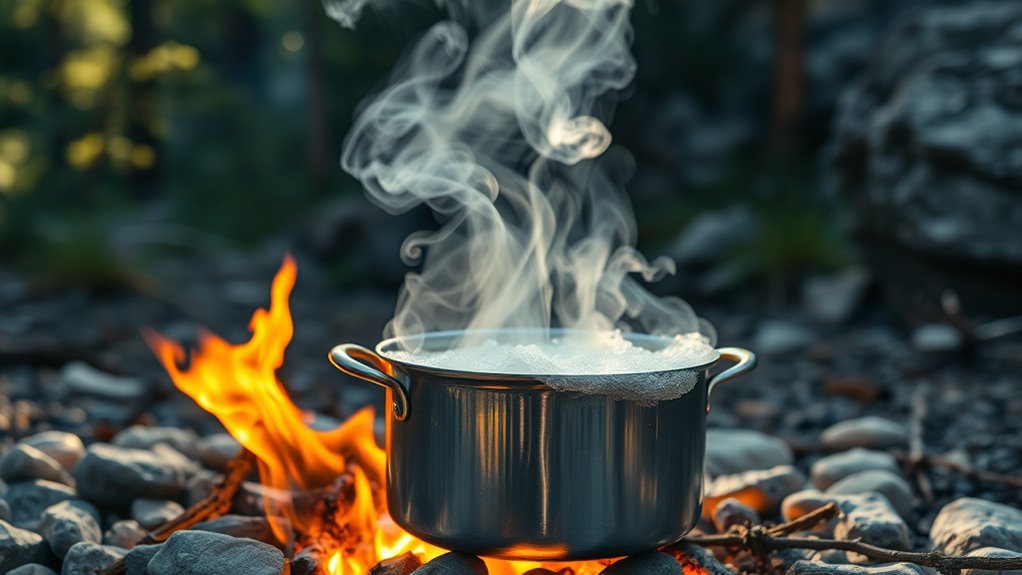
Boiling water is one of the simplest and most effective methods to guarantee its safety in the wild. To do this, find a clean container and fill it with water from a reliable source. Place it over a fire or heat source until it reaches a rolling boil, where bubbles rapidly rise and break the surface. Keep the water boiling for at least one minute to kill bacteria, viruses, and parasites; if you’re at higher altitudes (above 6,500 feet or 2,000 meters), boil for three minutes. Remove the container carefully and let the water cool before drinking. Boiling guarantees sterilization, making it one of the most reliable methods for ensuring safe drinking water in survival situations.

Potable Aqua Water Purification Tablets, Portable and Effective Water Purification Solution for Camping, Hiking, Emergencies, Natural Disasters and International Travel, Two 50ct Bottles, Blue
TWO BOTTLES INCLUDED: Includes two bottles, each with 50 Potable Aqua Water Purification Tablets, offering an effective solution…
As an affiliate, we earn on qualifying purchases.
As an affiliate, we earn on qualifying purchases.
Using Water Purification Tablets or Drops

After boiling water to guarantee its safety, you can further improve purification by using water purification tablets or drops. These are lightweight, easy to carry, and effective against many bacteria, viruses, and protozoa. To use tablets, follow the instructions on the packaging—usually, you’ll drop or crush the tablet into your water and wait the recommended time, typically 30 minutes. Drops work similarly; add the specified number of drops per liter and stir well. Make sure to wait long enough for the chemicals to work before drinking. Keep in mind that some pathogens, like certain parasites, may not be fully eliminated by tablets or drops alone. When used correctly, they’re a reliable way to assure your water is safe for drinking in the wild.

4M: Green Science: Clean Water Science – DIY Mini Water Filtration & Desalination Plant Kit, Solar Powered, STEM Experiment Activity, Kids Ages 5+
HANDS-ON WATER FILTRATION: Kids can build their own water filtration and distillation plant, providing a practical understanding of…
As an affiliate, we earn on qualifying purchases.
As an affiliate, we earn on qualifying purchases.
Employing Portable Water Filters
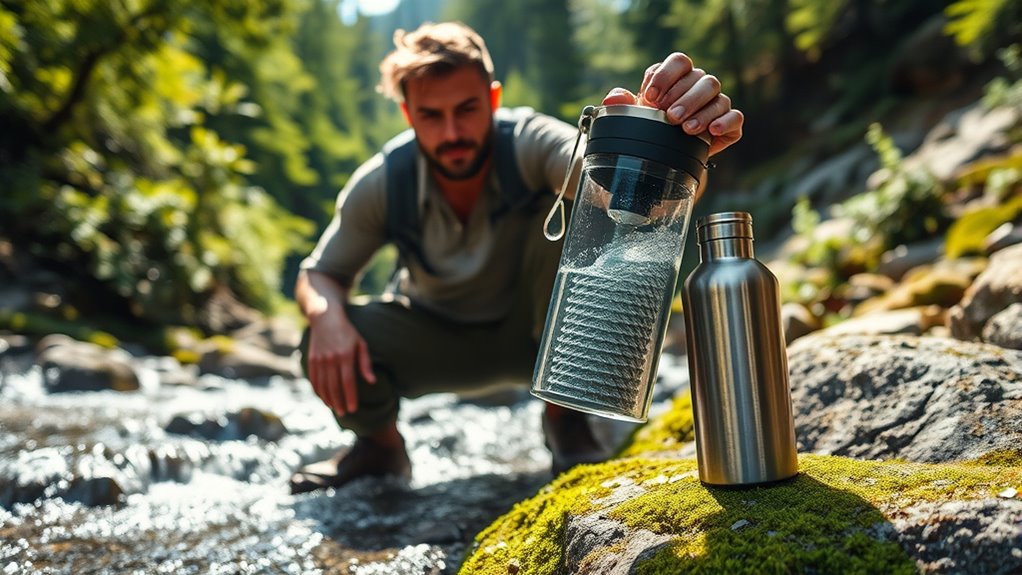
Portable water filters come in various types, from pump models to squeeze bottles, so you can choose one that fits your needs. To guarantee they work effectively, you need to keep your filters clean and replace them when necessary. Proper maintenance is key to consistently safe and clean drinking water in the wild.
Types of Portable Filters
When choosing a portable water filter, you’ll find several types designed to suit different needs and situations. Pump filters use a manual piston to force water through a filter cartridge, making them reliable for removing bacteria and protozoa. Straw filters are lightweight and simple; you sip directly from the water source, perfect for quick access. Pump and straw filters often have different pore sizes, affecting what contaminants they remove. Ultraviolet (UV) purifiers use light to deactivate microorganisms but require batteries or power sources. Each type offers unique advantages: pump filters are versatile, straw filters are ultra-portable, and UV devices are fast. Select a filter based on your activity, water source, and the level of purification needed. Proper selection ensures safe drinking water in any wilderness situation.
Proper Filter Maintenance
Proper maintenance of your water filter is crucial to guarantee it continues to function effectively and safely. After each use, clean the filter according to the manufacturer’s instructions, typically by backflushing or rinsing with clean water. This removes trapped debris and prevents clogging. Regularly inspect the filter for cracks or damage, replacing parts as needed. Store the filter in a dry, cool place to prevent mold and bacteria growth. If you won’t use it for a while, sanitize it with a mixture of water and mild bleach, then rinse thoroughly. Make sure the filter is completely dry before storage. Proper maintenance ensures your filter remains reliable, extends its lifespan, and keeps your water safe to drink during your outdoor adventures.

Zalaxt Camping Tea Kettle, Portable 1.2L Coffee Pot, Outdoors Camping Pot, with Handles and with Lids for Camping Hiking Picnic Camping, Backpacking, Silver
STAINLESS STEEL PICNIC WATER BOTTLE: Camping Pots are Forged from Stainless Steel, Stainless Steel Camping Kettle is Thicker…
As an affiliate, we earn on qualifying purchases.
As an affiliate, we earn on qualifying purchases.
Solar Disinfection With UV Light

To effectively disinfect water with UV light, you need enough sunlight exposure—usually at least six hours on a clear day. Clear water works best because particles can block UV rays and reduce disinfection. Keep in mind, UV light is highly effective at neutralizing pathogens when these conditions are met.
Sunlight Exposure Time
Exposing water to sunlight for the right amount of time activates its natural disinfection process through UV light. Typically, you should leave water in a clear, plastic or glass container for at least 6 hours on a sunny day to effectively kill bacteria, viruses, and pathogens. If the sunlight is strong and the weather is clear, 4 hours might suffice, but longer exposure guarantees better safety. Make certain the container is transparent and placed in direct sunlight, avoiding shaded areas. Stir or gently shake the water occasionally to maximize UV exposure throughout the liquid. Avoid covering the container, as this can block UV rays. Proper timing is vital; too little exposure won’t disinfect fully, while too long may not provide additional benefits. Always check the weather and sunlight intensity before relying solely on this method.
Clear Water Preference
When using solar disinfection with UV light, clear water is essential for effective treatment. Murky or cloudy water blocks UV rays, reducing the disinfection process’s efficiency. To improve clarity, filter the water through a cloth or other material before exposure. The cleaner the water, the better the UV light can penetrate and deactivate pathogens. Here’s a quick comparison:
| Water Clarity | UV Penetration | Disinfection Speed |
|---|---|---|
| Clear | High | Faster |
| Slightly Murky | Moderate | Moderate |
| Very Murky | Low | Slow or ineffective |
Prioritize filtering and removing sediments to maximize UV disinfection results, ensuring your water is as clear as possible for safe survival drinking.
UV Light Effectiveness
Clear water allows UV light to penetrate effectively, making solar disinfection more efficient. When water is free of particles and contaminants, the UV rays from the sun can directly reach microorganisms, damaging their DNA and rendering them harmless. This process works best on small, transparent containers placed in direct sunlight for several hours, usually 6 to 8. The effectiveness depends on the intensity of sunlight, water clarity, and exposure time. Cloudy or murky water reduces UV penetration, so pre-filtering is essential. Solar disinfection with UV light is a simple, chemical-free method ideal for clear water sources. Remember, this technique mainly inactivates bacteria and viruses, but it might not eliminate all chemical pollutants or spores. Always assess your water quality before relying solely on UV disinfection.
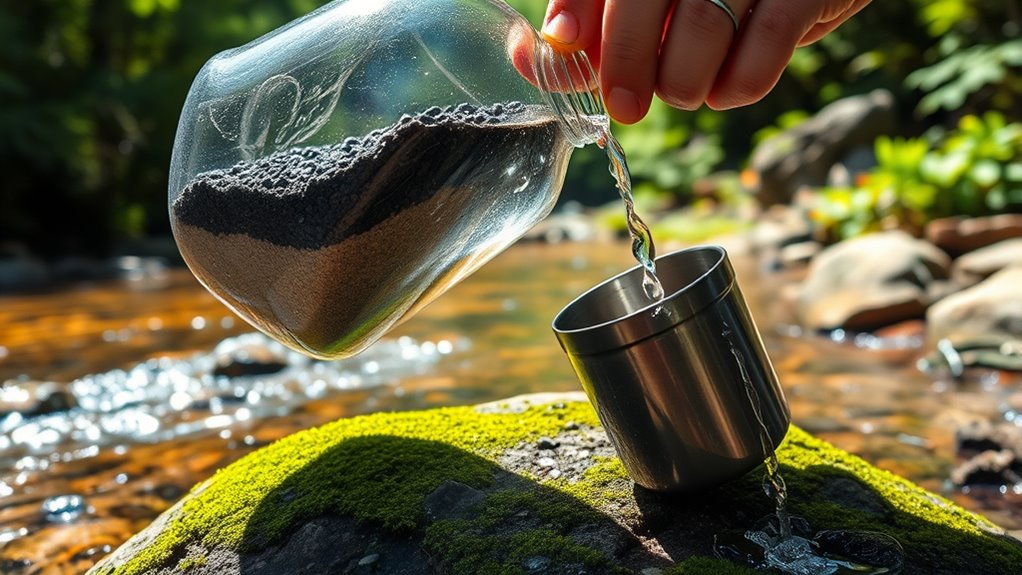
Using Natural Filtration Methods
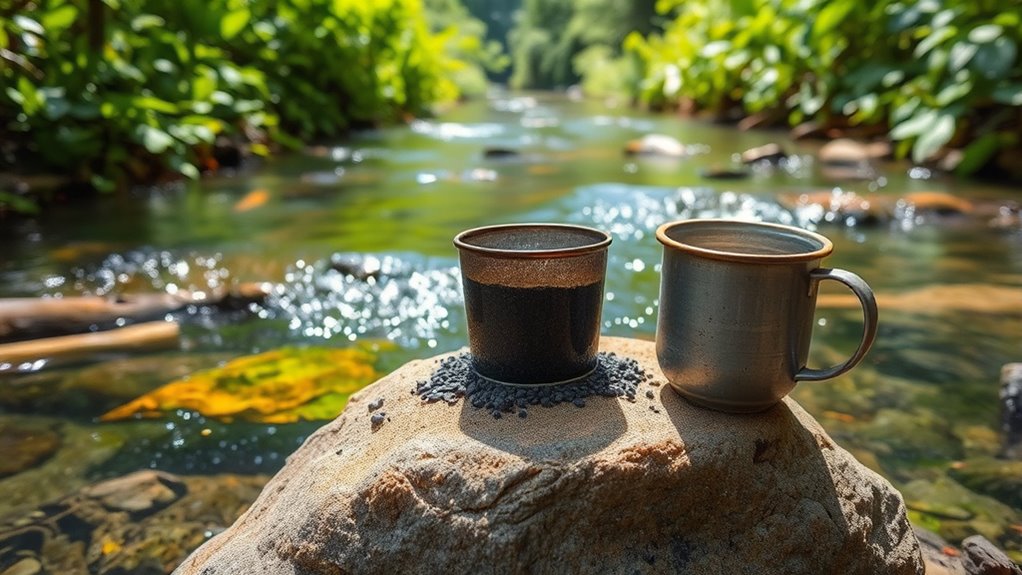
Natural filtration methods rely on the environment itself to remove contaminants from water. You can use natural materials like sand, gravel, and charcoal to create simple filters. Start by layering coarse gravel at the bottom, followed by finer sand, and then activated charcoal if available. Pour water slowly through this setup, allowing larger particles to settle and impurities to be absorbed. This process reduces sediment, some bacteria, and chemicals. Keep in mind, natural filters don’t eliminate all pathogens, so it’s essential to combine this method with additional purification steps. Use clean containers to collect the filtered water. While natural filtration improves water clarity and reduces certain contaminants, it’s not foolproof—always seek further purification before drinking. Properly implemented, it’s a valuable step in wilderness water treatment.
Utilizing Chemical Purification Methods
Chemical purification methods provide an effective way to disinfect water quickly in the wild. You can rely on chemicals like iodine or chlorine tablets to kill harmful bacteria and viruses. These treatments are portable, easy to use, and work rapidly, making them ideal in survival situations. To guarantee safety, follow the instructions carefully, and wait the recommended time before drinking. Be aware that chemicals might leave an aftertaste, but this doesn’t affect their effectiveness. Always use fresh, uncontaminated water for chemical treatment, and avoid overdosing.
- Use iodine or chlorine tablets as directed
- Wait the specified time for disinfection
- Avoid using expired chemicals
- Consider taste-masking options if needed
- Store chemicals in a cool, dry place
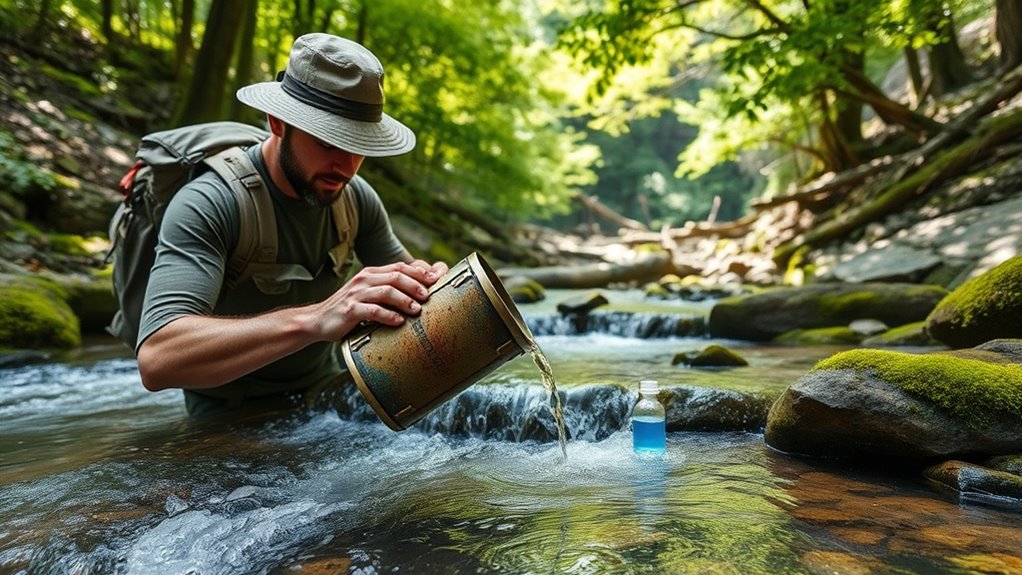
Collecting and Storing Water Properly
Collecting and storing water properly is essential to guarantee its safety and longevity in the wild. Always choose clean, fresh sources like mountain streams or rainwater runoff. Use a sturdy container, such as a metal bottle or a BPA-free plastic bottle, to collect water. If you must gather water from a muddy or cloudy source, try to filter it through a cloth or coffee filter first. Store water in a sealed container to prevent contamination and evaporation. Keep it in a cool, shaded spot to slow bacterial growth and spoilage. Avoid letting water sit exposed to sunlight for extended periods, as this can promote algae or bacteria. Proper collection and storage set the foundation for safe, clean water, making subsequent purification steps more effective.
Recognizing Signs of Contaminated Water
After gathering and storing water, it’s important to assess whether it’s safe to drink. Look for clear signs that contamination could be present. Murky water with visible particles or algae suggests impurities, and a strong, foul odor indicates bacterial growth. Discolored water—especially brown or green—may contain pollutants or algae blooms. Foam on the surface can be a sign of chemicals or organic matter decomposing. Additionally, if the water has a slimy film or causes a burning sensation when you taste or smell it, it’s contaminated. Be cautious of stagnant ponds, slow-moving streams, or water near human activity, as these are more likely to harbor bacteria and toxins. Always err on the side of caution and consider purification methods before drinking.
Frequently Asked Questions
How Can I Tell if Water Is Safe to Drink Without Testing?
You can’t always tell if water is safe just by looking at it, but you should avoid water that’s murky, has a strange color, or smells bad. Clear water from a fast-moving stream is usually safer. Boil water for at least a minute to kill bacteria and viruses. If you see algae, dead animals, or foam, avoid drinking it. Trust your senses, but always purify water before drinking.
What Are the Best Methods for Purifying Large Quantities of Water?
You can purify large quantities of water by boiling, using chemical disinfectants, or employing filtration systems. Boil water vigorously for at least one minute to kill pathogens, or extend to three minutes at higher altitudes. Add water purification tablets or drops to chemically treat water, ensuring safety. Use portable filters or UV purifiers for faster processing, especially when dealing with big volumes. Combining these methods offers reliable, efficient purification on a large scale.
Can Untreated Water Cause Long-Term Health Issues?
Untreated water can definitely cause long-term health issues. You might experience chronic illnesses like liver or kidney problems, gastrointestinal disorders, or parasitic infections if you drink contaminated water regularly. Bacteria, viruses, and parasites can linger and build up in your body over time. To avoid these risks, always purify your water before drinking, especially in survival situations, to protect your health now and in the future.
Are There Homemade Methods to Purify Water Effectively?
Yes, you can purify water using homemade methods. Boiling water for at least one minute kills most bacteria and parasites. You can also create a solar still by digging a hole, placing a container inside, covering it with plastic, and allowing sunlight to evaporate and condense clean water. Using household bleach with a few drops per gallon can also disinfect water effectively, but guarantee it’s unscented.
How Do Environmental Factors Affect Water Purification Options?
Environmental factors profoundly influence your water purification options. You might think boiling is always best, but in cold environments, it’s tough to reach boiling temperatures. Contaminants like chemicals or algae require specific filters or chemical treatments. Sunlight can help with solar disinfection, yet murky water might block UV rays. Always assess your surroundings carefully, adapting your methods to guarantee you remove pathogens and impurities effectively, regardless of environmental challenges.
Conclusion
Now that you hold the keys to pure water in your hands, remember it’s your lifeline in the wild. Like a skilled alchemist transforming muddy streams into crystal-clear elixirs, you can turn contaminated sources into safe, drinkable water. Trust your methods, stay vigilant for signs of spoilage, and keep your survival instincts sharp. With these techniques, you’ll not only quench your thirst but also nurture your resilience amid nature’s unpredictable symphony.