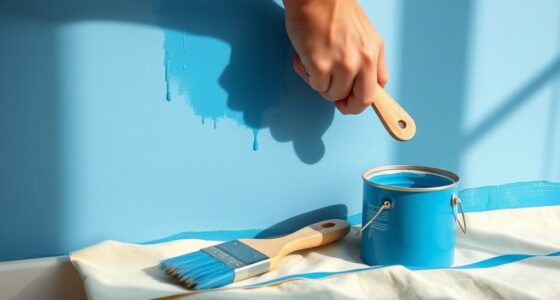
To upgrade your bathroom with DIY re-grouting, start by thoroughly cleaning and removing the old grout with a grout brush or other tools. Let the area dry completely before applying new grout, choosing the right type for your joint size. Use a grout float to press it into the joints, then wipe away excess before it sets. After sealing the tiles and grout, you’ll enjoy a fresh, water-resistant finish—continue for step-by-step tips and tricks.
Key Takeaways
- Thoroughly clean existing grout with a grout brush and specialized cleaner to remove dirt, mold, and soap scum.
- Carefully remove old grout using a grout removal tool to ensure a smooth surface for new grout application.
- Choose the right grout type (sanded or unsanded) based on joint width, and apply it evenly with a grout float.
- Wipe excess grout with a damp sponge before it sets, and allow the grout to dry completely before sealing.
- Seal the new grout and tiles after 48 hours to protect against stains, moisture, and mold, enhancing durability and appearance.
Are your tiled surfaces looking dull or stained? If so, it’s probably time to give your bathroom a fresh look by re-grouting your tiles. Over time, grout can become discolored, cracked, or crumbly, detracting from the overall appearance of your space. Luckily, re-grouting is a straightforward DIY project that can dramatically improve your bathroom’s look and feel. Before you dive in, it’s vital to understand the importance of proper grout cleaning. Removing the old grout thoroughly guarantees that the new grout adheres well and lasts longer. Use a grout brush or a specialized cleaning tool to scrub away dirt, mold, and soap scum from the joints. For stubborn stains, a mixture of baking soda and water or a commercial grout cleaner can do wonders. Once cleaned, let the area dry completely, which is essential to achieve ideal adhesion. Proper cleaning not only improves appearance but also enhances grout adhesion for a longer-lasting finish.
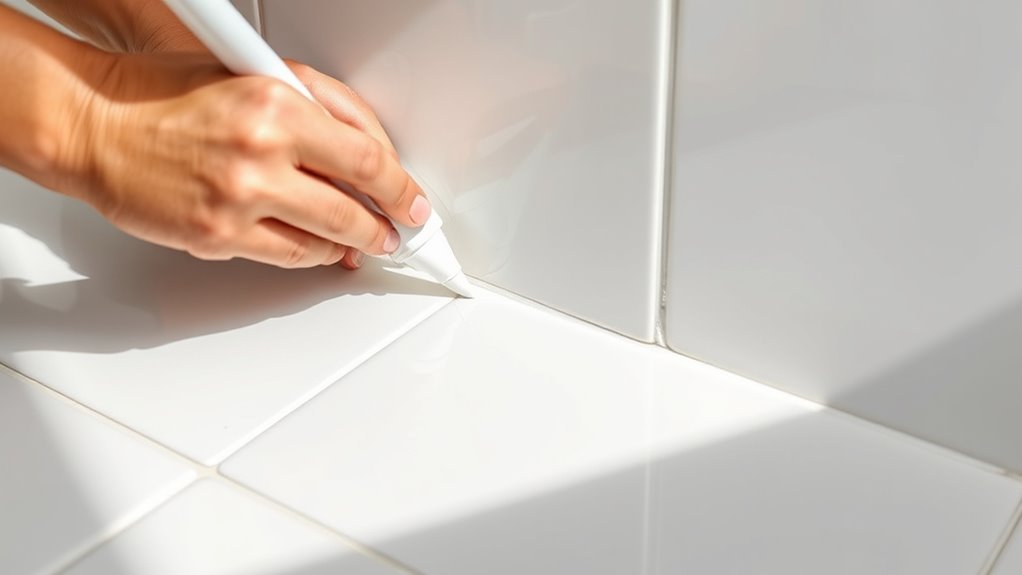
Clean and dry your tiles thoroughly to ensure perfect adhesion before re-grouting.
After cleaning, you should consider sealing the tiles and the new grout once the installation is complete. Tile sealing protects your surfaces from water damage, stains, and mold growth, ensuring your bathroom remains fresh and easy to maintain. Remember, sealing is best done after the grout has fully dried, usually 48 hours post-application. Applying a high-quality tile sealant with a brush or a sprayer creates a protective barrier that repels moisture and dirt. This step not only prolongs the life of your re-grouted tiles but also keeps the surface looking vibrant and clean over time. It’s a small task that makes a significant difference in maintaining your renovation’s longevity.
Re-grouting itself involves carefully removing the old grout, filling the gaps with new grout, and smoothing it out for a clean finish. Be sure to choose the right grout type—sanded or unsanded—based on the width of your joints, and follow the manufacturer’s instructions for mixing and application. Using a grout float, press the new grout firmly into the joints, ensuring no gaps are left. Wipe away excess grout with a damp sponge before it sets to achieve a neat, professional look. Once the grout has dried, you can proceed with sealing to lock in your improvements. This process not only enhances the appearance of your tiles but also makes future cleaning easier, reducing the likelihood of staining or mold growing in the grout lines.
With these simple steps—thorough grout cleaning, careful re-grouting, and proper tile sealing—you can transform your bathroom without the need for professional help. It’s a cost-effective way to upgrade your space, boost its durability, and enjoy a fresh, clean look that lasts. Just remember, patience and attention to detail are key to achieving a polished, long-lasting result.

Lumkew Grout Cleaner Brush V Shape, Stiff Grout Cleaning Brushes for Tile Floor, Handheld Grout Scrub Brush Set for Shower, Bathroom, Kitchen, Household Use,2 pcs
V Shape Design: V grout cleaner brush fits precisely into each groove, and reaches deeply into narrow joints….
As an affiliate, we earn on qualifying purchases.
As an affiliate, we earn on qualifying purchases.
Frequently Asked Questions
How Long Does Re-Grouting Typically Take?
Re-grouting usually takes about 1 to 3 hours, depending on your bathroom size and tile condition. You’ll want to allow extra time for curing, which can be 24 hours. Properly re-grouted tiles improve grouting durability, making your bathroom last longer. Remember to keep tiles clean during the process with good tile cleaning tips, like wiping away excess grout and ensuring proper sealing afterward to prevent mold and damage.
Can I Re-Grout Over Existing Grout?
You can re-grout over existing grout if it’s stable and in good condition. First, choose your preferred grout color options to update your look. Make sure to thoroughly clean and remove any loose grout before applying the new layer. After re-grouting, sealing is essential to protect your tiles and enhance durability. This simple step helps prevent stains and keeps your bathroom looking fresh longer.
What Tools Are Necessary for DIY Re-Grouting?
To DIY re-grouting, you’ll need essential tools like a grout saw or rotary tool for grout cleaning and removal of old grout. A utility knife helps with tile removal if needed. You’ll also want a grout float for applying new grout, a sponge for cleaning excess, and a bucket of water. These tools make the process easier, ensuring you get clean, professional-looking results while effectively removing old grout and preparing for fresh application.
How Often Should I Re-Grout My Tiles?
A stitch in time saves nine, so re-grout your tiles every 2 to 3 years to keep your bathroom looking fresh. Pay attention to grout color selection to match your style, and don’t forget sealing and maintenance to prevent mold and damage. Regular inspections help you spot issues early, ensuring your tiles stay beautiful and durable longer. Stay proactive, and your bathroom will stay stunning for years to come.
Is Re-Grouting Suitable for Outdoor Tiles?
Yes, re-grouting is suitable for outdoor tiles, especially for outdoor tile maintenance. You should use a weather-resistant grout to withstand the elements and prevent water damage. Re-grouting helps maintain the appearance and durability of your outdoor surface, protecting it from cracks and mold. Regularly inspect your tiles and re-grout when needed to keep your outdoor space looking great and functioning well in all weather conditions.
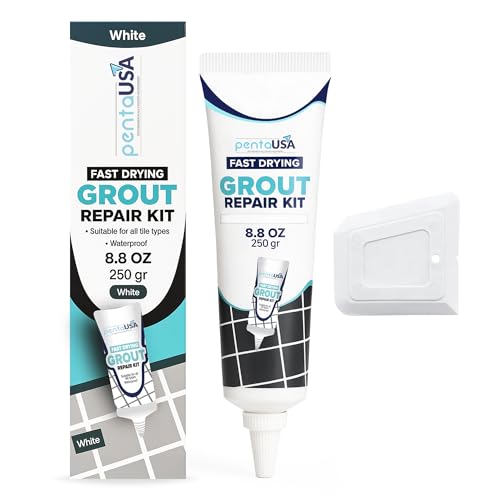
PentaUSA Tile Grout Repair Kit – White Premixed Acrylic Sanded Grout Filler for Bathroom, Shower, and Kitchen, Water-Resistant Tube with Applicator, Fills Cracks and Gaps, Fast Drying (8.8oz / 250g)
Acrylic Sanded Grout Filler That Cures Into Solid Grout – This premixed tile grout repair contains acrylic sanded…
As an affiliate, we earn on qualifying purchases.
As an affiliate, we earn on qualifying purchases.
Conclusion
Now that you’ve learned how to re-grout your tiles, you’ve got the tools to give your bathroom a fresh new look. Think of it as giving your space a well-deserved facelift—simple, satisfying, and totally doable. With a little patience and elbow grease, you’ll turn those tired tiles into a sparkling centerpiece. So roll up your sleeves, and watch your bathroom transform from drab to fab—your home’s new shining star!

AQUA-X 16 Oz. Grout Sealer, Clear Grout and Tile Sealer, Natural Finish, Professional Grade, Indoor & Outdoor, Fast Dry and Long Lasting Protection
Keep a clean, NATURAL APPEARANCE and improve the DURABILITY of your grout in your shower, kitchen, bathroom, and…
As an affiliate, we earn on qualifying purchases.
As an affiliate, we earn on qualifying purchases.

MAPEI Keracolor U UnSanded Powder Grout – 10LB/Bag – Premium Superior (00 White)
Unsanded Grout
As an affiliate, we earn on qualifying purchases.
As an affiliate, we earn on qualifying purchases.